Notch
NotchHow To Build a Workbench – DIY Workbench Plan
Step-by-step build — 9 steps. Also available as a print sheet.
1Step 1. Drill Pocket Holes
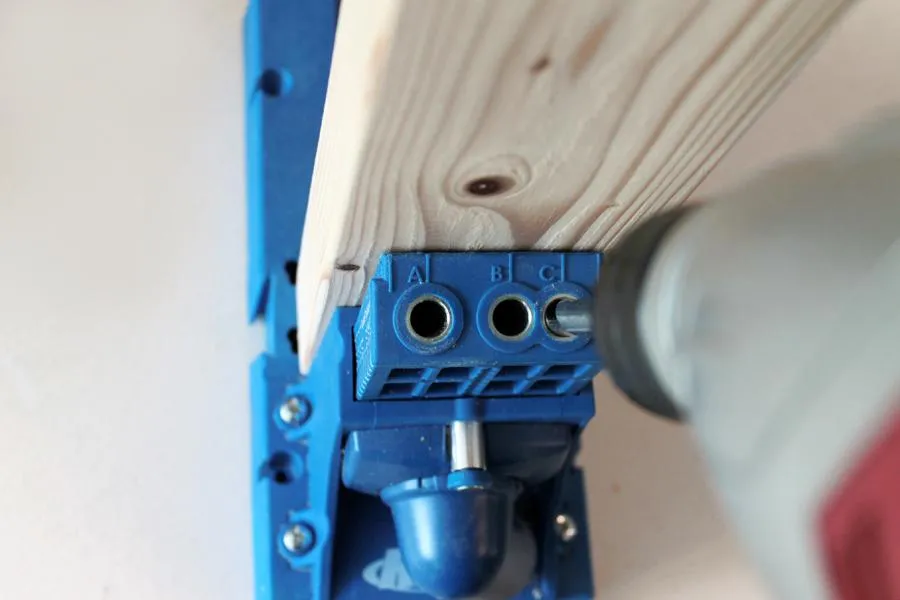
After making all your cuts (or having it done at the hardware store), drill two pocket holes into each end of the 2"x4"x26" boards.
2Step 2. Assemble 2 Tabletop Frames
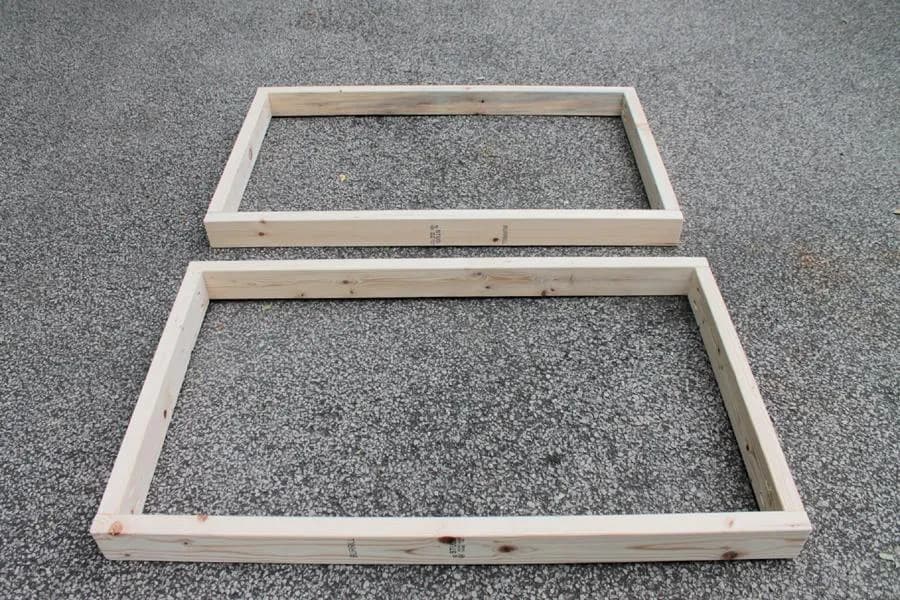
Assemble two tabletop (shelf) frames by screwing in the 2"x4"x26" boards via pocket holes into your 2"x4"x48" boards. Be sure to do this on a flat even surface and use a carpenter square to ensure a proper 90 degree angle.
3Step 3. Nail Birch Plywood Atop Frame
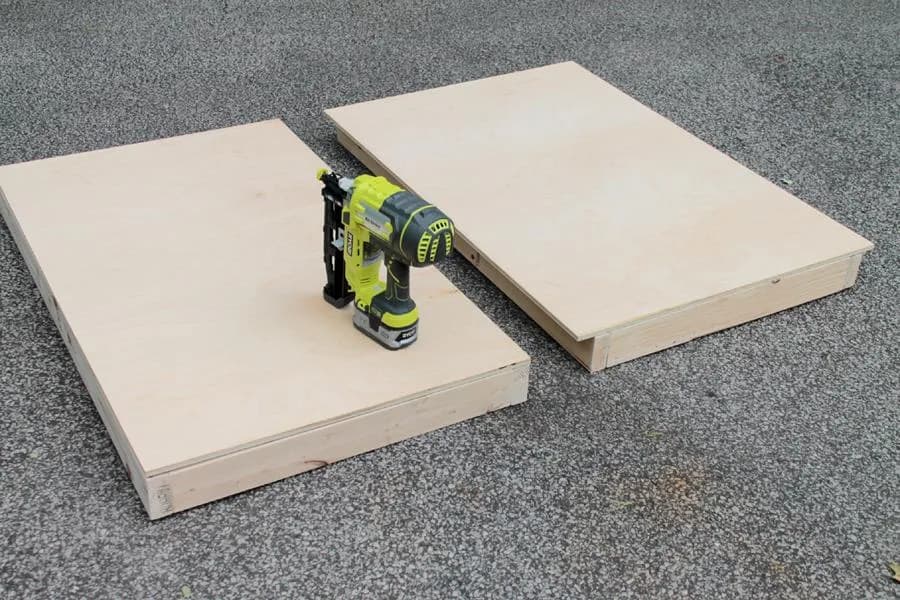
Using 2" finishing nails, center and nail down your two birch plywood pieces atop the two tabletop frames you just built. The 32" piece of birch must be centered so that there is a 2" overhang on either side.
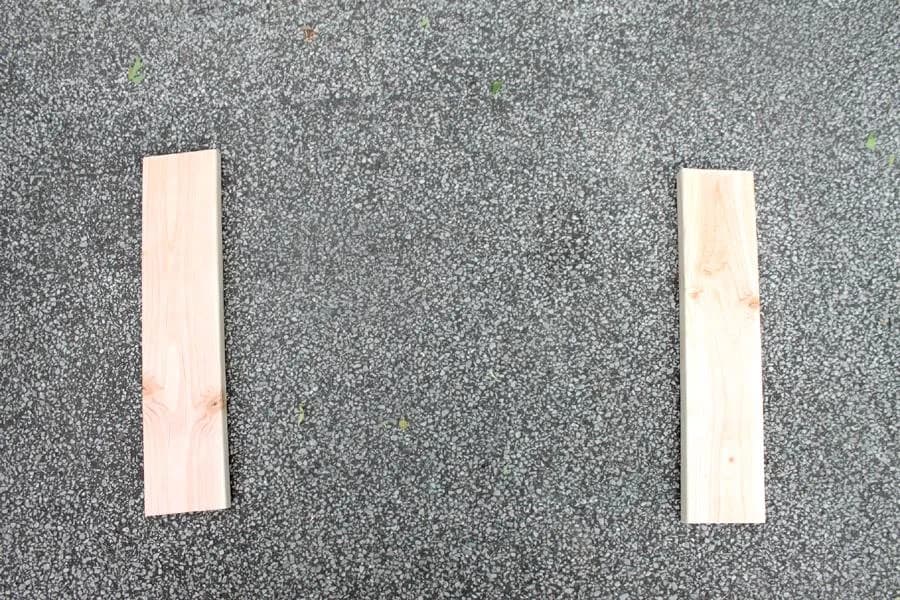
4Step 4. Lay Out 2"x6" Legs
Lay out two of your 2"x6"x25.5" legs, approximately 40" apart.
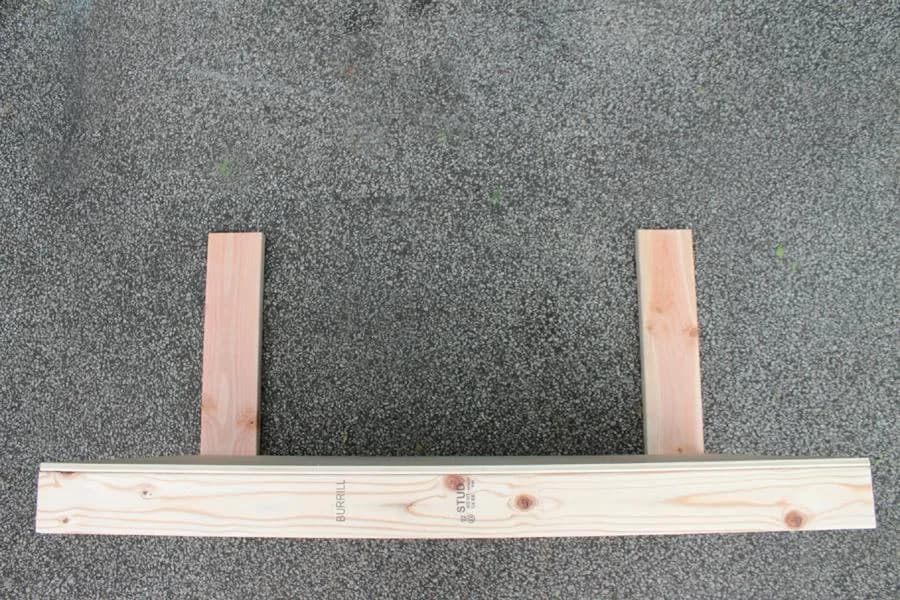
5Step 5. Place 1st Tabletop
Carefully lay the 48"x32" tabletop (without the overhang) flush with the bottom and sides of the 2"x6" legs. The birch plywood should face upward toward the extended legs.
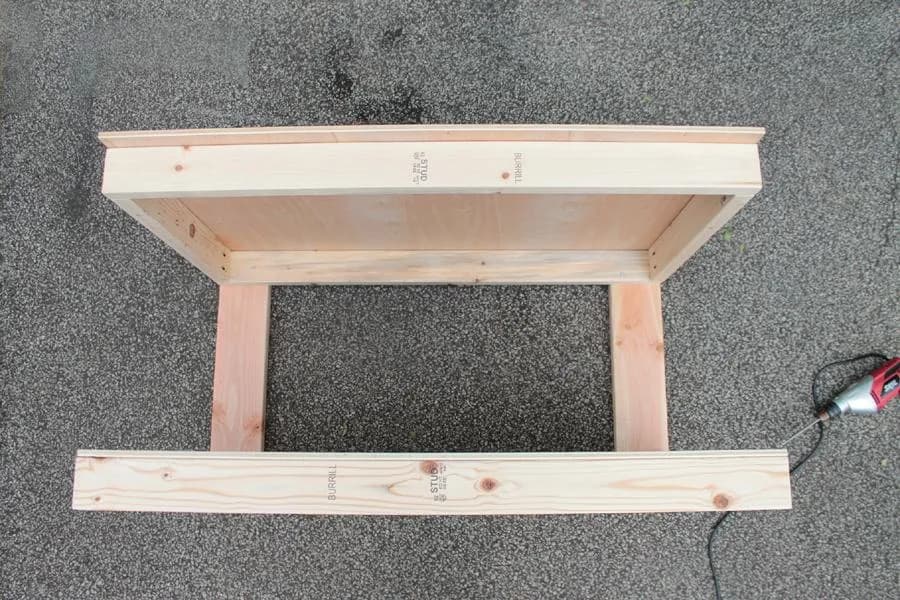
6Step 6. Place 2nd Tabletop
Next carefully balance the tabletop WITH the overhang just over the 2"x6" legs. The legs should be flush with the sides of the tabletops, and the top and bottom.
7Step 7. Screw Tabletops To Legs
After both tabletop pieces are flush with the legs, attach them from the top inside with screws. Just screw directly through the 2"x4" tabletop frame into the 2"x6" wooden legs beneath.
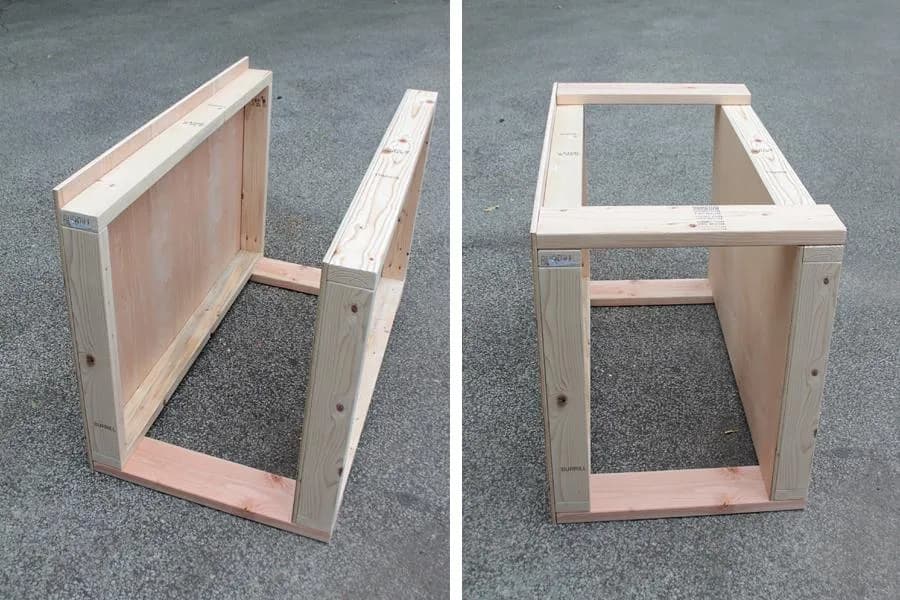
8Step 8. Add Next Set of Legs
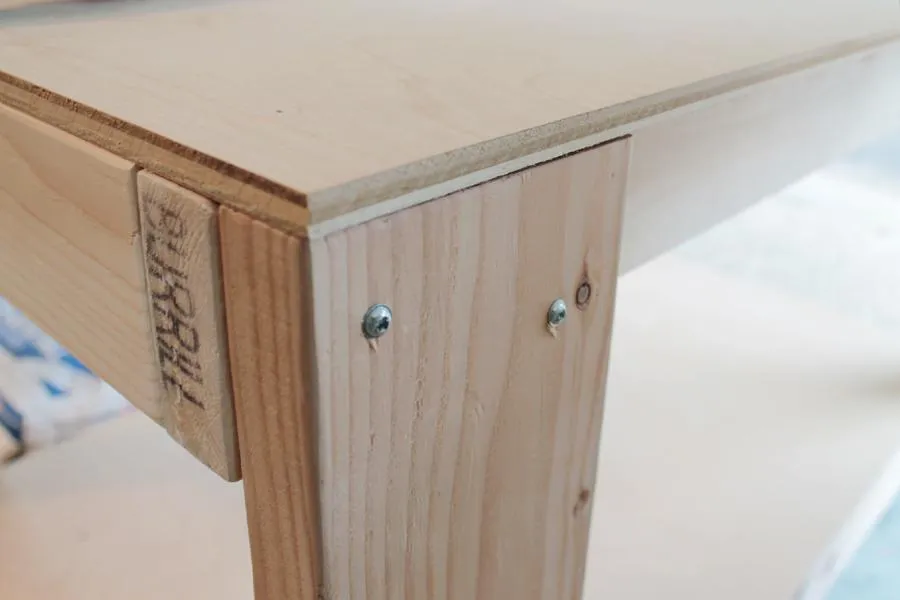
- Finally add the last two 2"x6" legs to the top open side. Again, make sure the tabletop is flush with the legs on the bottom and sides.
- Screw into place from the top this time.
- Flip it over, so you can secure with screws from the inside and outside of both leg pieces.
9Step 9. Add Casters
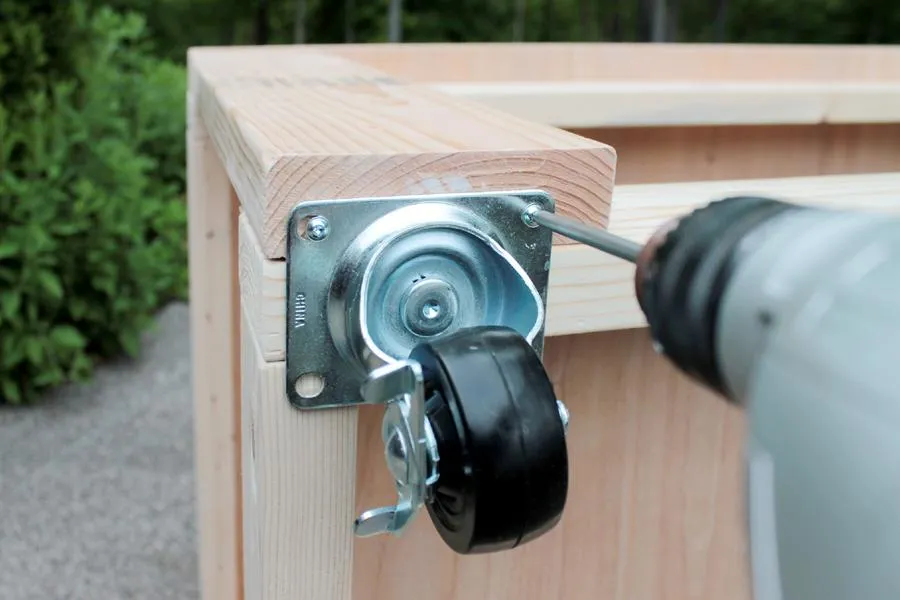
Add casters to the four bottom corners. Sand any rough edges, and it is ready for use!