 Notch
Notch- Difficulty
- Easy
- Time
- 4.3–8 hours
- Cost
- $$
About this build
This easy-to-build DIY Woven Bench is just as versatile as it looks. Build this in a day and use it how you choose!
Tools
Essential
- Drill / Driver
- Hammer
- Jigsaw
- Miter Saw
- Pocket Hole Jig
- Random Orbit Sander
Optional / nice to have
- Bar / Pipe Clamps
Materials
| Item | Qty |
|---|---|
| Pine boards, 2x2x8' | 3 board |
| Box of 2 1/2" Kreg Pocket Hole Screws (See tools list) | 1 each |
| 1/4" x 18' brass rods | 2 each |
| 80, 120, 220 grit sandpaper | 1 each |
| Wood glue | 1 each |
| Pair of gloves | 1 each |
| Yard of leather/vinyl fabric | 1 each |
| Box of furniture tacks | 1 each |
| Stain of choice | 1 each |
Overall cost: $$. Lumber prices vary by region, species, and season, so we give a band rather than a figure we would only be pretending to know.
Cut list
| Part | Qty | T × W × L |
|---|---|---|
| Legs | 4 | 2" × 2" × 18" |
| Upper & lower supports | 4 | 2" × 2" × 17" |
| Upper Supports | 2 | 2" × 2" × 15" |
What to buy
Buy 2 boards at 8 ft.
2" × 2"
2 boards
Assumes 8 ft stock, a 1/8" saw kerf, and buying each part at its own width. Change the board size or kerf on the full board plan →
Instructions
1Cuts
Cut all the materials according to the cut list.
2Pocket holes
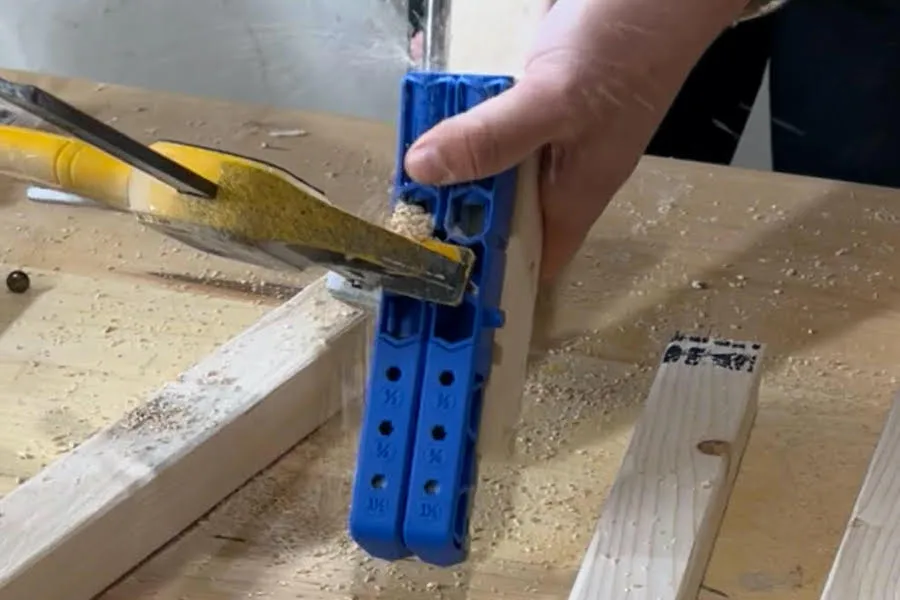
With all your materials cut you are going to set your pocket hole jig to 1 1/2” depth and the stop collar on the drill bit to 11/2”. Drill 2 pocket holes on each side of all the upper supports and lower supports.
3Attach
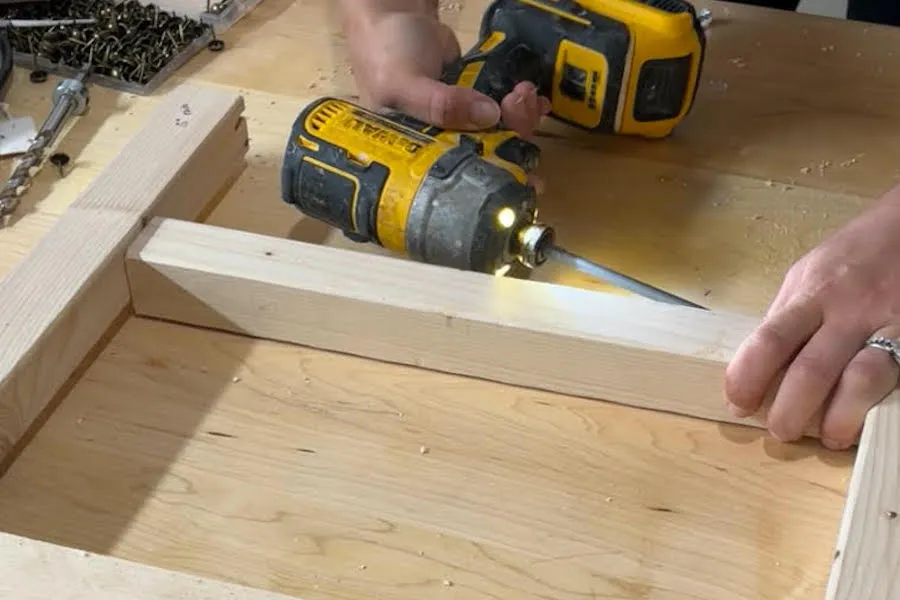
Making 2 of the legs for the bench you are going to first attach the upper support using 2 1/2” pocket hole screws and a lower support. When attaching the lower support make sure it is 5” up from the bottom of the bench legs.
4Prep for rod
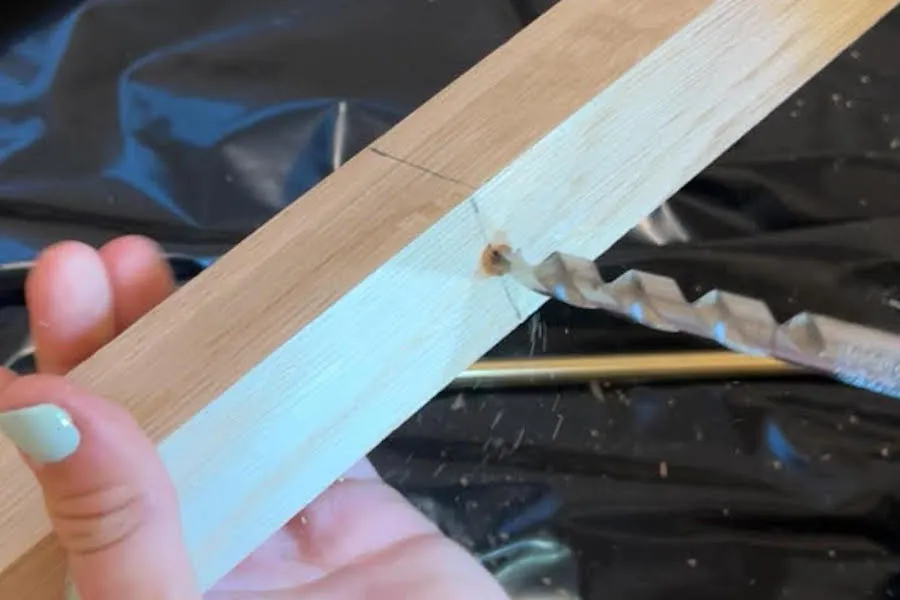
Mark the center of each lower support for your brass rod. You will do this on each leg. Using a drill bit the same size as your rod, drill all the way through.
5Attach
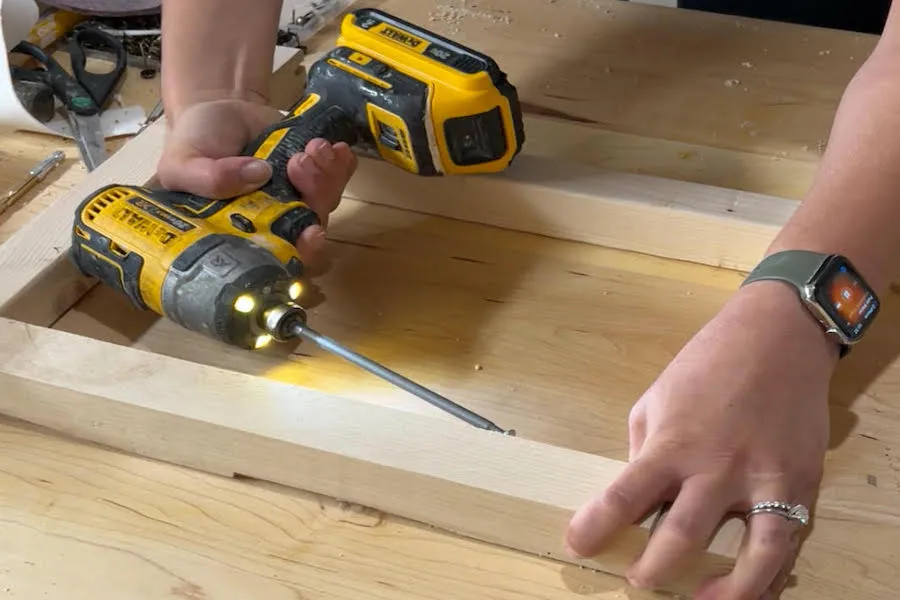
Attach the 2 legs together with the remaining upper supports.
Tip: This step will be easier if you clamp the bench together and then join.
6Add rod
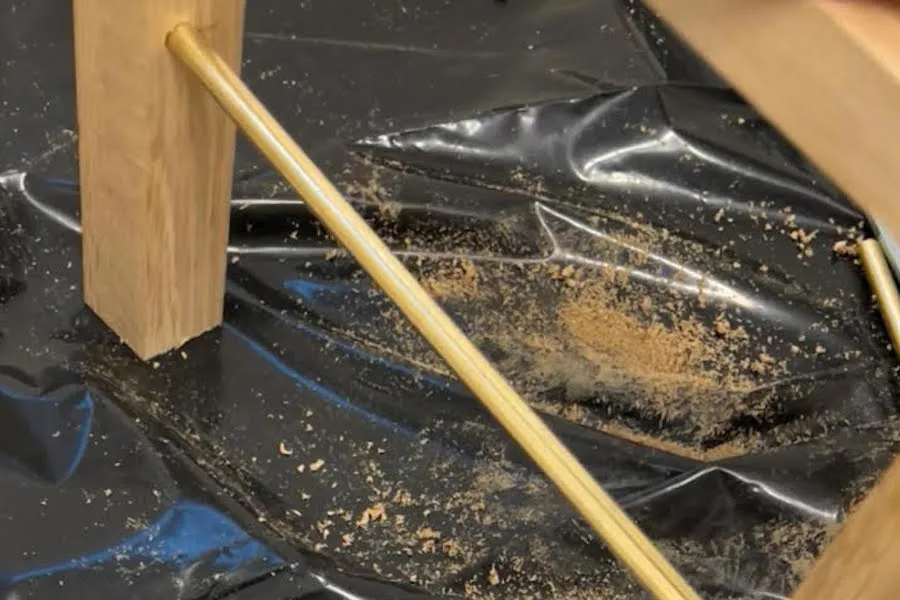
Press the brass rod through both holes on both sides of the bench. If you would like you can add a little epoxy to reinforce the rod but that is an optional step.
7Cut and sand
Cut the excess brass with a jigsaw and a metal blade. Sand the excess brass with 80 grit sandpaper.
8Cut leather
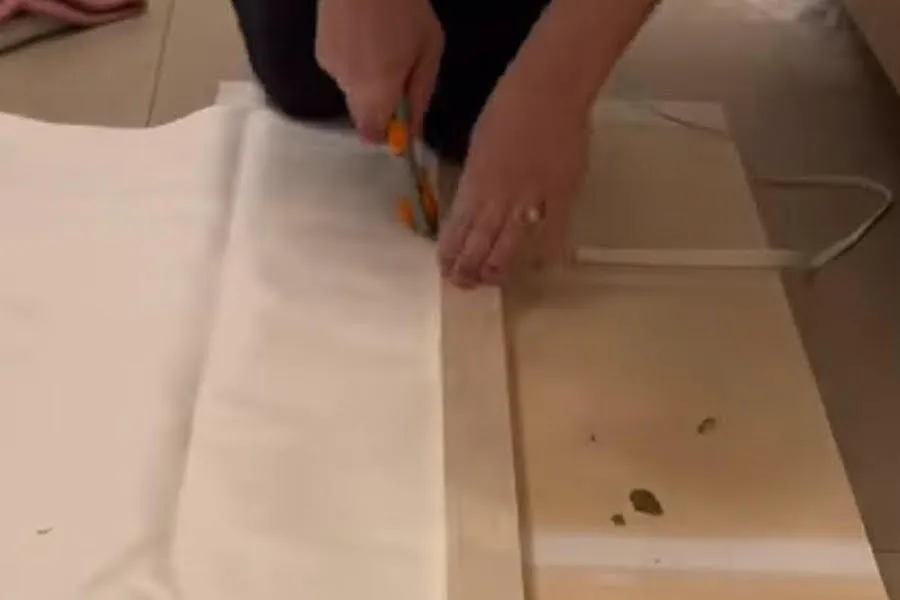
Cut the leather strips using a leather cutting tool and a straightedge. Cut them into 1 1/2” strips.
9Adding Leather
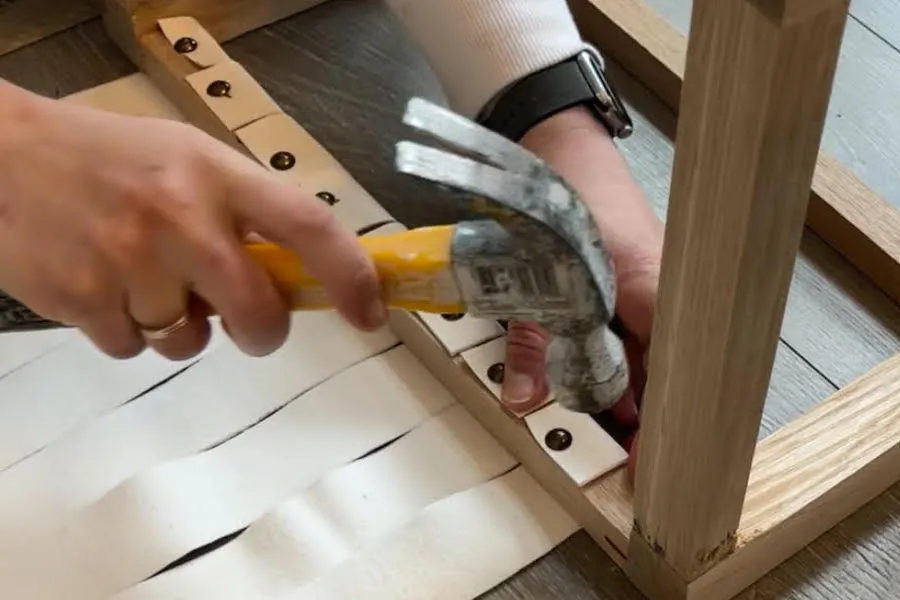
Flipping over the bench start by tacking the strips on one side. It is easier to do this with the bench upside down.
10Adding Leather
Pull the strips tight and tack them to the underside of the other side of the bench.
11Weave leather
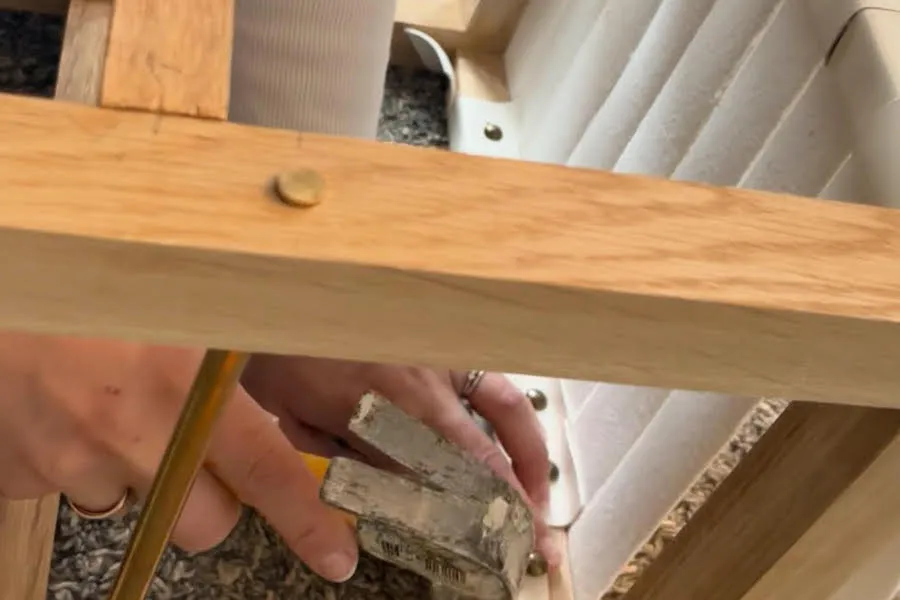
Starting on the opposite end of the bench, weave each strip going under and over, alternating each time. Make sure to weave all the strips before you move onto the next step.
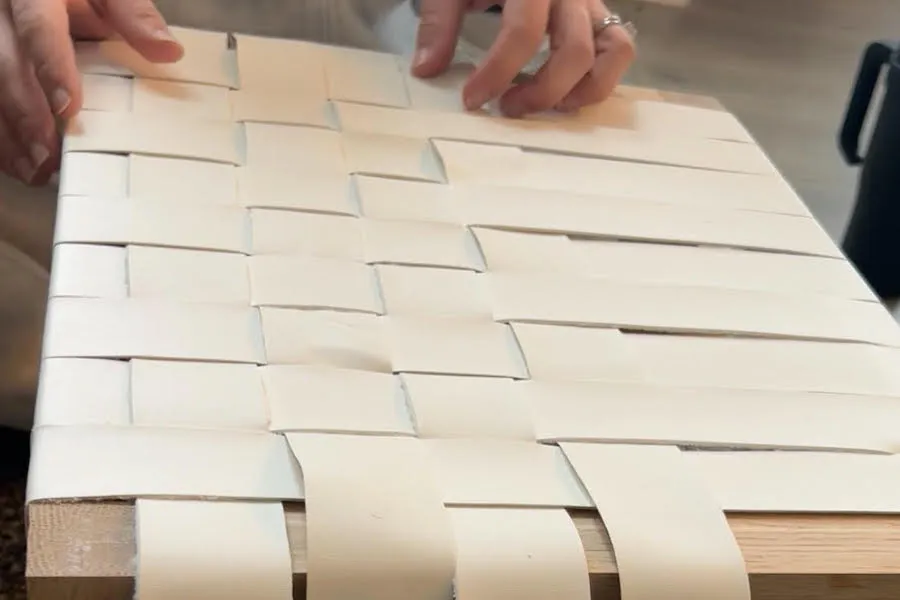
12Secure leather
Starting on the underside of the bench, tack each strip to one side of the bench.
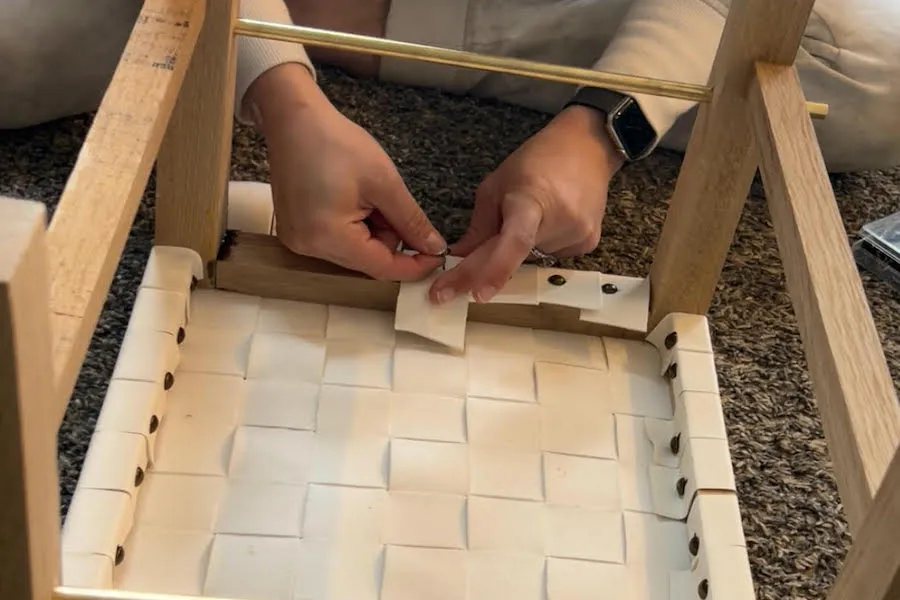
13Secure remaining side
Pulling each strip tight, tack each strip to the other side of the underside of the bench.
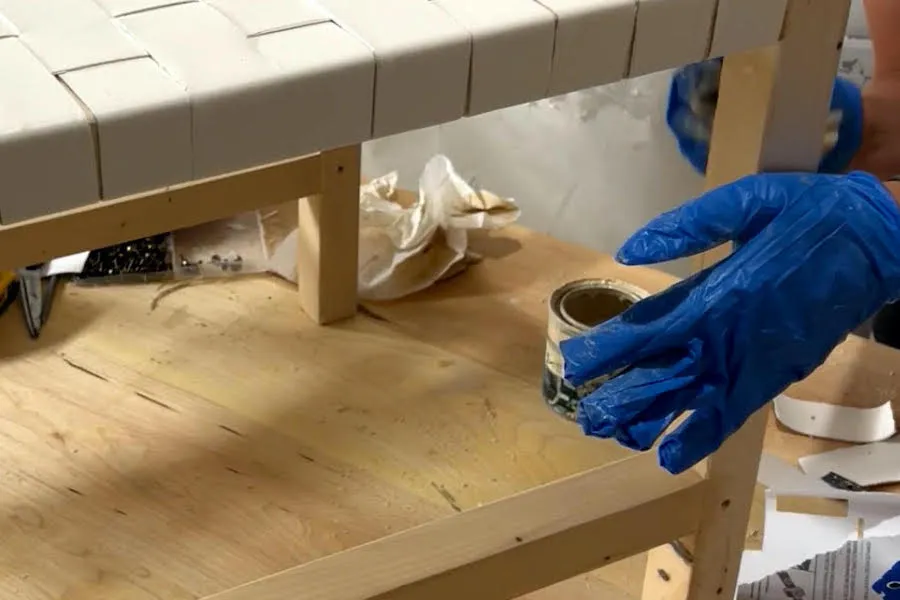
14Finished!
Sand and stain and you have a super cute bench!
Tags
- Seating
- Beginner
Reviews & builds
No reviews yet
Sign in to review this plan or share your build.
No reviews yet. Be the first to build this.