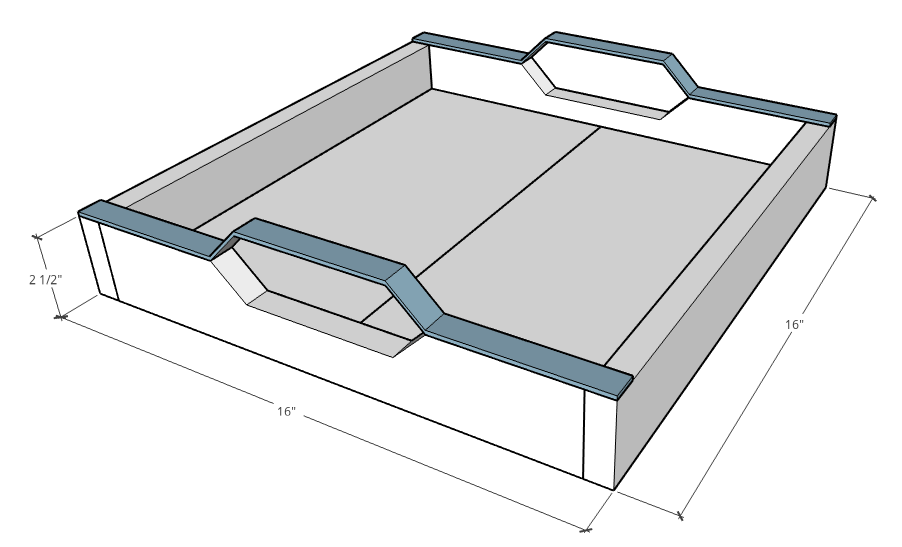
Notch
NotchDIY Square Breakfast Tray
Step-by-step build — 11 steps. Also available as a print sheet.
1Assemble Bottom of Tray
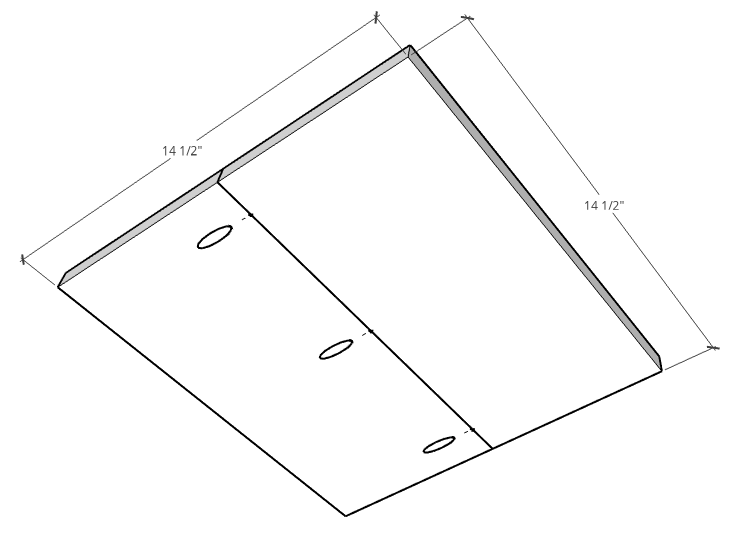
Cut two pieces of 1x8 to 14 ½” long. Using a Kreg Pocket Hole Jig, drill ¾” pocket holes along the long edge of one of the boards. Using wood glue and 1 ¼” pocket hole screws, attach the boards together like shown to make a square.
2Cut Tray Sides
Cut tray sides to fit around this square according to the cut list.
3Make Handles
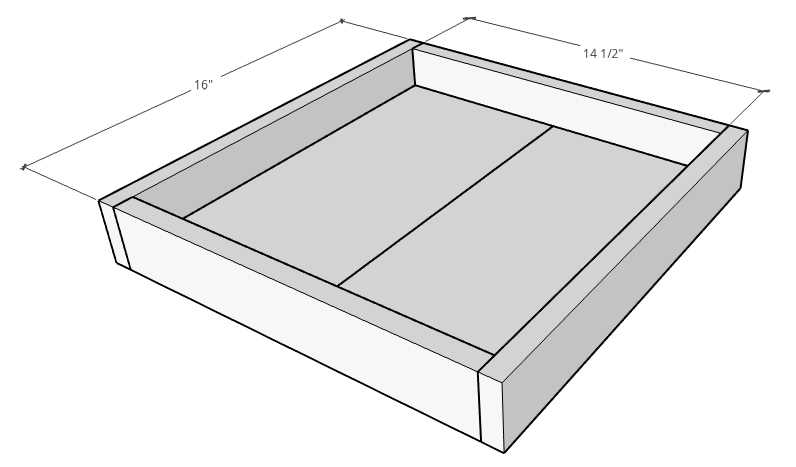
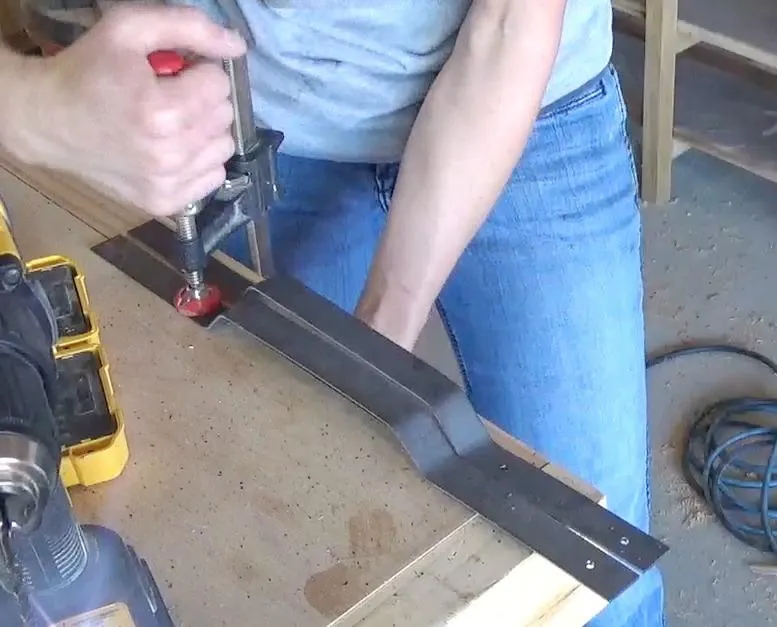
Using 1/8” thick x ¾” wide x 24”ish long steel flat stock, make tray handles as follows. Find the center of the steel bar and measure 3” out from each sides and mark. Bend bar along these lines about 45 degrees. Flip handle over and measure out about 1 1/4” from these bends and bend the opposite direction another 45 degrees to make two handles like shown. See video linked in extras tab for more details.
4Cut Out Tray Sides
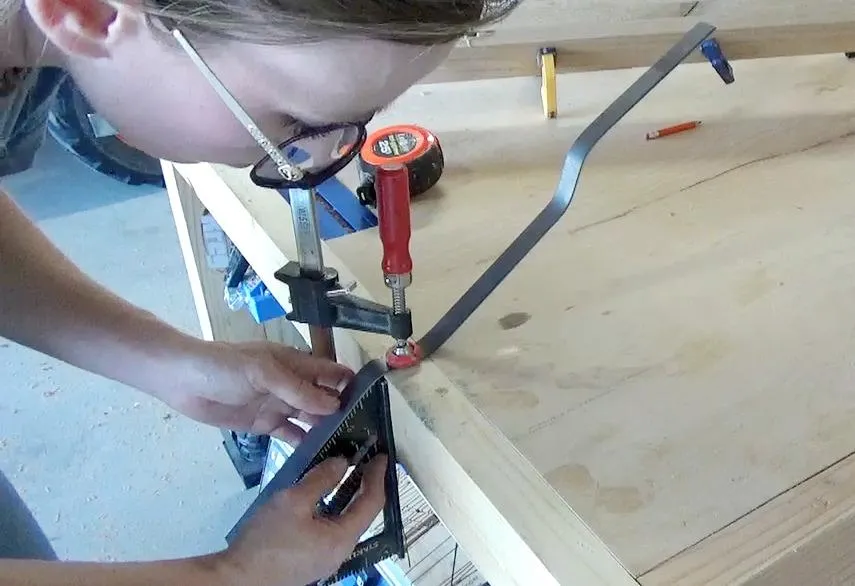
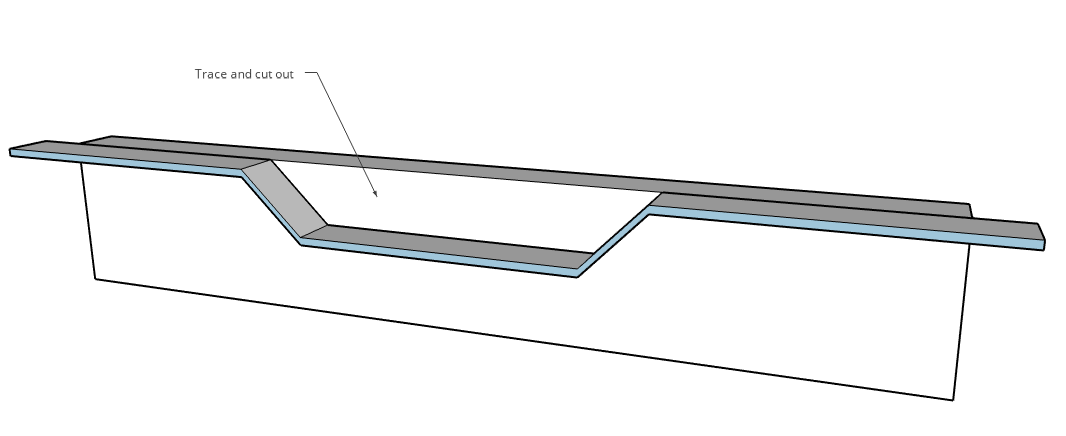
Center the handle like shown and trace the shape along the SHORT tray side pieces. Cut along this traced line with a jig saw to match the tray handle shape.
5Drill Pocket Holes for Assembly
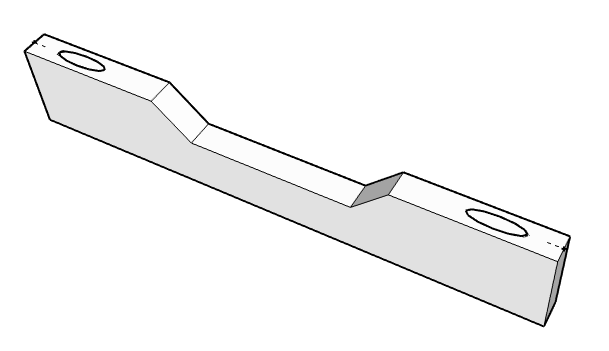
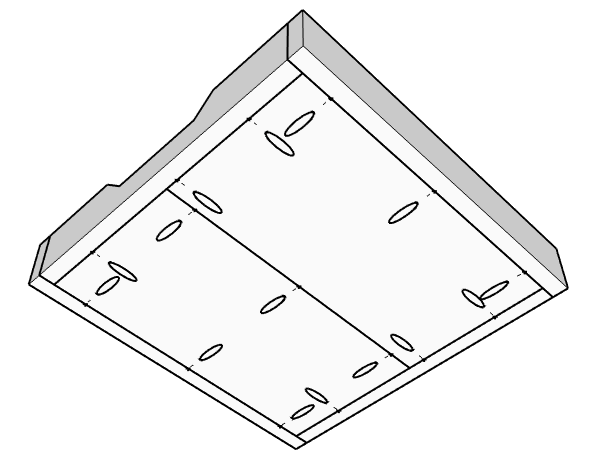
Drill ¾” pocket holes along the edges of the bottom side of the bottom square and drill one pocket hole in each end of the cut out tray sides in the top like shown.
6Assemble Tray
Assemble the tray sides around the bottom and attach using 1 ¼” pocket hole screws.
7Assemble Tray Sides
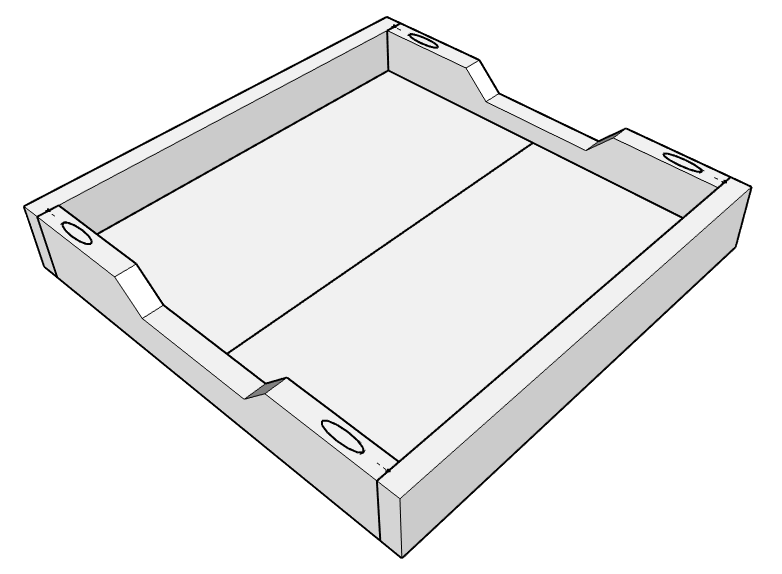
Once all pieces are attached along the bottom, attach at the top through the holes in the cut out pieces.
8Finish the Handles
- Set handles on tray and mark where to trim so that they will be flush to the edges.
- Trim steel using a steel blade in your circular saw, or a hacksaw.
- Then, drill two holes in each side of each handle just large enough for a 1” wood screw to fit through.
- Once holes are drilled, apply spray paint as desired. I painted mine with rose gold spray paint.
9Finish Tray
Finish tray as desired with paint, stain, or wood finish of your choosing (I used beeswax because I like the natural wood color, but just wanted a little protection).
10Attach Handles
Once the spray paint on the handles is dry, attach them in place using 1” wood screws through the holes you drilled earlier.
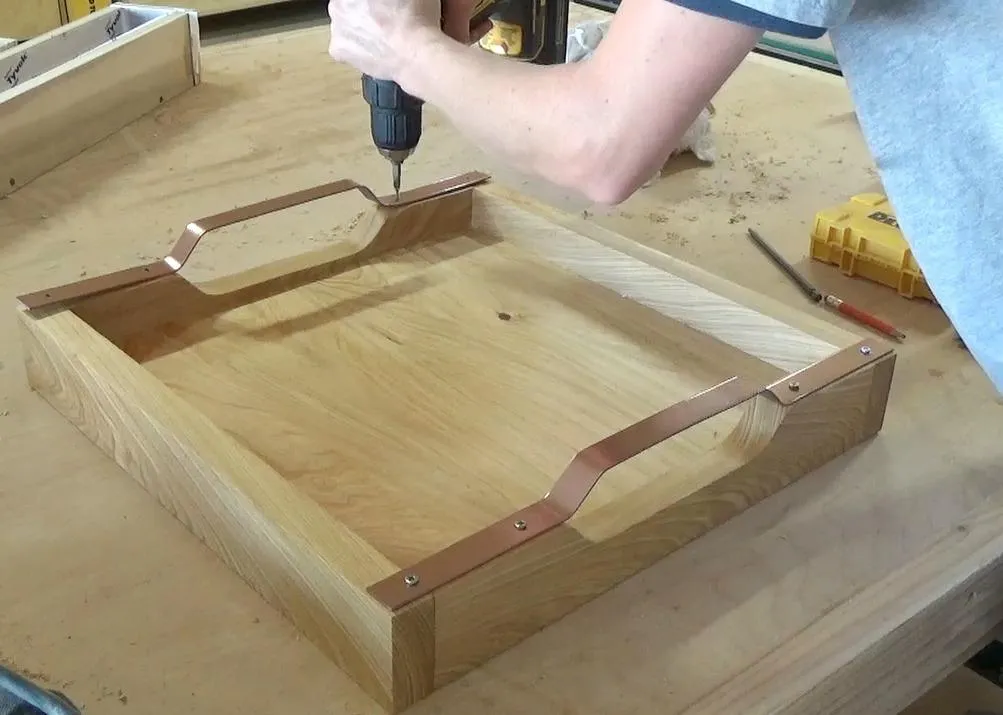
11Finished!
And, it’s finished! For more details on this project, check out the links in the extras tab.