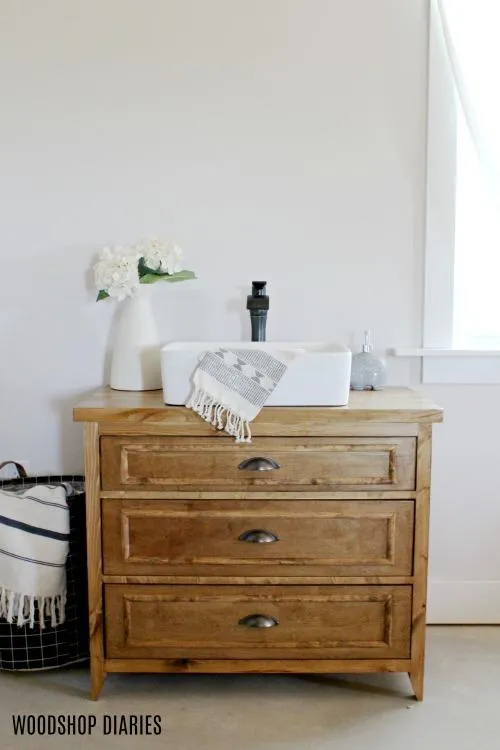
Notch
NotchDIY Single Sink Vanity with Drawers
Step-by-step build — 16 steps. Also available as a print sheet.
1Cut Down Frame Pieces
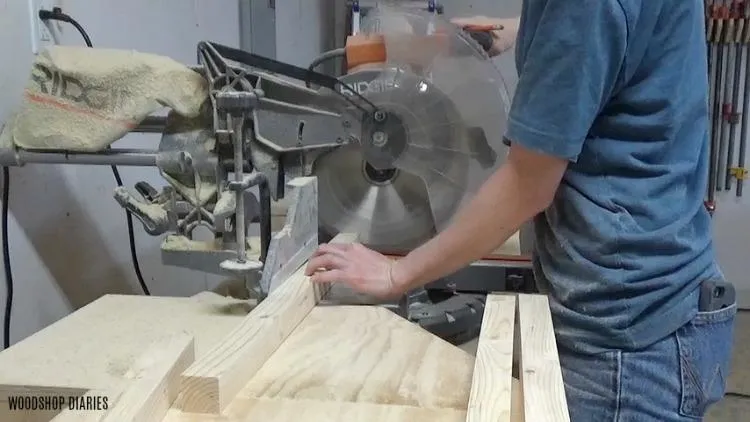
First, cut down 2x2 pieces to assemble the frame according to the cut list. If desired, use your miter saw to cut a small taper on the end of the two front legs for added design. However, be sure not to cut the taper taller than 3” from the end of the legs.
2Assemble the Frame
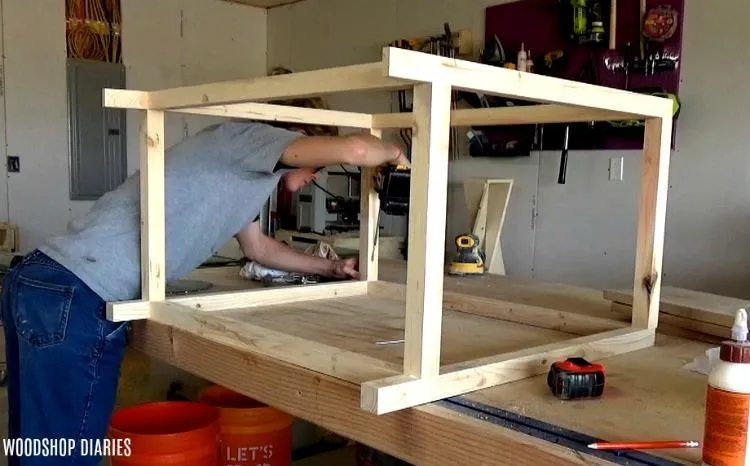
- Assemble the vanity frame using your Kreg pocket hole jig to drill 1 ½” pocket holes into the side, front and back pieces and attaching between the legs using 2 ½” pocket hole screws like shown. Helpful hint: I find it difficult to drill two pocket holes into 2x2s, so I drill one hole and use glue on the joints to help hold it in place. This helps prevent cracking in the wood.
- Attach the frame pieces along the bottom so that there is a 23” opening between the top and bottom frame pieces.
3Insert Side Panels
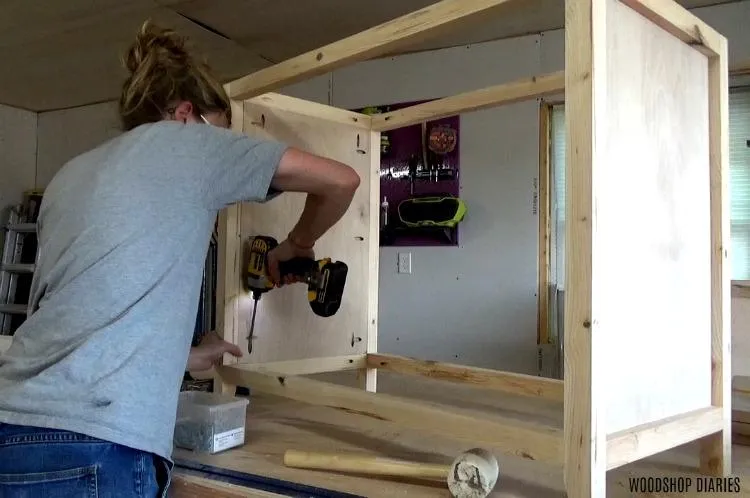
Cut two side panels according to the cut list and use your Kreg pocket hole jig to drill ¾” pocket holes along the inside edges. Attach in place into the frame using 1 ¼” pocket hole screws keeping the inside of the cabinet flush.
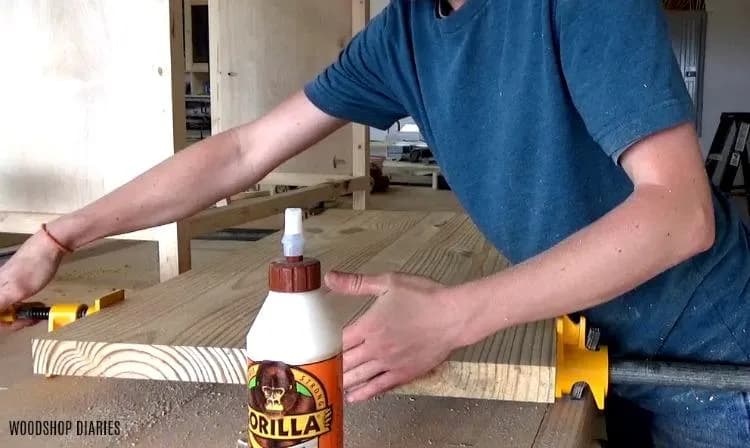
4Glue Up Vanity Top
- I used a wood top for this vanity. You can choose another material if you wish and just skip this step. However, if you want to use a wood top as well, cut pieces for the top according to the cut list and glue together. Side note: the cut list calls for using 2x12s and ripping them to 10” wide for the top. You can choose to use whatever size boards you want to glue together for this as long as the final top is 20” deep.
- Glue ups are just a little easier with fewer boards.
- Set this aside for the glue to dry and move to the next step.
5Add Drawer Dividers
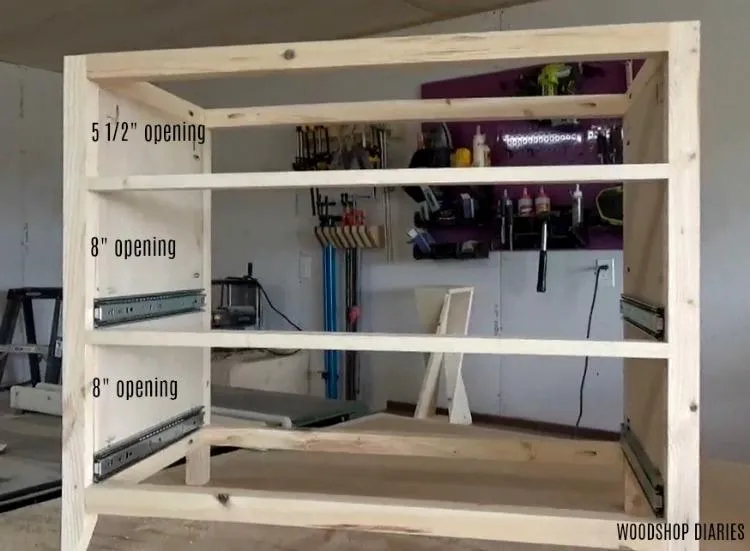
Cut 1x2 drawer dividers according to the cut list and use your Kreg pocket hole jig to drill ¾’ pocket holes into the ends. Attach onto the front side of the vanity frame so that the top opening is 5 ½” and the bottom openings are about 8” using wood glue and 1 ¼” pocket hole screws.
6Install Drawer Slides
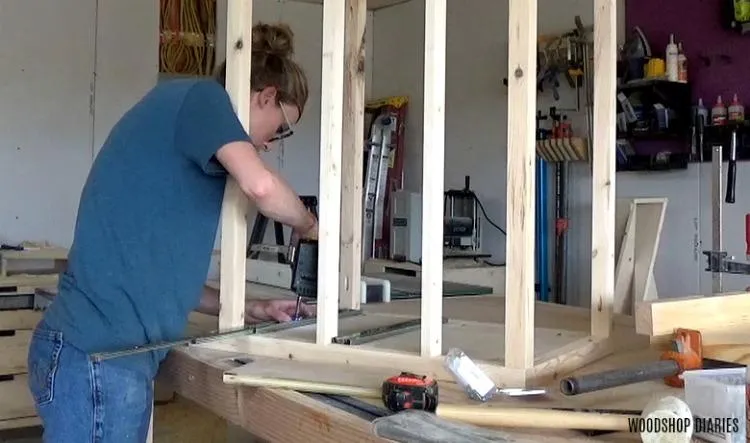
Because this is a vanity that will have a functional sink installed, there needs to be plenty of room for the plumbing underneath. That said, the top “drawer” will be fake and this vanity will only have two functioning drawers—one in the middle and one on the bottom. So you will need to install only two pair of 16” drawer slides into the cabinet.
7Drill Sink Drain Hole
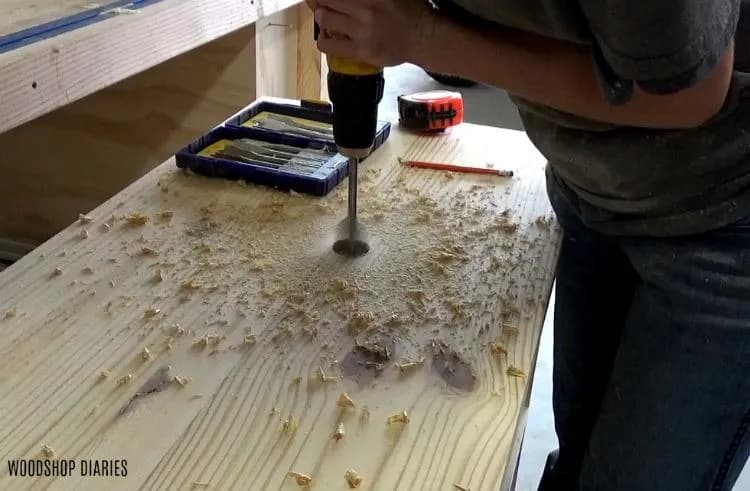
- If you aren’t making your own wood countertop, you can skip this step. But, before making the drawers, I wanted to get a good idea where I needed to cut out for the p trap and drainage lines.
- Sand down and trim up the countertop from step 4 to 20” x 36” and set on top of your vanity frame.
- Place the sink where you want it to go and mark where the drain goes. Use a large spade bit or hole saw to cut a hole big enough for your drain to fit through.
8Assemble and Install Bottom Drawer
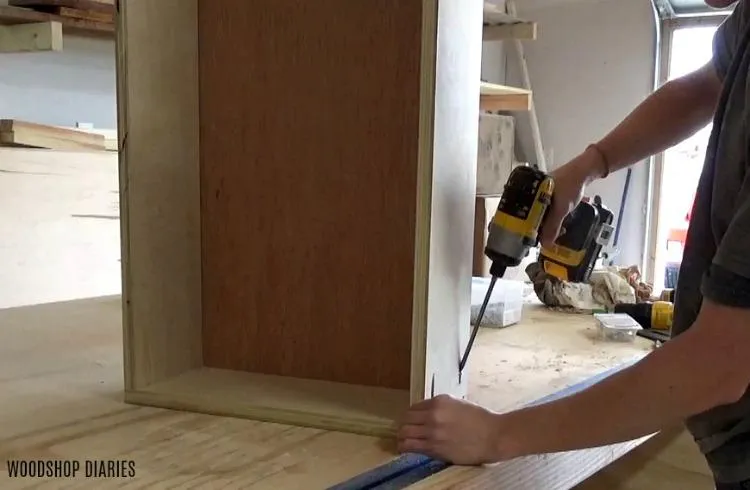
- Cut drawer pieces according to the cut list and assemble bottom drawer (two 16” and two 28 ½” pieces) using ¾” pocket holes and 1 ¼” pocket hole screws. If desired, cut dadoes to install drawer bottoms. OR you can glue and staple the ¼” plywood bottom in place after it’s assembled.
- Once drawer box is assembled, install into the bottom section of the vanity.
9Assemble and Install Middle Drawer
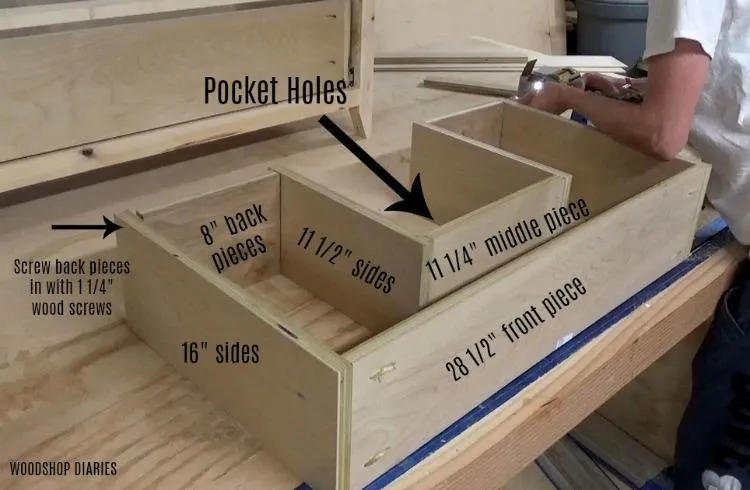
- The middle drawer is slightly more complicated. The middle of this drawer should be cut out so there is room for the p trap from the sink drain.
- Assemble this drawer according to the image below. You can see the video in the extras tab for more info. Trace this drawer box onto a piece of ¼” plywood and use a jig saw to cut out the drawer bottom.
- Glue and staple this onto the bottom of the drawer and install into the vanity frame.
10Attach Top
Screw the top in place on top of the vanity frame using 2 ½” wood screws.
11Add Faux Drawer Backer
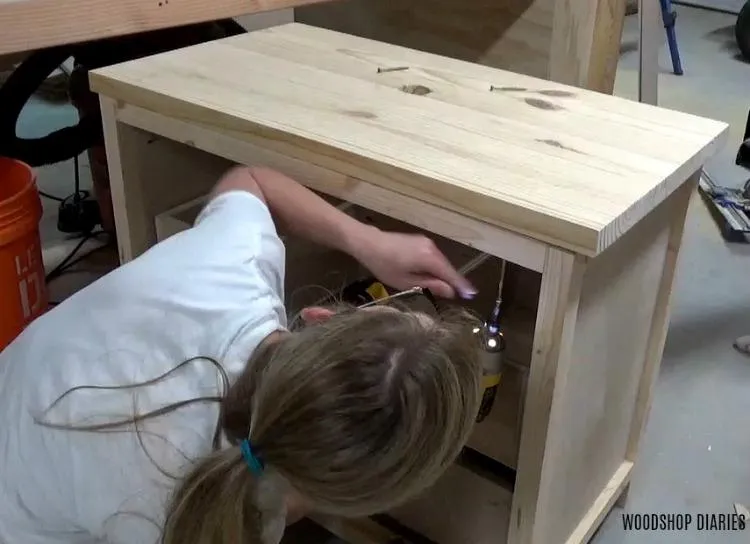
Cut a piece of 1x2, 1x3, or scrap plywood to fit between the front two legs and install in the top section like shown using ¾” pocket holes and 1 ¼” pocket hole screws so that it is ¾” back from the front of the vanity legs. This will be where you will mount your top faux drawer front later.
12Cut and Prepare Drawer Fronts
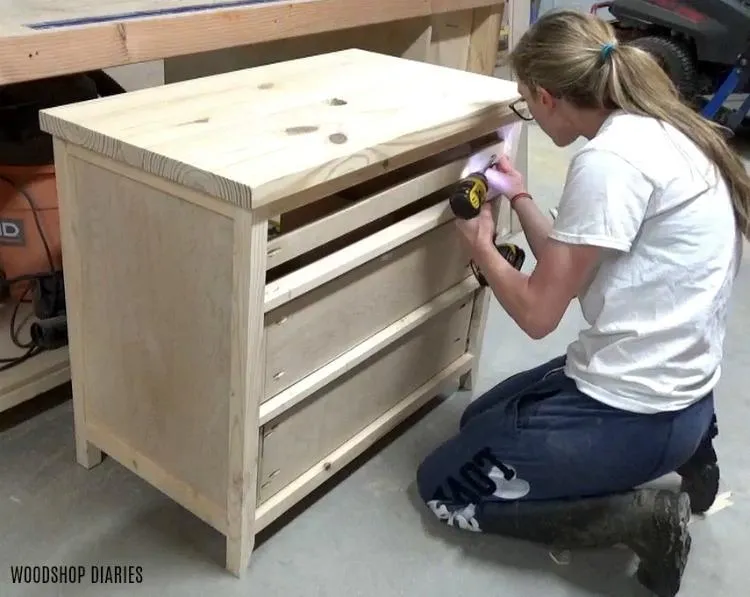
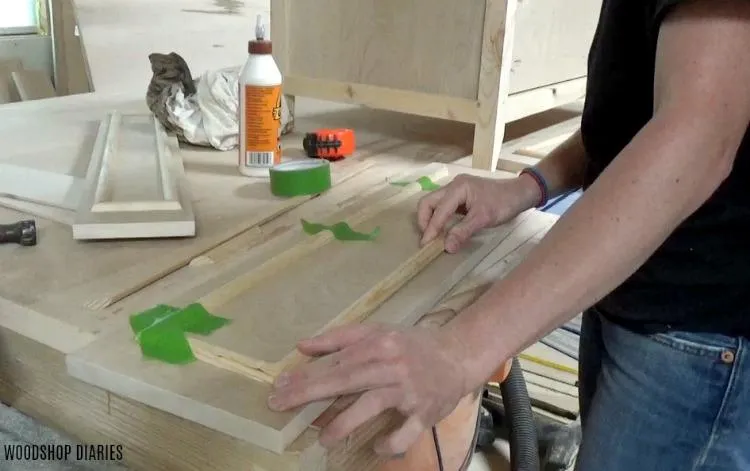
Cut ¾” plywood drawer fronts according to the cut list and dress up with molding if desired. I used half round molding to dress up my drawer fronts. I simply applied some glue and used painters tape to hold in place until it was dry. I also applied some edge banding around the plywood edges for a cleaner look.
13Install Drawer Fronts
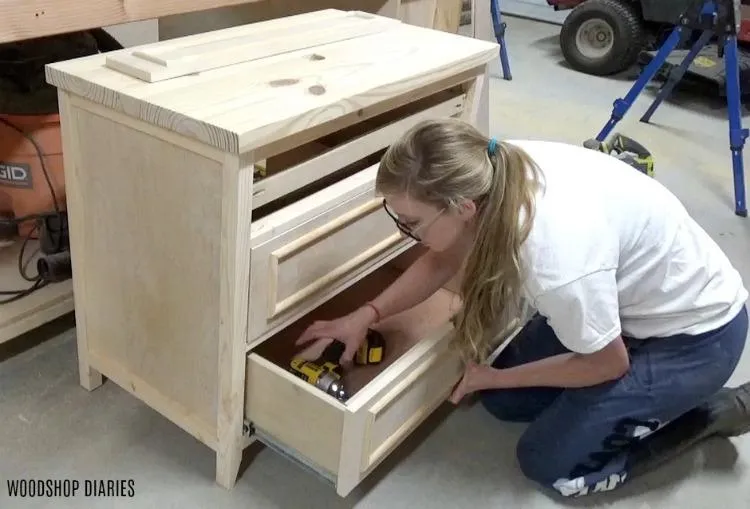
Install the drawer fronts onto the drawers using 1 ¼” wood screws from the inside of the drawers leaving about 1/8” gap around all sides. For the top, screw the front in place through the piece you added in step 11. It’s helpful to have an extra set of hands to hold the front in place while you screw from the inside of the cabinet.
14Finish and Add Hardware
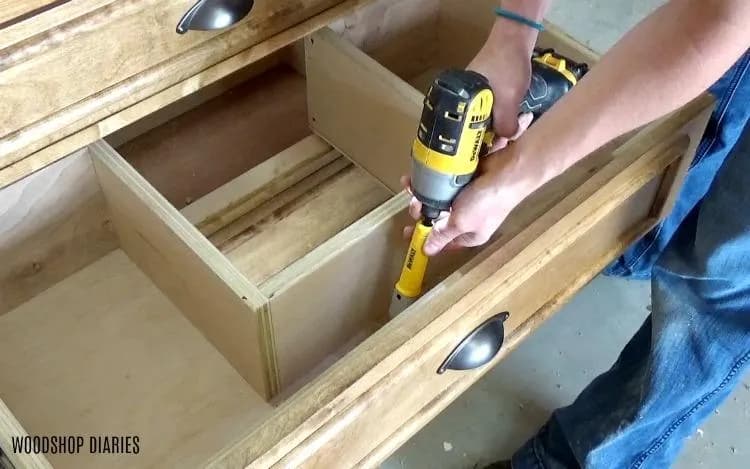
Stain or paint as desired and install drawer hardware. See video for more details on how I installed the hardware.
15Drill Faucet Hole for Vanity
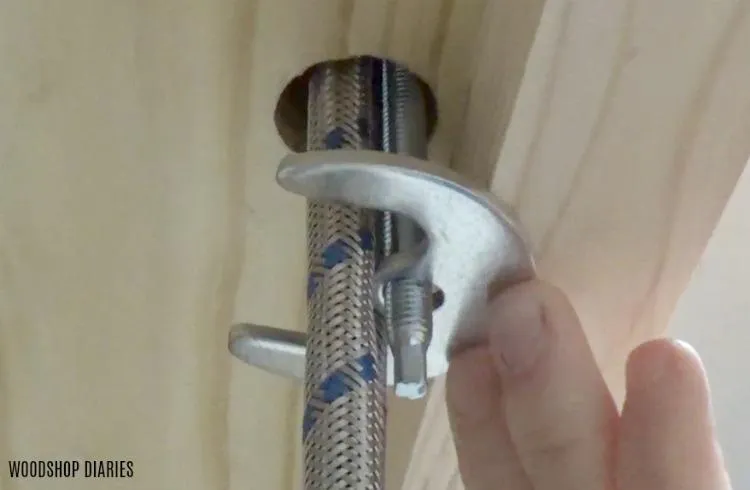
Dry fit sink and drain and drill the hole in the top to install your faucet. My hole was really close to the back frame piece and I ended up having to cut some out of the frame piece to install the faucet. See video for details. You may not have this issue depending on the sink type you use.
16Install Vanity
- To install the vanity, find your studs and screw vanity cabinet into them through the back frame pieces using 2 ½”-3” screws.
- Then, install and hook up the supply lines to the faucet and the drain lines to the sink.
- Once everything is hooked up, make sure the drawer boxes don’t interfere with the plumbing lines and modify drawer boxes as needed. I left a large enough space cut out of my middle drawer that no modifications were needed. But every application is different.