 Notch
Notch- Difficulty
- Intermediate
- Time
- 3.8–7.3 hours
- Cost
- $$$
About this build
Create your own circular dining table just in time for the holiday season with these instructions by SeekingAlexi of seekingalexi.com.
Tools
Essential
- Circular Saw
- Impact Driver
- Miter Saw
- Pocket Hole Jig
- Random Orbit Sander
- Table Saw
Optional / nice to have
- Bar / Pipe Clamps
- Tape Measure
Materials
| Item | Qty |
|---|---|
| Board, 2x8 96" | 8 board |
| Board, 4x4 72" | 2 board |
| Pack of 250, 2 1/2" soft wood Kreg screws | 1 each |
| 2" soft wood Kreg screws | 16 each |
| 60 grit sandpaper | 1 each |
| 80 grit sandpaper | 1 each |
| 120 grit sandpaper | 1 each |
| Stain or paint as desired | 1 each |
Overall cost: $$$. Lumber prices vary by region, species, and season, so we give a band rather than a figure we would only be pretending to know.
Cut list
| Part | Qty | T × W × L |
|---|---|---|
| Table Top Boards | 8 | 1" × 7" × 96" |
| Table Base A | 1 | 3" × 3" × 26" |
| Table Base B | 2 | 3" × 3" × 24" |
| Table Legs | 4 | 3" × 3" × 29" |
What to buy
Some parts are longer than a 8 ft board, so there is no honest board count to show here. Open the board plan to pick a longer stock length — it names every part that does not fit.
3" × 3"
3 boards
1" × 7"
0 boards
Assumes 8 ft stock, a 1/8" saw kerf, and buying each part at its own width. Change the board size or kerf on the full board plan →
Instructions
1Step 1. Trim Common Boards
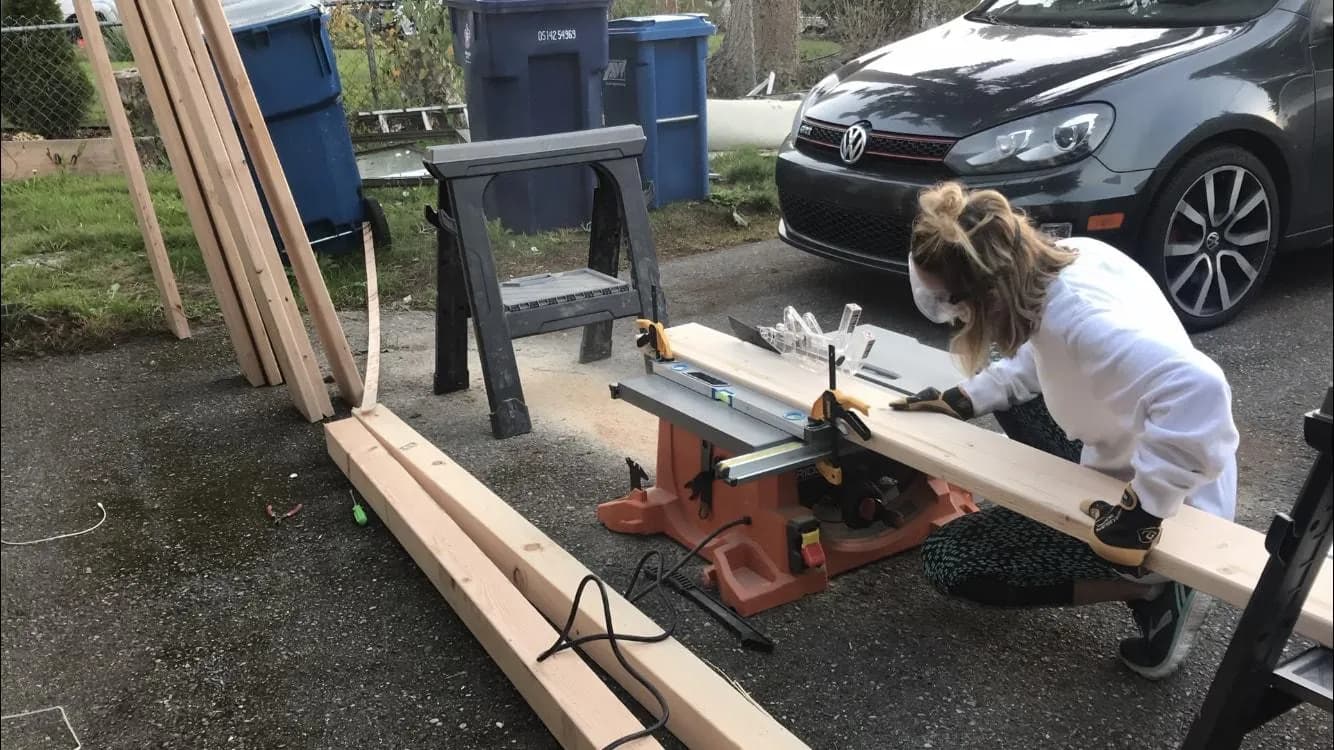
Trim 1/4" off each length of your 2x8 boards using a table saw.
2Step 2. Set up Kreg K4 jig
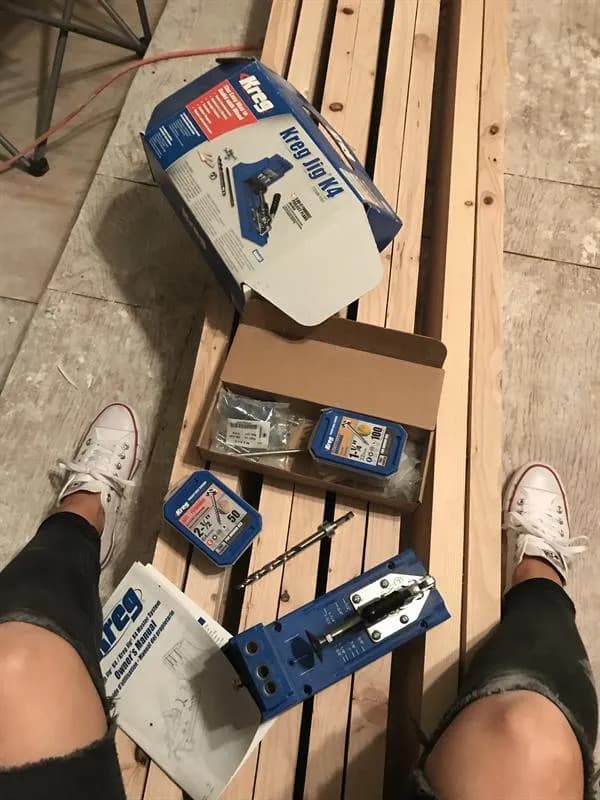
Set up your Kreg K4 jig system to the 1.5" setting.
3Step 3. Assemble Boards
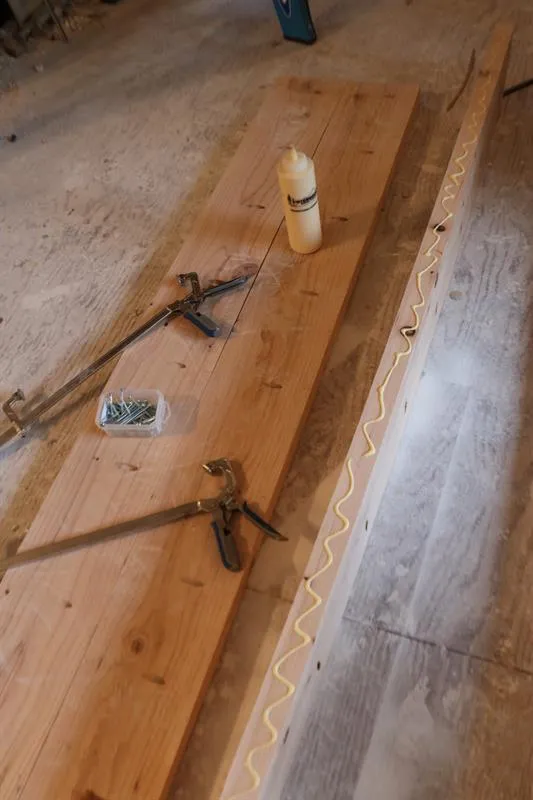
- Assemble your boards together using wood glue, Kreg clamps, and 2.5" Kreg soft wood screws.
- Then, draw your desired circle size onto your assembled boards. My table top is 54" in diameter.
4Step 4. Cut Table Top into Circle
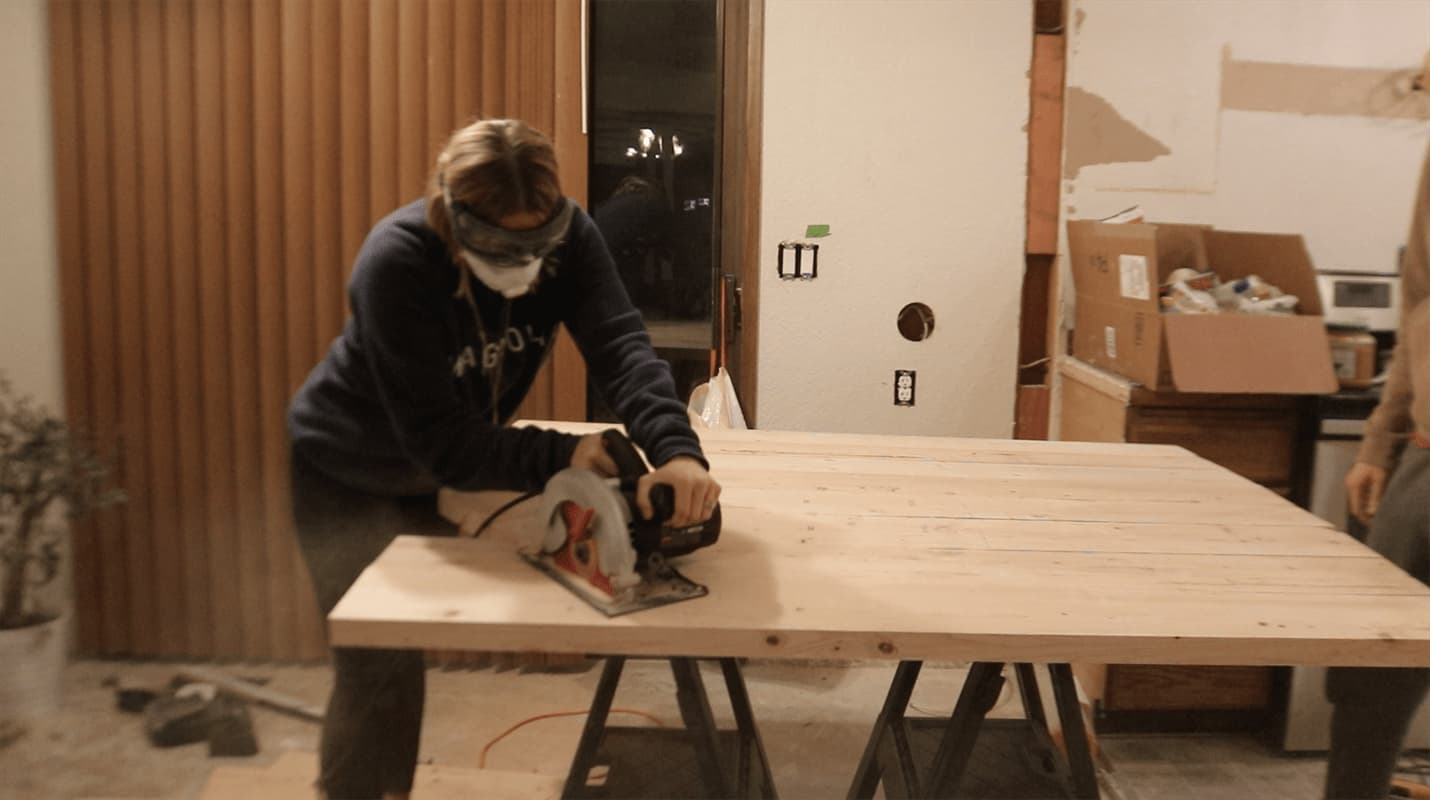
After wood glue has dried, use a skil saw to cut as close to your lines as you can. It will be jagged, but we will smooth it out on the next step with a band saw.
5Step 5. Sand Your Table top
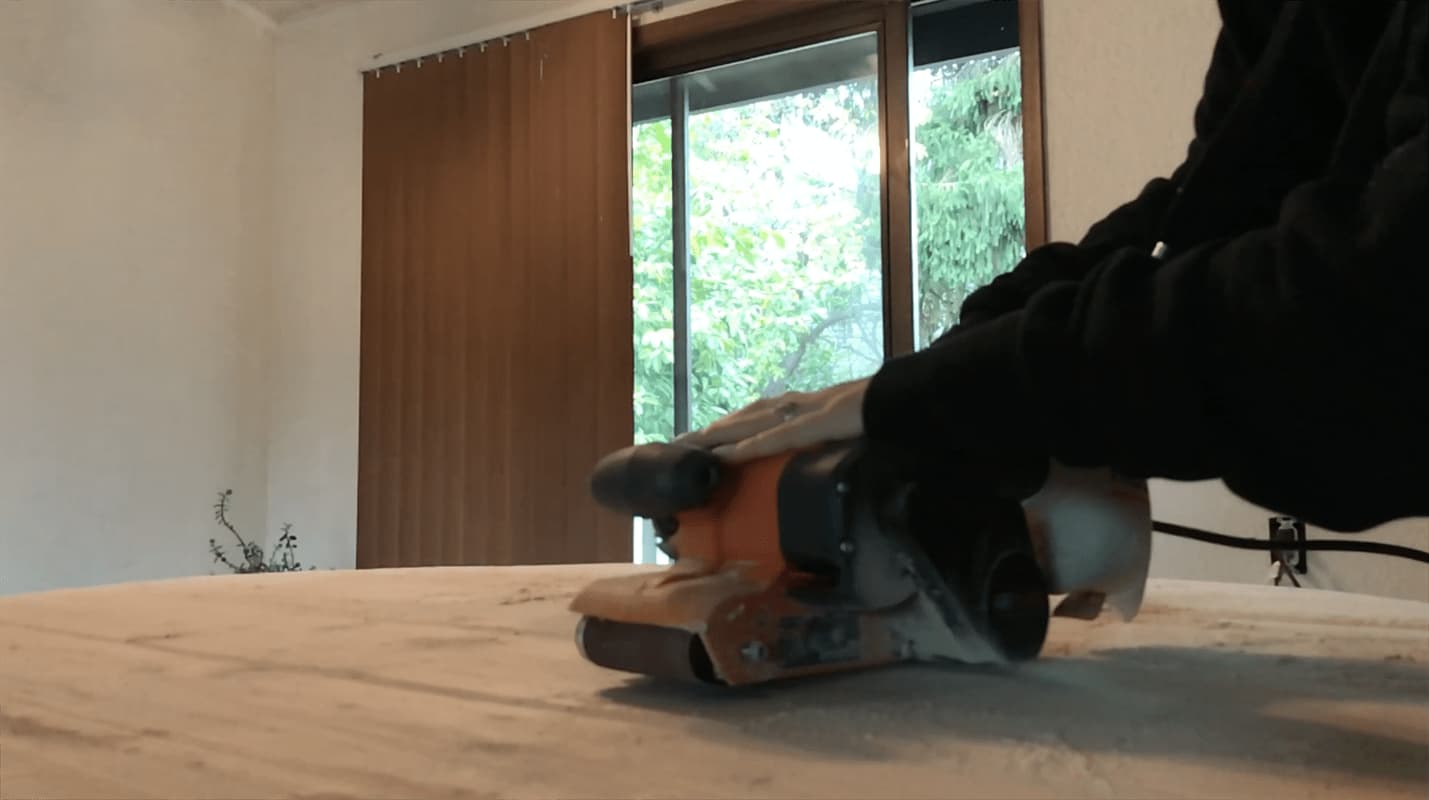
- First, sand the jagged edges of your table using a 60-80 grit to make your table perfectly circular.
- Then, smooth your table top by first filling any gaps on your table top with wood filler, then sanding it until smooth. I used a 60 grit, then 80, then 120. Depending on how you sand will change the final look of your table. You can skip sanding and scratch and "bang-up" your table instead if you want it to look more salvaged.
6Step 6. Cut The Legs
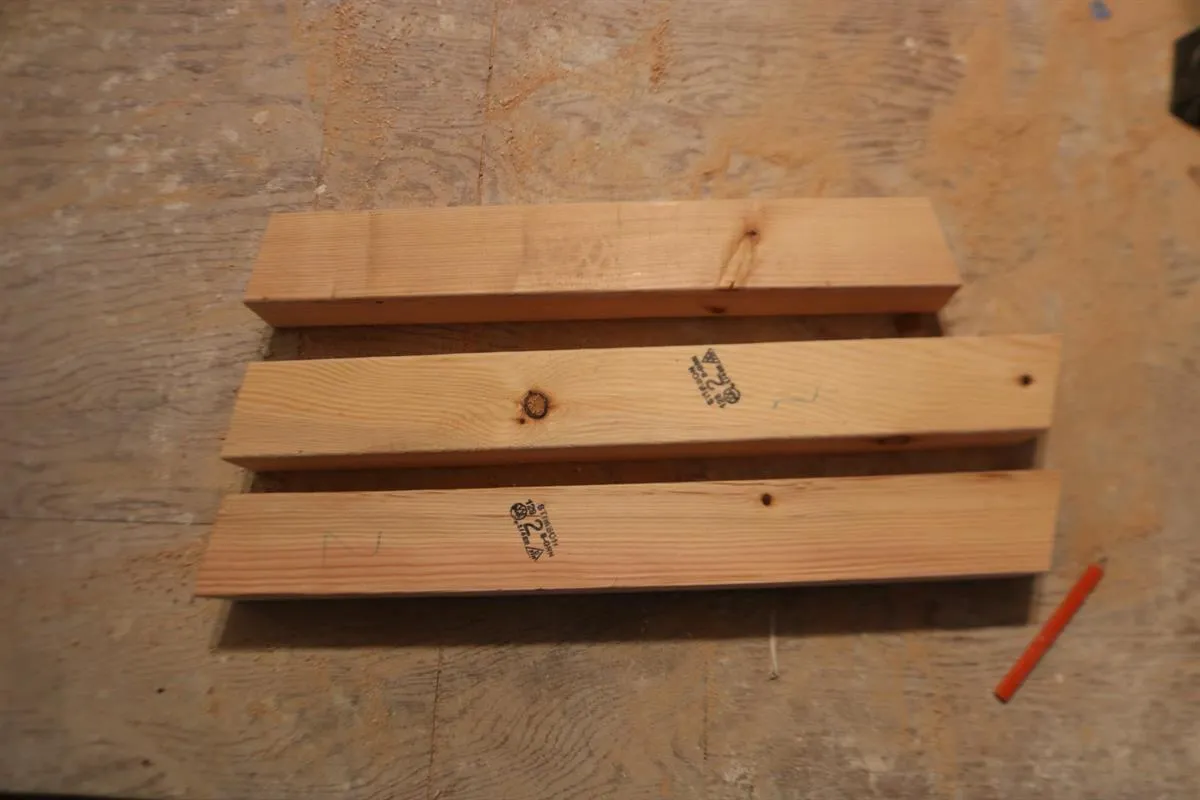
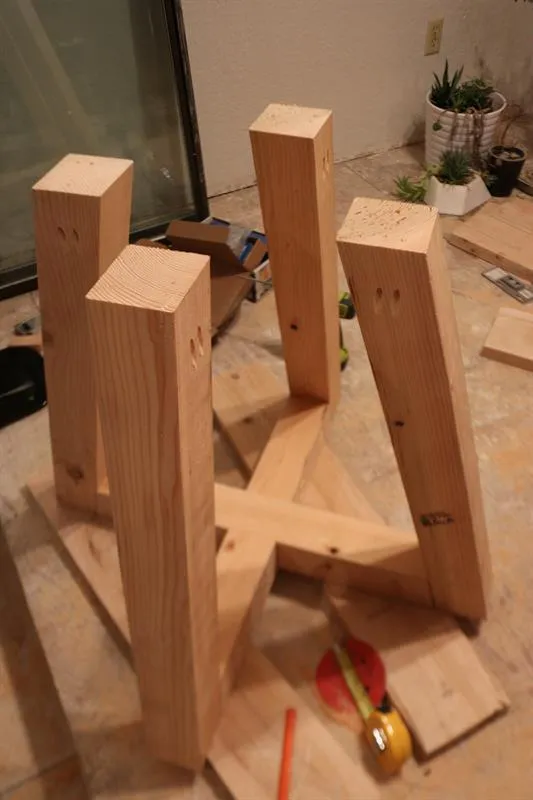
Cut 4 parallelograms for the legs at 29.5" (or however tall you want your table) with 15 degree angles on each end. Then, cut 2 trapezoids for the base beams at 26" (on the long edge) with 15 degree angles on each end.
7Step 7. Assemble Base Part 1
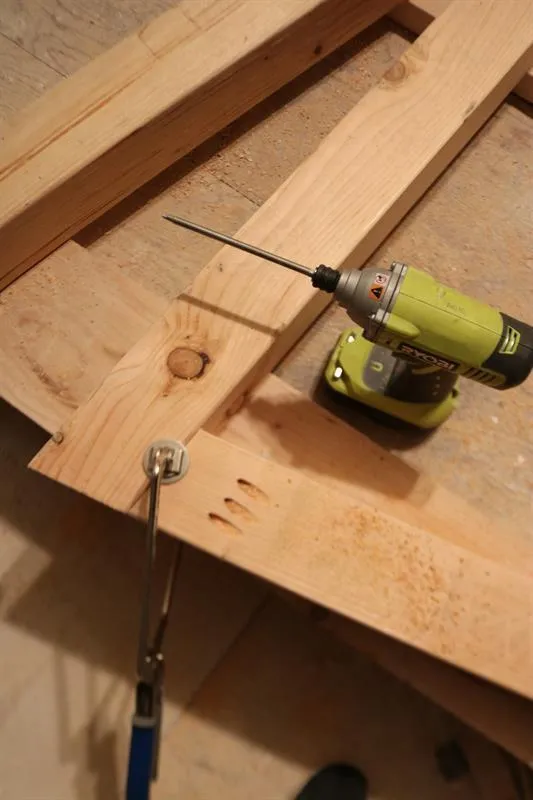
Using a Kreg HD or R3 system, combine two legs to a base on the two outside edges.
8Step 8. Assemble Base Part 2
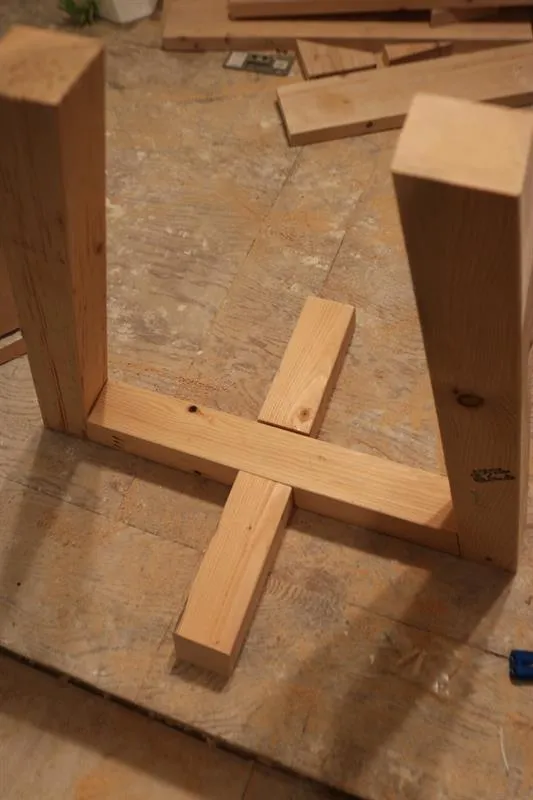
Before you combine the next set of legs, first cut 3.5" out of the very middle of the last base piece as shown in the photo. Then, add a table leg to each base half.
9Step 9. Assemble Base Part 3
Attach each half from Part 2 to the rest of the base from Part 1, so your base is now all one piece.
10Step 10. Attach Base to Table Top
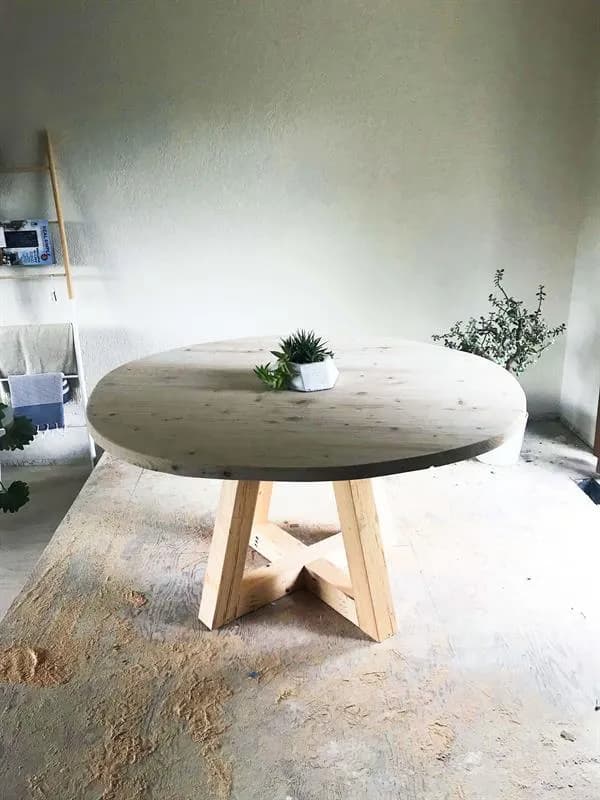
Lastly, using the Kreg HD or R3 again, but with 2" screws this time, attach your table top to the base (making sure not to drill through the table top). At this point you can paint, distress, stain, etc. to your table to your desired look!
Tags
- Kitchen
- Intermediate
Reviews & builds
No reviews yet
Sign in to review this plan or share your build.
No reviews yet. Be the first to build this.