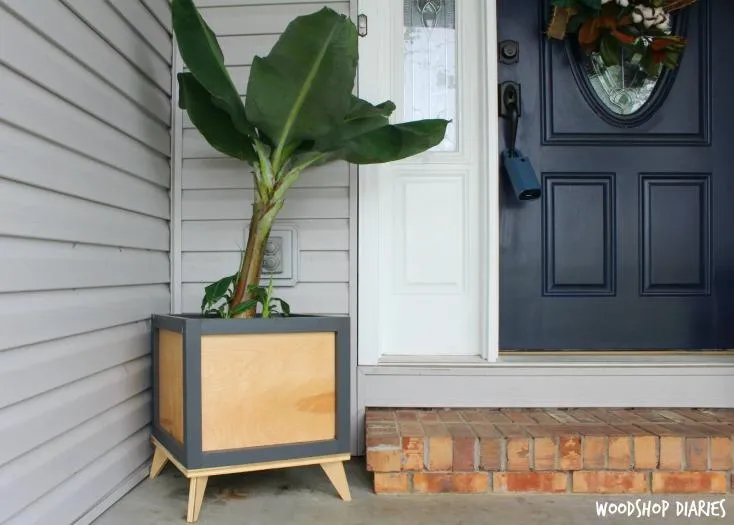
Notch
NotchDIY Modern Planter Box
Step-by-step build — 12 steps. Also available as a print sheet.
1Cut Frame Pieces
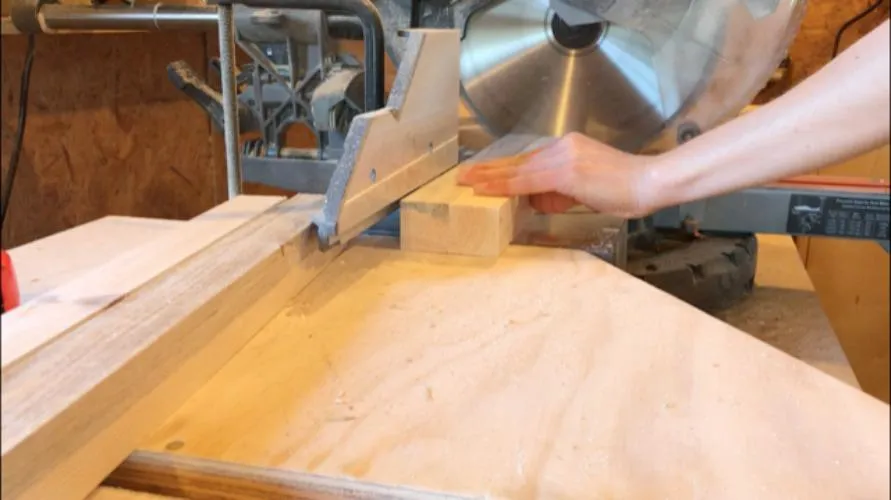
First, cut 2x2 frame pieces to size on a miter saw according to the cut list. If a different sized box is desired, this plan is really easy to modify by adjusting the lengths of these 2x2s. You will have 4 pieces that are 3” longer than the height of the panel you want in the planter box (these are your corner posts) and you will have 8 pieces the same length as the width you want your panels to be.
2Drill Pocket Holes in Frame Pieces
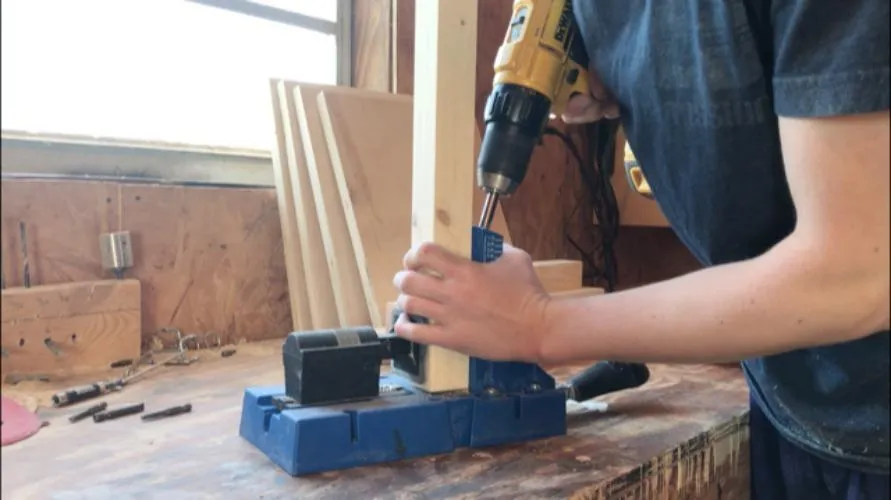
Using a Kreg Pocket Hole Jig, drill one 1 ½” pocket hole into each end of the 8 frame pieces (not the corner posts).
3Assemble the Frame
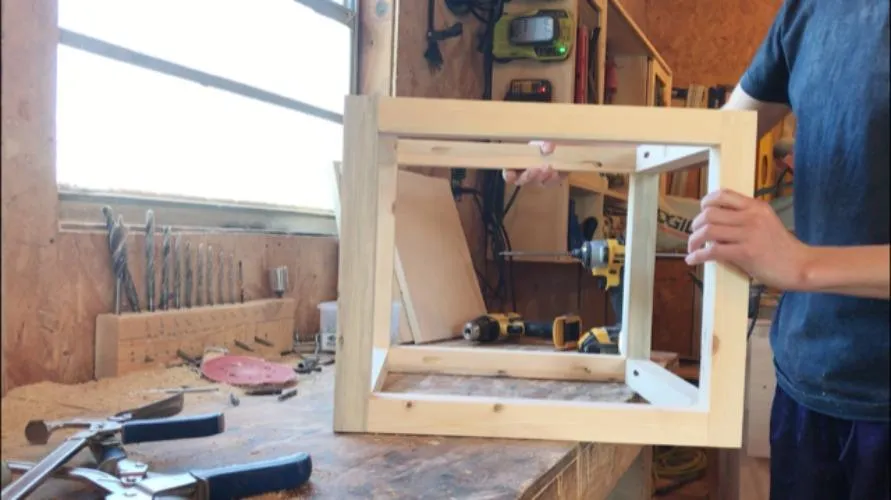
Assemble the frame of the planter box using 2 ½” pocket hole screws like shown. Attach the 8 frame pieces between the 4 corner pieces to make a box.
4Cut Box Panels
Cut ¾” plywood panels according to the cut list to fit inside the openings in the frame from step 3. You can use a Kreg Rip Cut, Accucut or table saw for this.
5Drill Pocket Holes in Box Panel
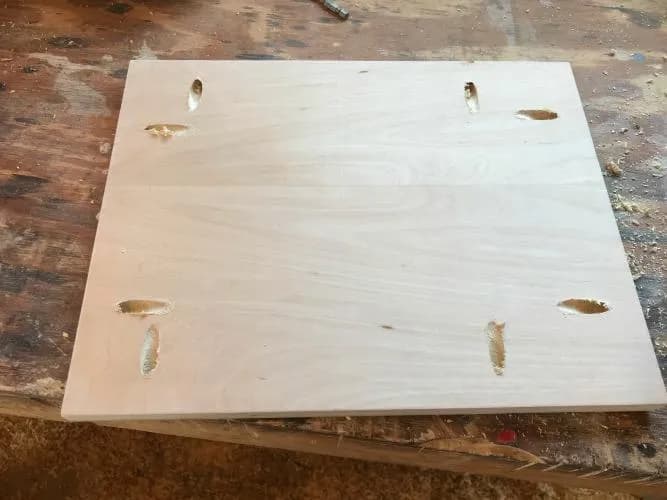
Drill ¾” pocket hole in the plywood panel pieces like shown.
6Finsh Frame and Panels
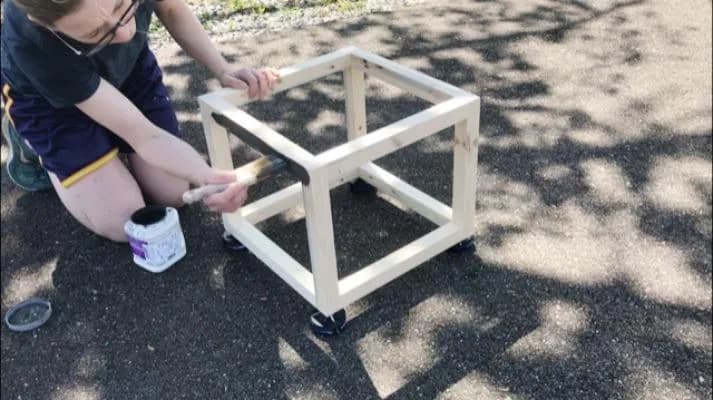
If you want the two tone look like in these pictures, it’s easiest to finish the pieces separately before putting it all together.
7Add Panels to Frame
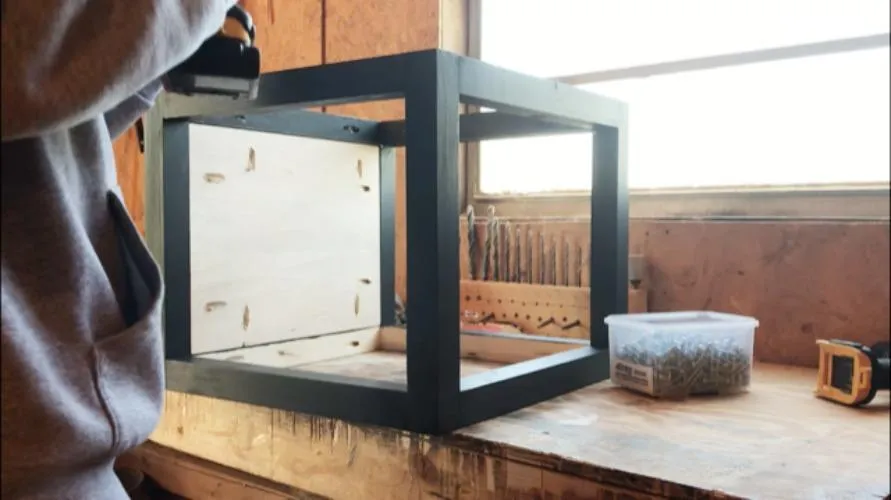
Attach panels into the box frame using 1 ¼” pocket hole screws like shown.
8Assemble Base Frame
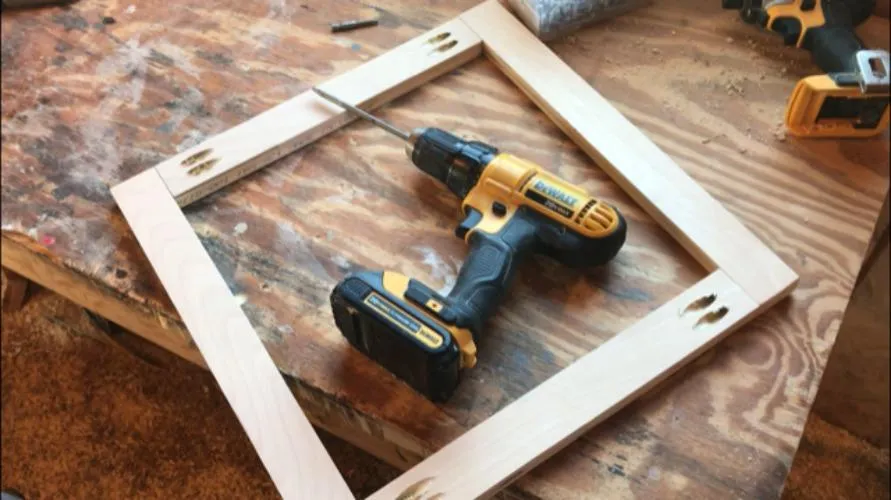
Using 1x3s or scrap plywood ripped to 2 ½” wide, cut and assemble a frame for the base of the box like shown using ¾” pocket holes and 1 ¼” pocket hole screws. The base should be the same size as the bottom of the box. Follow the cut list.
9Add Legs to Base
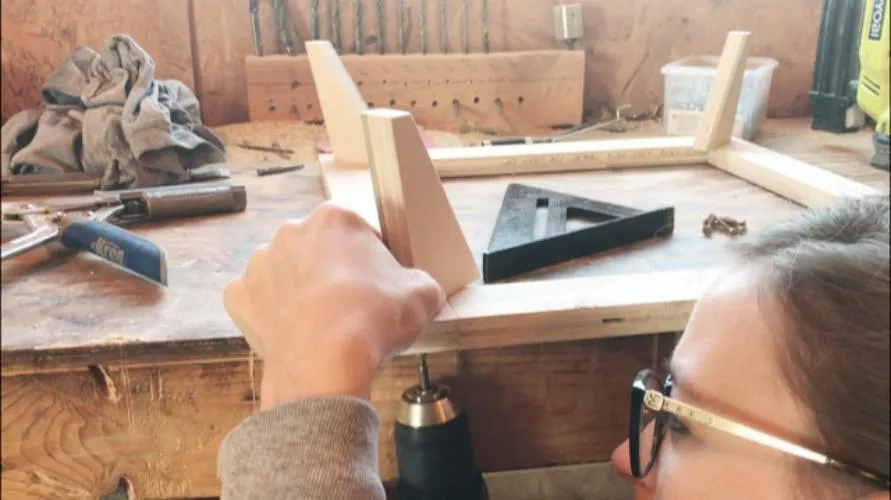
- Cut a taper in the end of a 1x3 or scrap plywood ripped to 2 ½” wide to make the legs, then cut a 15 degree angle off the end.
- Measure how long you want your legs and cut another 15 degree cut parallel to the other so the legs will tilt out for a retro look. You can make these as long or short as you wish. Mine were roughly 6” long.
- Then screw in place in each corner like shown.
10Add Bottom Slats
To allow for water to flow out from under the box, place two slats (scraps or 1x3s) across the bottom base inside the planter box to hold the plant. Then, place your plant in place and build yourself another one :) If desired, you could use another piece of plywood for the bottom, but it will not allow the water to drain as well as slats will.
11Attach Base to Box
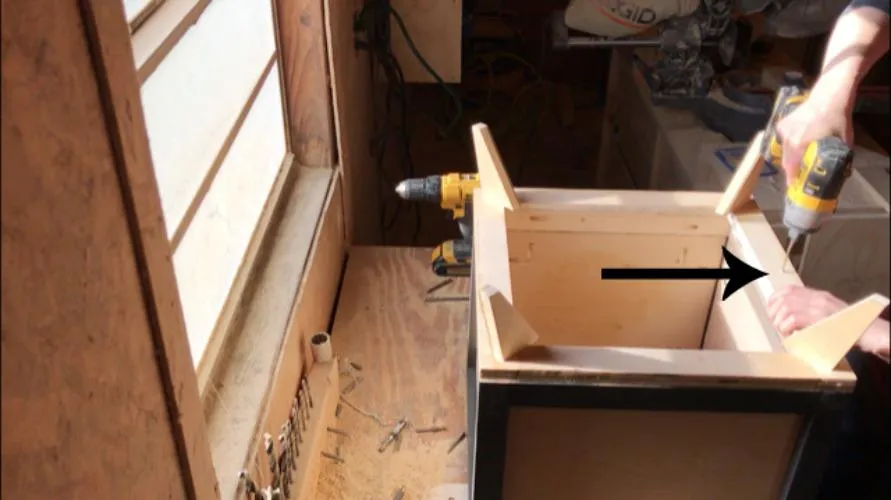
Screw the base onto the bottom of the planter box using 2" wood screws like shown.
12Set Plants in Box
Simply place your plants into the box. Unless you decide to use a plywood bottom, you will need to leave your plants in their pot. If you need to adjust the height, simply stack some scrap wood onto your bottom slats until your plant is the height you want. Be sure to check out the YouTube video of this build and grab some more details over on the blog--links in the extras tab.