Notch
NotchHow To Build a Kitchen Island – DIY Kitchen Island Plan
Step-by-step build — 21 steps. Also available as a print sheet.
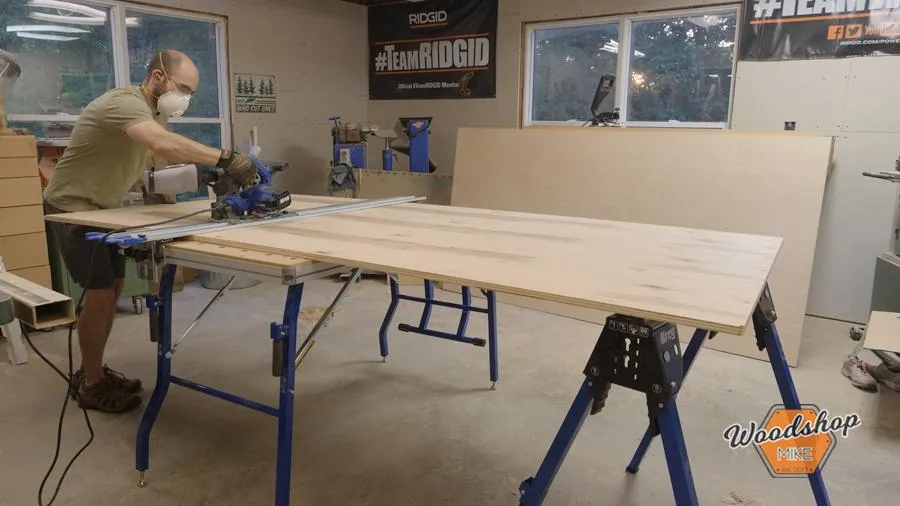
1Step 1. Break Down Plywood
To start off, I used the Kreg ACS to break down the large sheets of plywood into more manageable pieces. This saves my back and makes the subsequent cuts on the table saw easier.
2Step 2. Assemble Kitchen Island Base
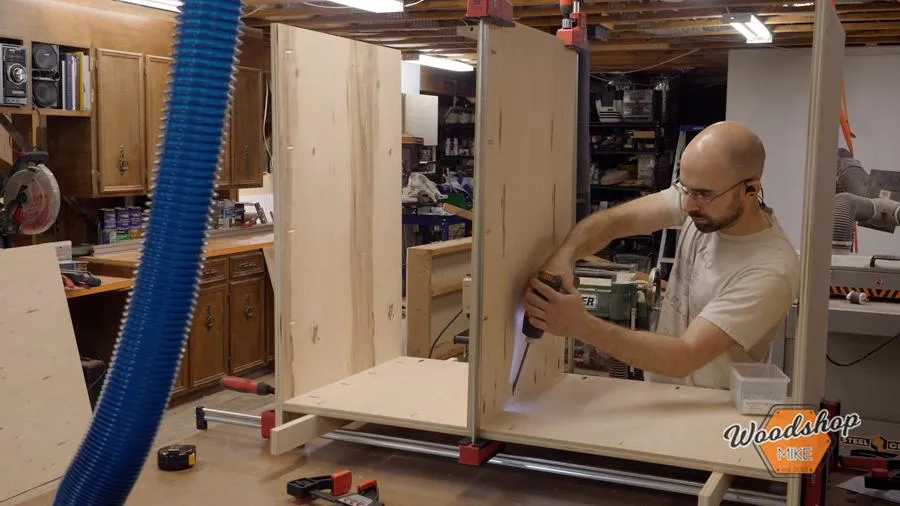
I temporarily hold the cabinet together with parallel clamps and use 1-1/4" pocket hole screws to secure it together. This assembly process is fast and quite strong.
3Step 3. Stock For Face Frame
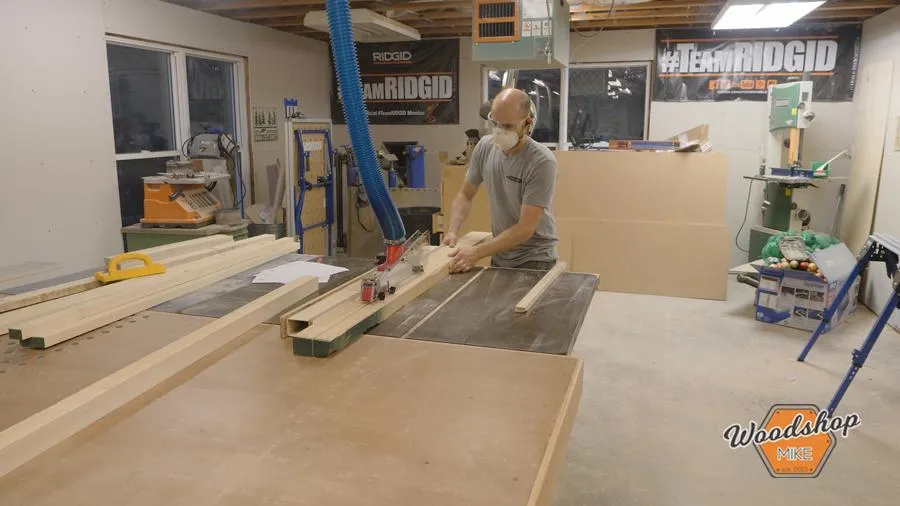
I went through the standard milling process to make 3/4" lumber for the face frame. However, you can certainly purchase 3/4" boards from most big box hardware stores and lumber yards if you prefer. Following my plans, I cut the face frame parts to final size. I then drilled 2 pocket holes in each end of pieces 6, 7, 8, & 10.
4Step 4. Face Frame Assembly
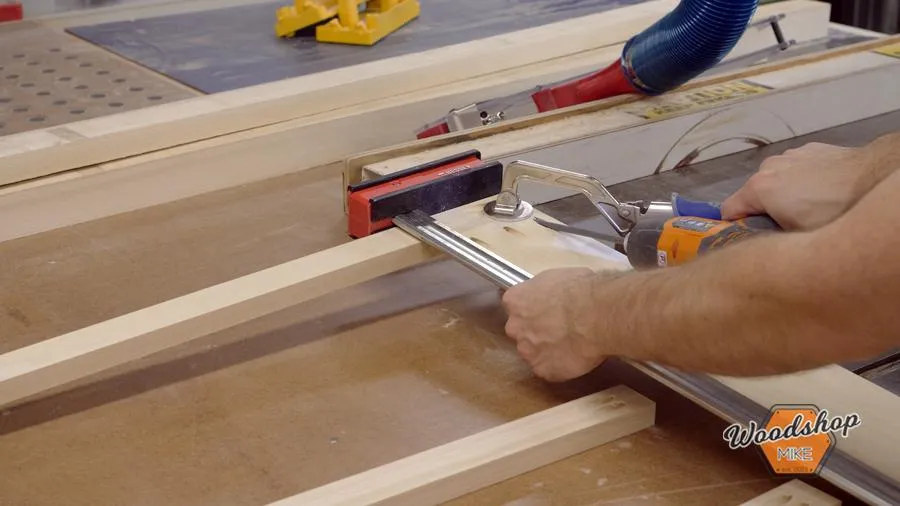
With this done, I shifted to assembly and used a combination of face frame clamps and parallel clamps to assemble the face frame. Note to self... Build an assembly table with T-Track in it to make assembling face frames easier!
5Step 5. Attach Face Frame
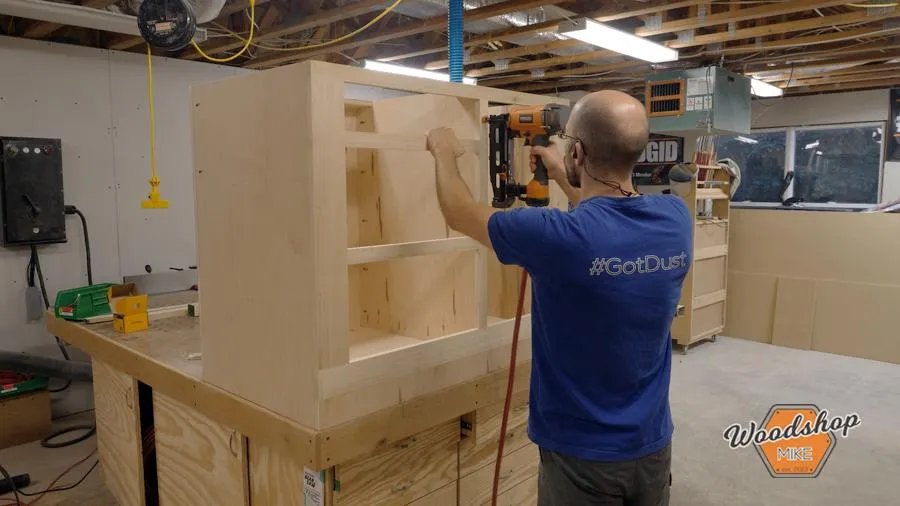
With the face frame assembled (and square!) I grabbed my glue bottle and brad nailer. I ran glue along the front edge of the kitchen island base and then centered the face frame on the kitchen island base and secured it with 2" brads about every 6".
6Step 6. Trim Face Frame
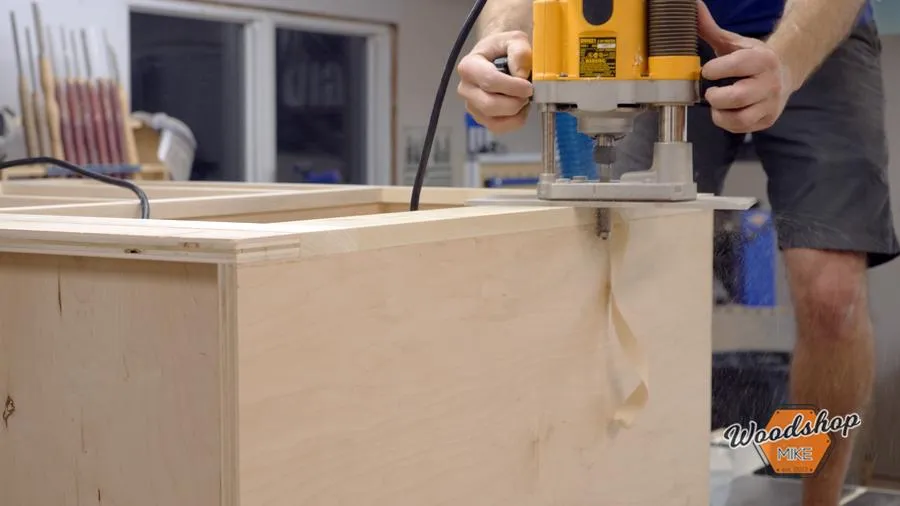
Once the glue is cured, I use a flush trim bit in my router to make the face frame flush with the sides of the kitchen island.
7Step 7. Install Trim on Base
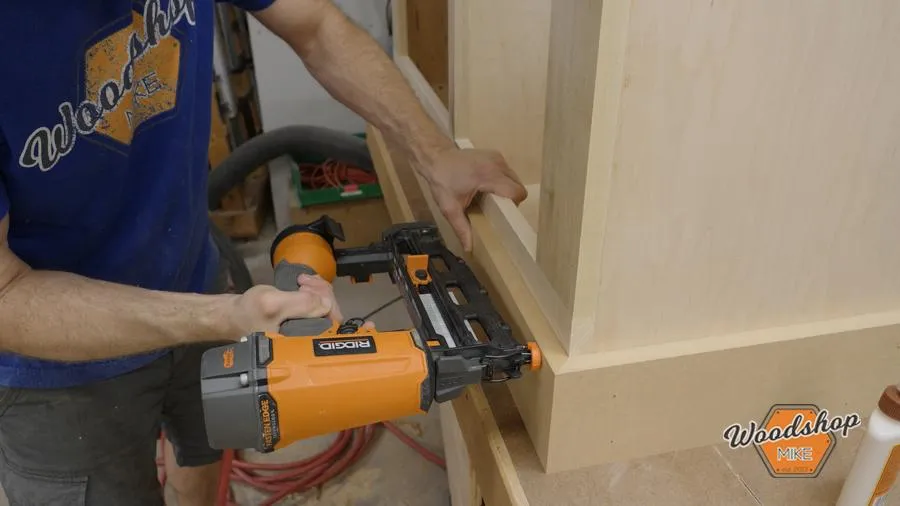
At this point, I mitered the boards (pieces 14 & 15) that go along the base and attached them with glue and brads. Then I cut a 45 down one edge of each board (piece 16) that makes up the corner trim and attached them with glue and brads. With all of the trim installed, I putty any seams or nail holes in the trim.
8Step 8. Assemble Drawer Boxes
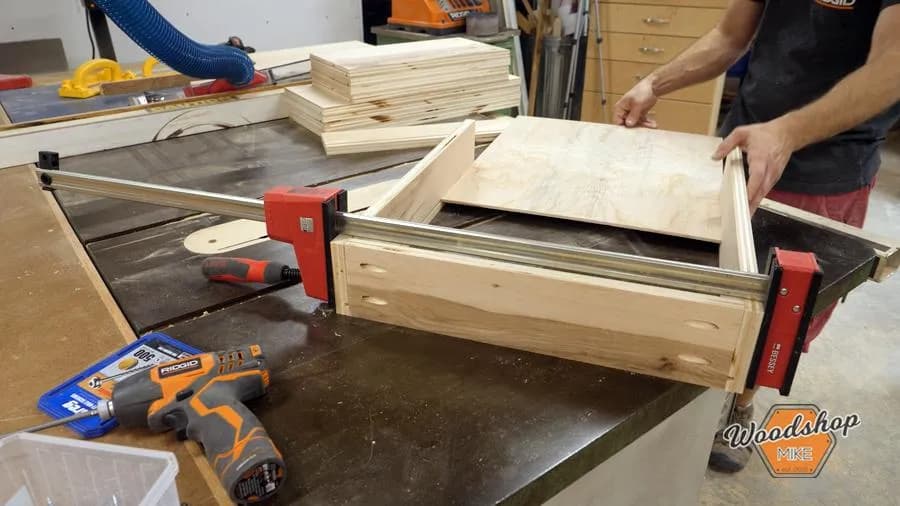
These drawers are assembled with pocket holes while the bottom panel fits inside of a groove. I drill for pocket holes as shown on the plans and cut the grooves on the table saw. A router table could be used to cut this groove as well. Once things are ready to assemble, I use parallel clamps to hold the parts in place and secure them together using 1-1/4" pocket hole screws.
9Step 9. False Drawer Fronts - Cut Groove
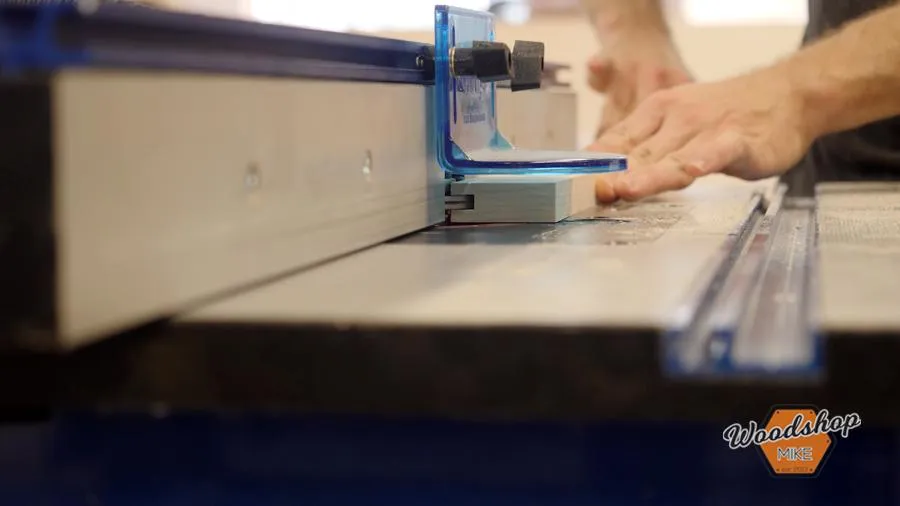
I made these false drawer fronts with 3/4" poplar for the rails and stiles and 1/2" MDF for the center panel. Once the rails, stiles, and center panels are cut to their final sizes, I head over to the router table. I'm using the tongue and groove router bit set by Freud exclusively to make all of the joinery cuts for these false drawer fronts. I first set up the groove bit to cut a 1/4" wide slot centered on the rails and stiles.
10Step 10. False Drawer Fronts - Cut Tongue
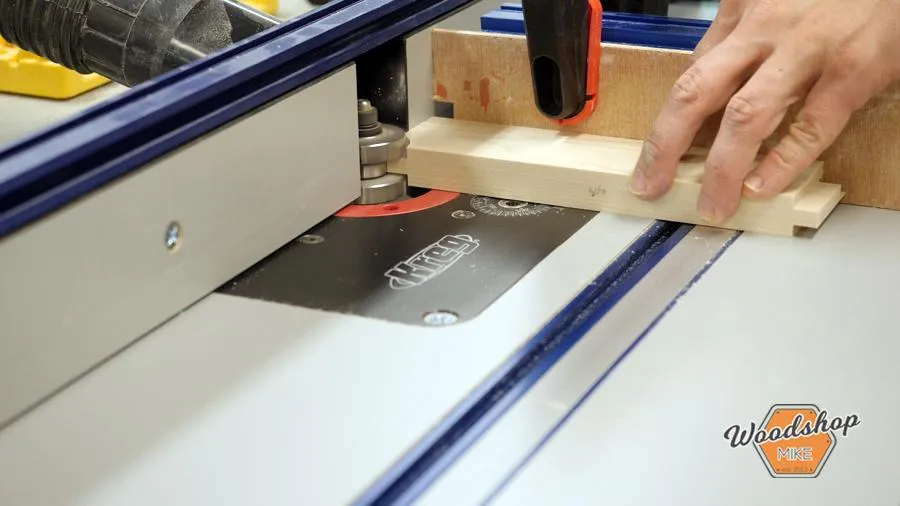
Next I switch out for the tongue bit, and set up to cut a 1/4" wide tongue centered on the stiles. I cut a tongue in each end of the stiles.
11Step 11. False Drawer Fronts - Center Panel
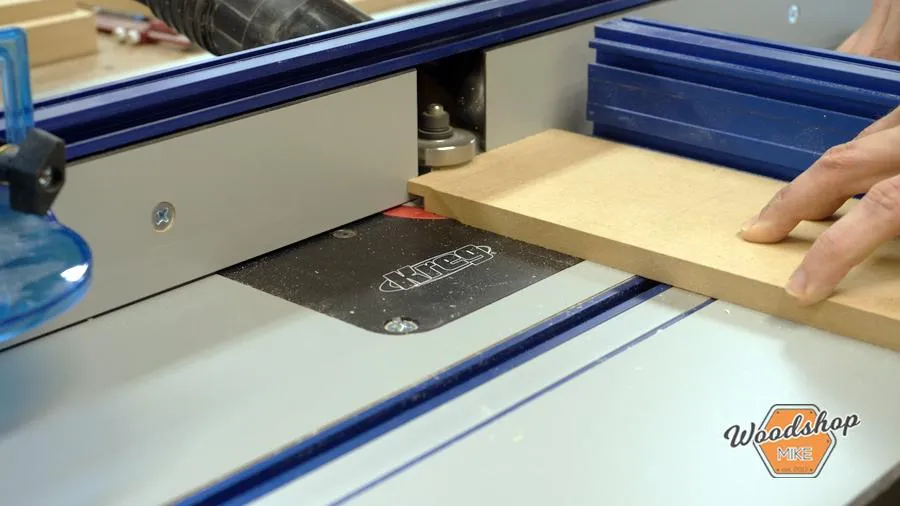
The final step before assembly is to cut a rabbet around the edges of the MDF center panel. I do this by raising the tongue cutter so that a 1/4" tongue is formed on the top edge of the MDF panel.
12Step 12. Assemble False Drawer Fronts
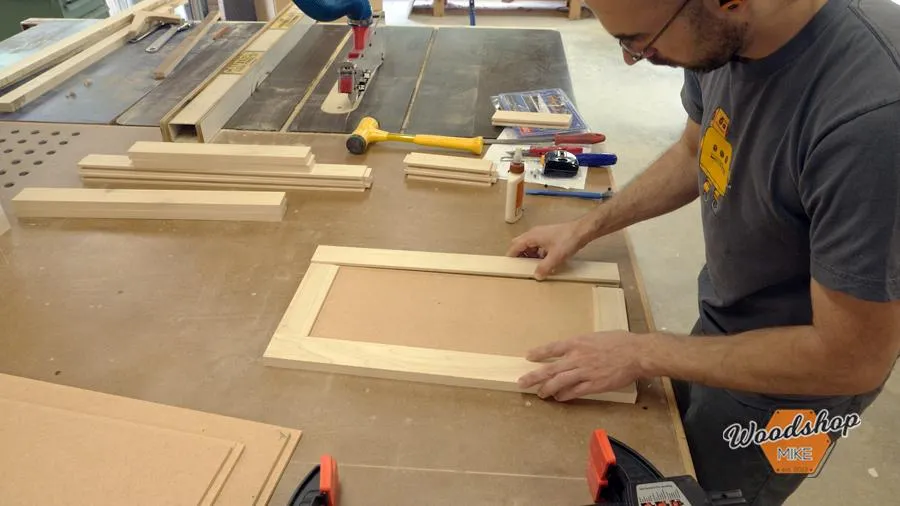
To assemble the false drawer fronts, I first glue 2 stiles into the rails. I then place space balls in the grooves and slide the center panel in place. Finally, I put glue on the other end of each stile, put space balls in the last rail, and clamp the assembly together. I check for square and make sure the ends of the rails and stiles are flush with one another.
13Step 13. Install Drawer Slide Spacers
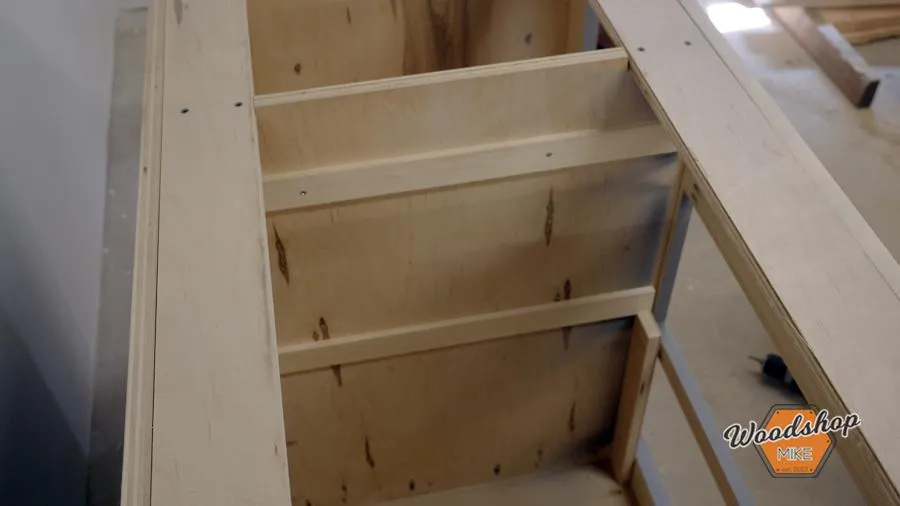
I cut two strips of plywood (lengths specified in plans) to set the height where the drawer slide spacers need to be installed. This not only makes setting the location easier, but also ensures that the spacers are parallel to the bottom of the base. I start with the top drawer's spacers and then work my way down. By doing this, I only need one set of plywood strips, and I just cut them down to the next length needed.
14Step 14. Install Drawers
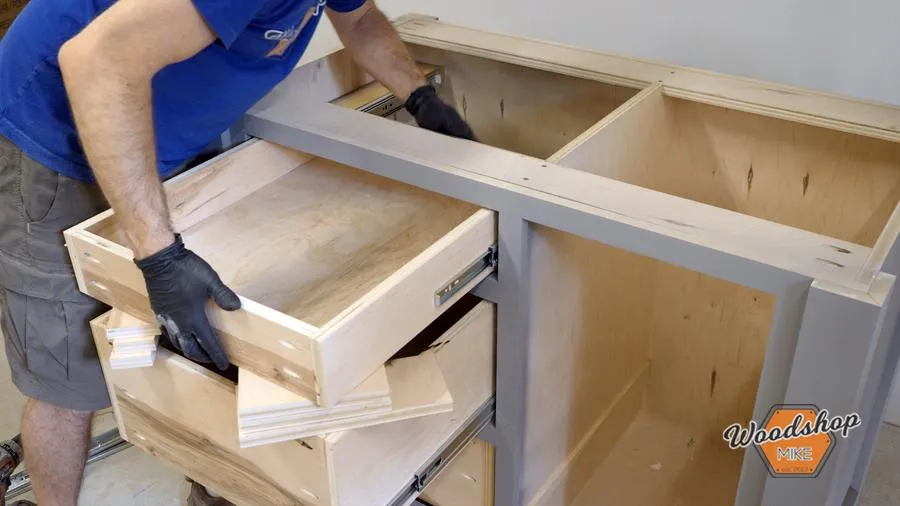
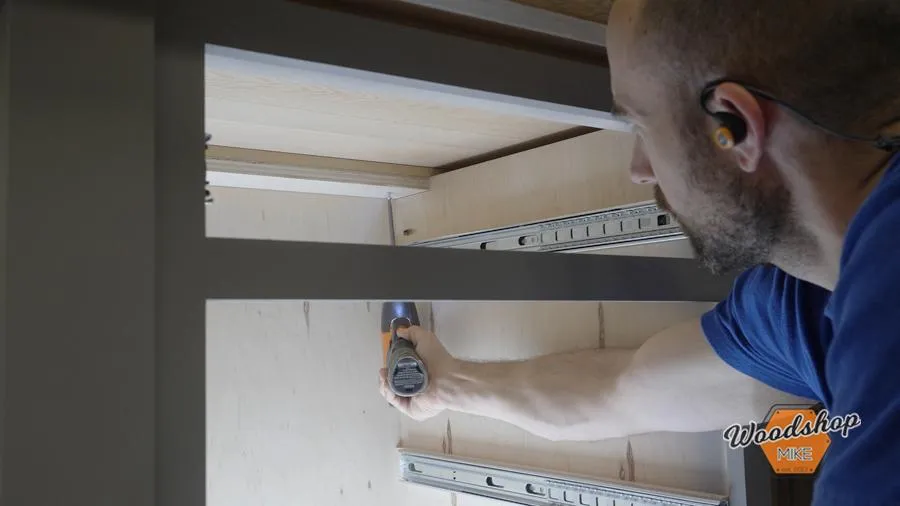
To install the drawer slides, I simply hold the slide flush with the inside surface of the face frame and flush with the bottom of each drawer slide spacer. I secure each drawer slide with the screws that are included. To install the drawer to the slides, I set the bottom drawer on scrap blocks inside the cabinet and pull out the drawer just enough to secure the slides with a screw in the first holes of each slide. I then pull the drawer out a bit more until I can secure it with an additional screw in the center holes. Next I pull the drawer out completely and run a screw through the last holes and re-install the drawer box. Rinse and repeat until each of the drawer boxes are installed.
15Step 15. Drill For Drawer Pulls
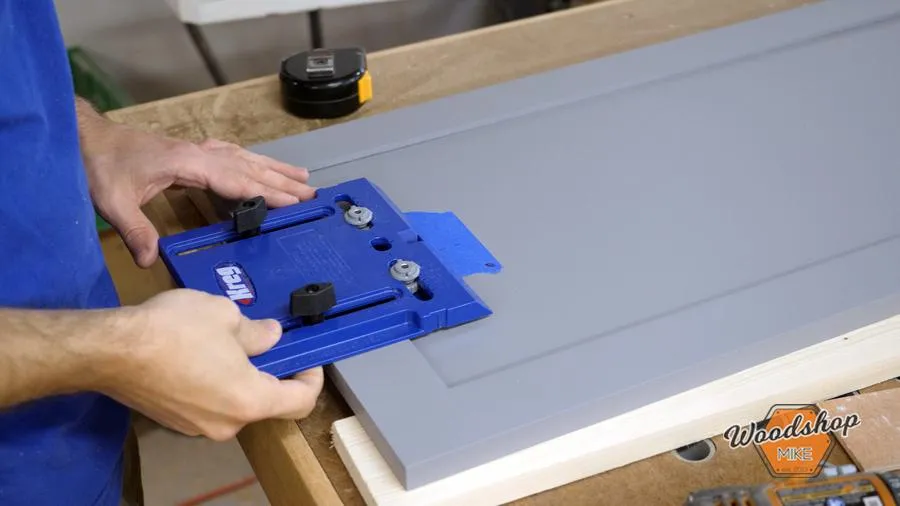
- First I laid down blue painter's tape in the approximate area that I'd be drilling.
- Then I measured the hole spacing of my pulls and adjusted my Kreg Cabinet Hardware Jig accordingly. I used a 3/16" bit to drill the screw holes.
16Step 16. Install False Drawer Fronts
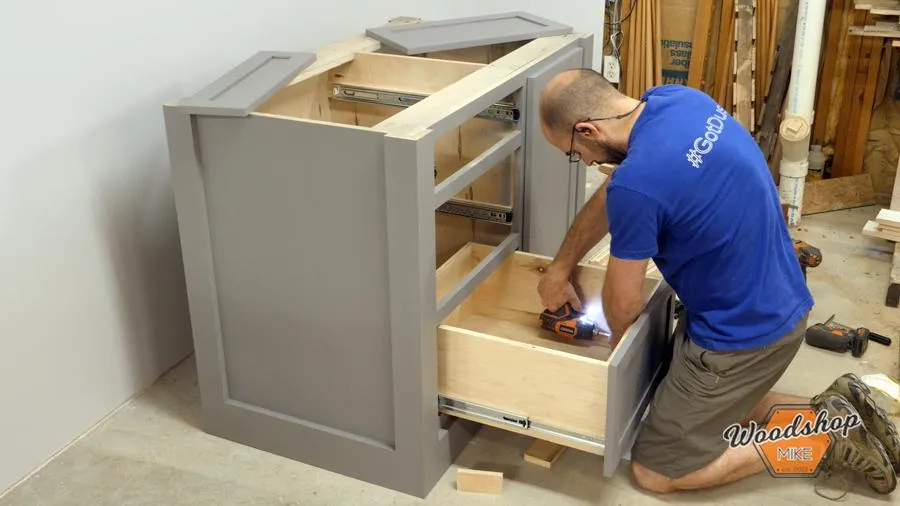
- Now to attach the false fronts, I use a scrap of 3/4" plywood or MDF as a spacer on top of the base trim and against the right side trim. I then place the large false drawer front against the spacer blocks and face frame. Using 4 1-1/4" drywall screws and washers, I secure the false drawer front to the drawer box.
- Repeat this process for the remaining drawer fronts and you're ready to move on.
17Step 17. Make Countertop
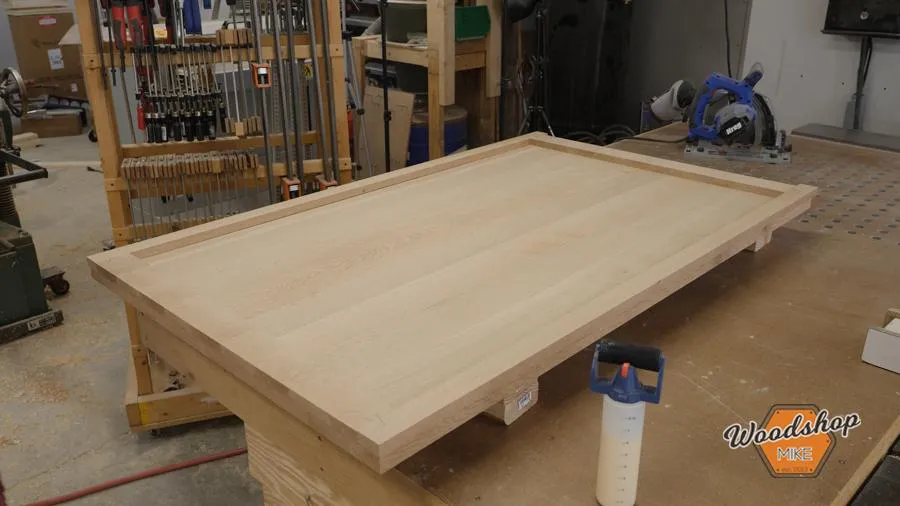
- Now for the countertop! You can certainly use any material you want, but we opted to go with white oak. We won't be using this counter top as a cutting surface, so oak is just fine. If you want to make this a butcher block surface, I'd recommend building it from hard maple. The lumber I had on hand was 5/4, but we wanted a 1-1/2" finished thickness. So, I simply milled the lumber and glued up two panels about 17" wide. I then planed each panel to 1" thick and glued them together, doing my best to make them flush.
- Next we scabbed on a 1/2" of material around the underside to give the appearance of a thicker countertop. This is the exact same method that's used for most kitchen countertops!
18Step 18. Paint, Stain, & Finish
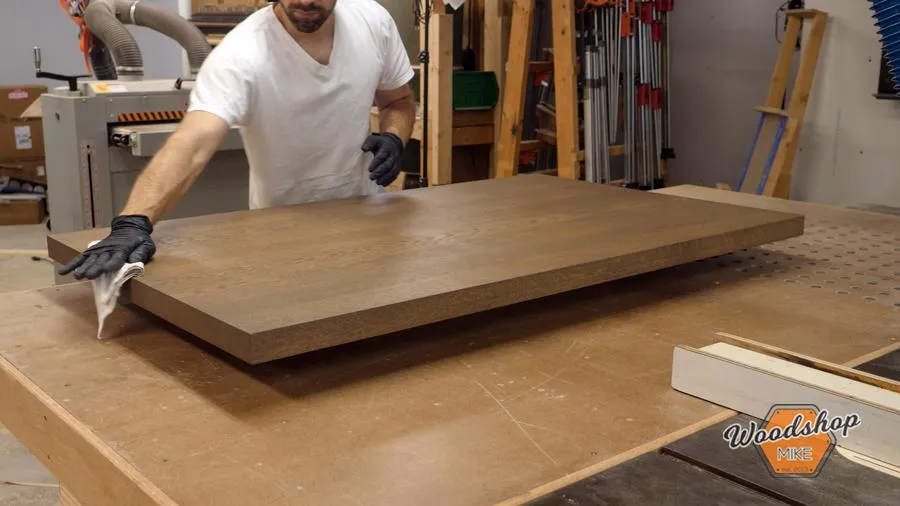
So you've built an amazing kitchen island and you're ready to paint, but ahhhhh! Painting is so scary and time consuming and I used MDF, OMG how do I paint MDF without it looking terrible!?!?! Relax. Follow the link at the end of this project to check out the details on my site! I got you covered! For the paint color, we mixed up our own blend of General Finishes Milk Paint and the countertop were stained with one application of Varathane's Briarsmoke. After the stain cured for 72 hours, we applied 3 coats of General Finishes High Performance Top Coat.
19Step 19. Final Assembly
With everything painted, stained, and top coated, we're ready for final assembly! With a 3/16" drill bit, drill 3 holes in each stretcher. These holes allow for the screws that attach the countertop to shift with seasonal movement. To attach the counter top, center it on the kitchen island and secure it with 2" pocket hole screws through the pre-drilled holes.
20Visit woodshopmike.com
To see more photos of this project, check out: www.woodshopmike.com/how-to-make-a-farmhouse-kitchen-island Link in Extras Tab!

21Watch The Video!
Check out my YouTube video to show more of this build! https://youtu.be/gkritJY9v5k Link in Extras Tab!