Notch
NotchDIY Changing Table Dresser
Step-by-step build — 16 steps. Also available as a print sheet.
1Cut Side Panel Pieces
- Cut four 2x2s to serve as the legs of this dresser according to the cut list.
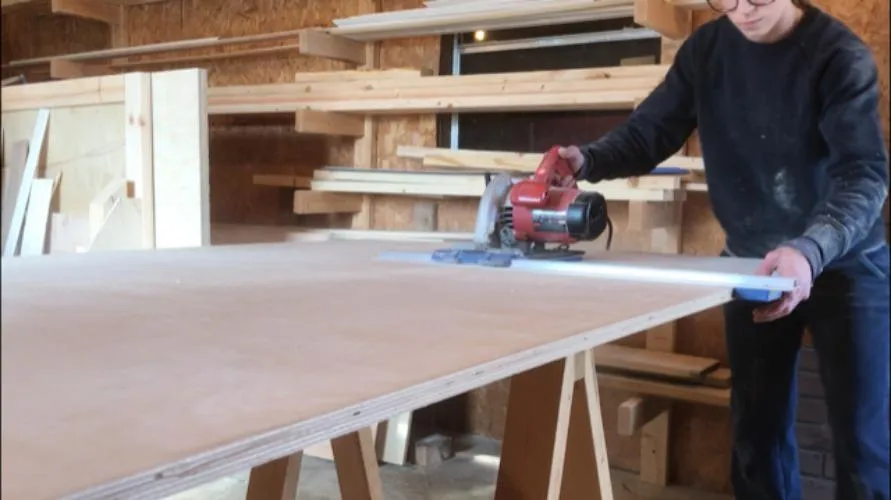
- Also, cut your frame pieces (both top and bottom) and your side panels according to the cut list. Your top frame piece should be from a 1x2, your bottom should be a 1x4 and your panel should be ¾” plywood. Use a Kreg Rip Cut and AccuCut to easily cut down your plywood sheets.
2Cut Curve On Bottom Side Frame
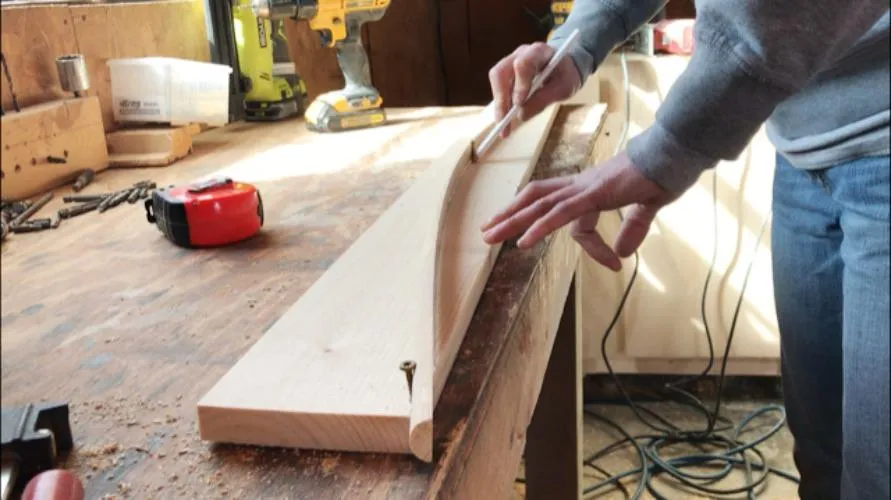
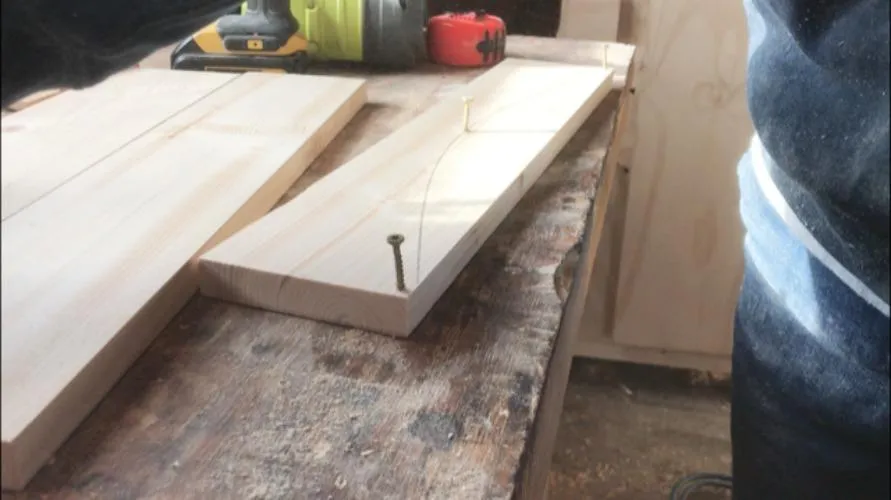
- This step is optional, but adds so much character to this build. All you are going to do here, is to cut a curve along the two bottom pieces (1x4 boards) of your side frame. You can do this several different ways, but I used some very thin scraps and some screws. I screwed a screw halfway down into the two bottom corners of the board, then found the center side to side of the board.
- Once I found the center, I measured down from the top 1 ½” and screwed another screw about halfway in.
- Then I bent my scrap wood piece (or you could use ¼” plywood here, too) around the screws and traced. Using a jig saw, I cut along the marked curve.
3Assemble Two Side Frames
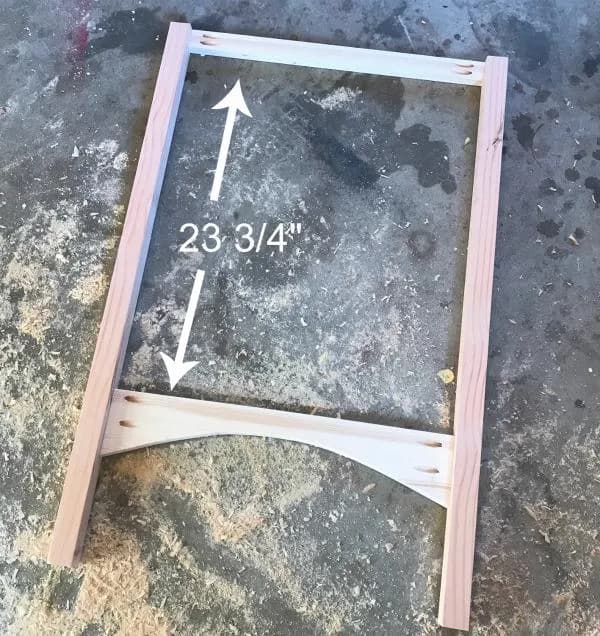
- Drill ¾” pocket holes into each end of the top and bottom frame pieces using a Kreg Pocket Hole Jig, then attach between the legs using 1 ¼” pocket hole screws like shown. Make sure the frame pieces are flush with the outside edge of the legs.
- Attach the bottom piece so that the top of it is 23 ¾” from the bottom of the top frame piece.
4Add Side Panels
Drill ¾” pocket holes along the two edges of the side panels and place on the INSIDE of the two frames from step 3. Screw these panels into the top and bottom side frame pieces using 1 ¼” wood screws, then attach between the legs using 1 ¼” pocket hole screws.
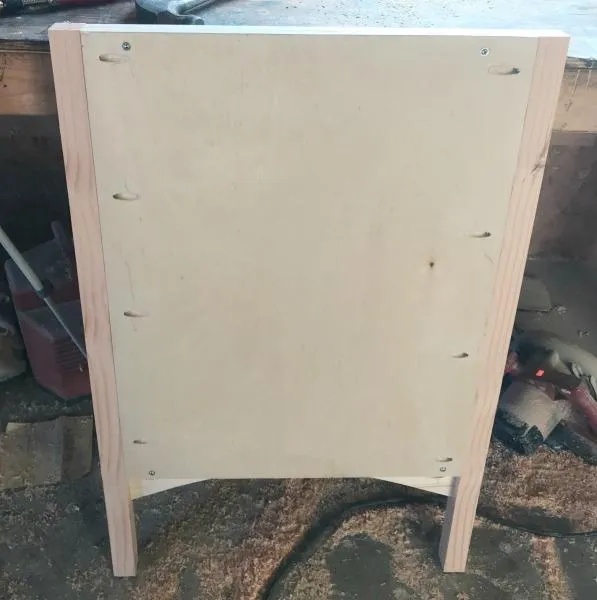
5Cut Top and Bottom Frame Pieces
Cut the top and bottom frame pieces according to the cut list for the front and back of the dresser. Follow the same process from step 2 to cut a curve along the front bottom frame piece.
6Attach Side Panels and Frame
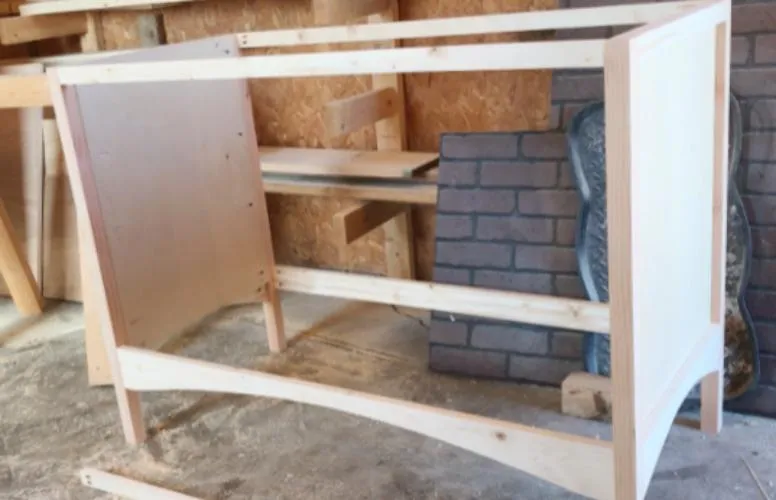
Attach the side panels together using the frame pieces from step 5 using ¾” pocket holes and 1 ¼” pocket hole screws on each end of the frame pieces like shown. Same as before…attach flush to the outside of the legs and also attach the bottom pieces so that the top is 23 ¾” from the bottom of the top frame piece.
7Attach Framing for Top Drawers
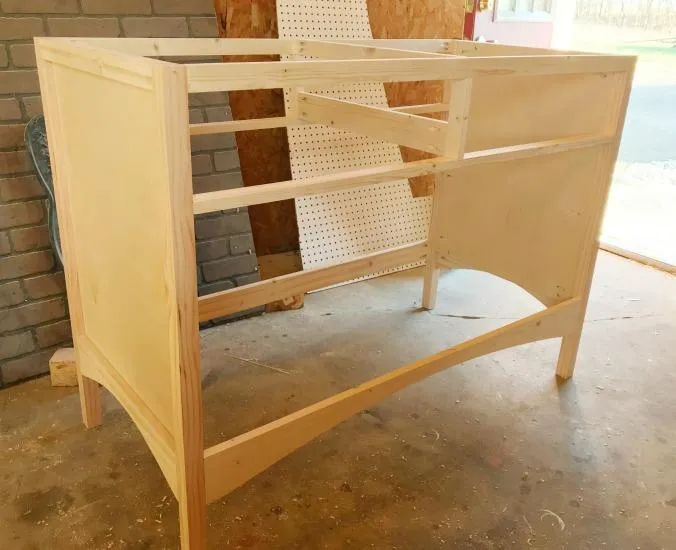
- Cut two pieces of 1x2 at 48” long and attach using ¾” pocket holes and 1 ¼” pocket hole screws 6” from the bottom of the top frame piece in the front and the back like shown. Notice the direction these 1x2s are turned here.
- Next, attach two 1x2 pieces cut 6” long between the top frame and this drawer frame in the center like shown. You can use 1 ¼” wood screws on the bottom side and a 2 ½” wood screw on the top side here to attach.
- Finally, cut and attach two “runners” between these boards to help keep them from bowing.
- Attach a 1x2 at the top and a 1x4 at the bottom using ¾” pocket holes and 1 ¼” pocket hole screws. Notice that the board at the top will be longer than the board at the bottom due to the direction the boards are turned
8Attach Drawer Slides
- Now that the framing is done, it’s time for the fun stuff!
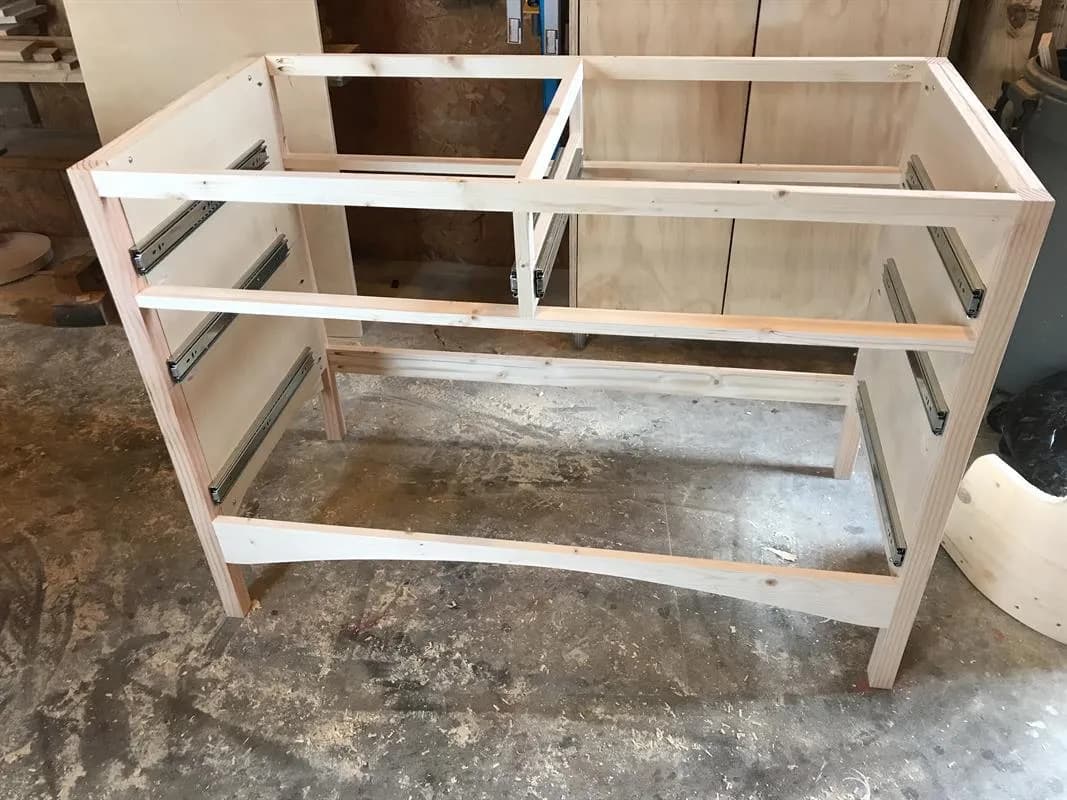
- Attach 20” ball bearing drawer slides to the dresser like shown. You will have 4 drawers—two smaller on the top and two large on the bottom. For more information and details on making and installing drawers and slides, see this post: https://www.woodshopdiaries.com/theres-no-wrong-way-to-make-a-drawer/
9Assemble the Drawers
- Cut all drawer pieces according to the cut list.
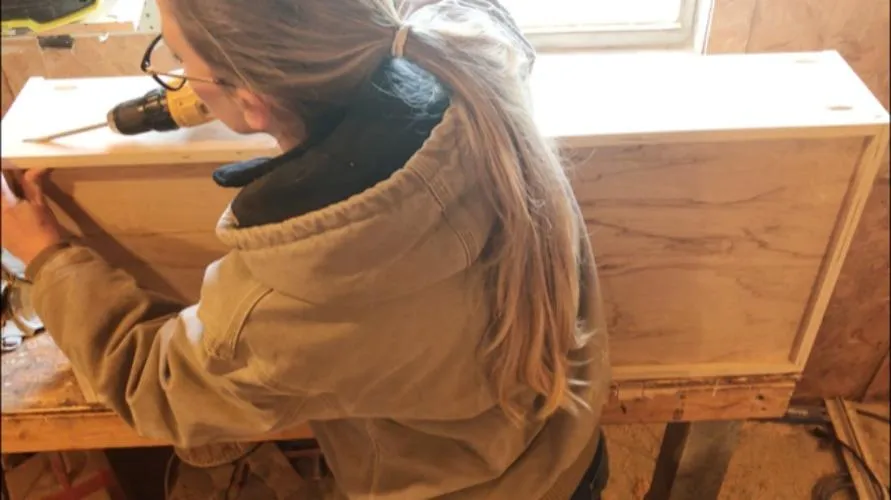
- Drill ¾” pocket holes into both ends of all the front and back drawer pieces. If desired, cut dadoes in the drawer pieces to accommodate the ¼” drawer bottoms. OR, if you prefer, you can glue and staple them onto the bottom instead.
- Assemble the drawers using 1 ¼” pocket hole screws.
10Attach Drawers to Slides
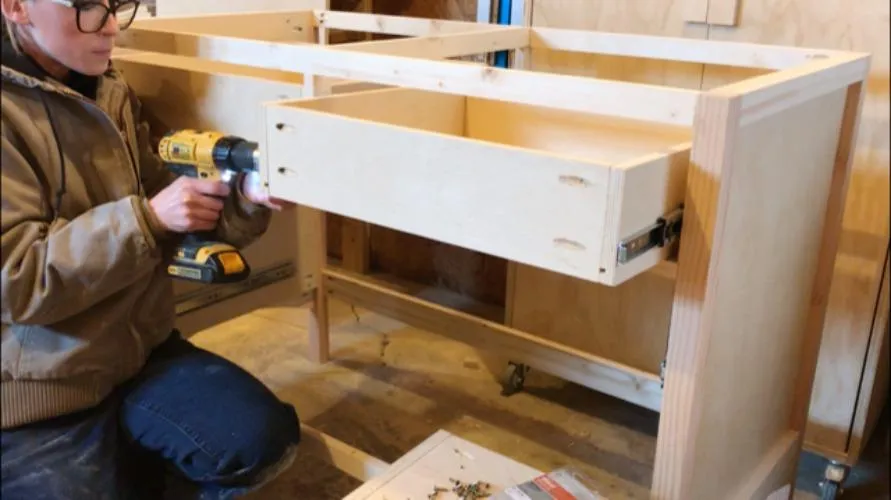
Insert the drawers and attach to the slides. Make adjustments as needed to get them straight and where they will slide in and out easily.
11Attach Drawer Fronts
- Cut drawer fronts according to the cut list above. This is where (if you don’t have a table saw) the Kreg Rip Cut and Kreg AccuCut come in super handy. Because the drawer fronts aren’t standard lumber sizes, it’s best to cut them (and the drawer sides, too) from your plywood. The Kreg Rip Cut helps you accurately and easily cut strips from your sheets to make your drawer pieces.
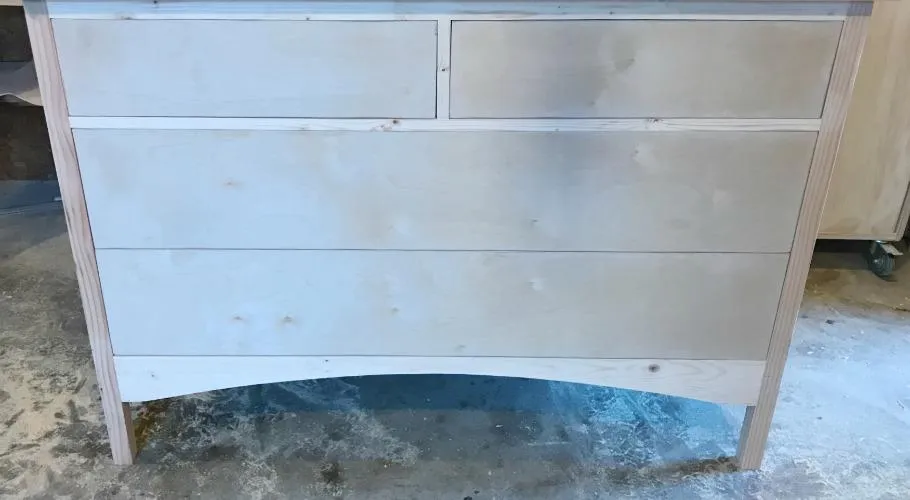
- Once you have them cut, attach edge banding (if desired), then align and screw in place through the inside of the drawer using 1 ¼” wood screws.
12Add Top
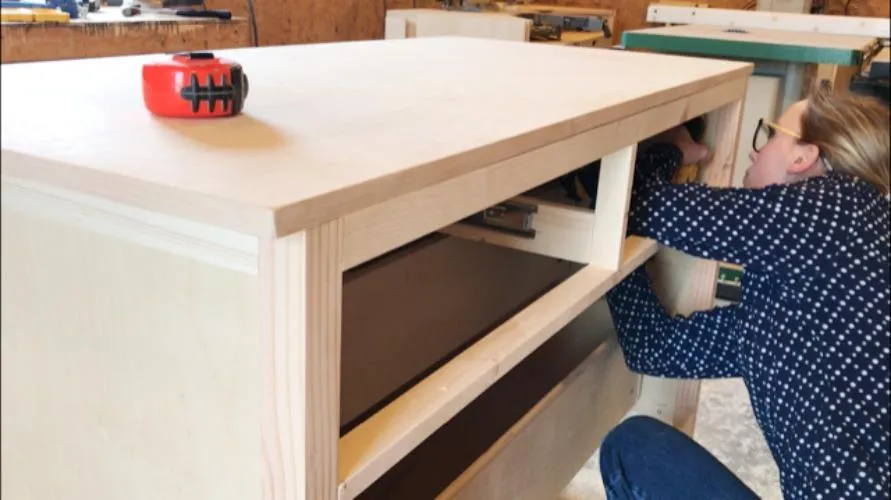
- Cut your top from your remaining plywood to 24” wide and 53” long.
- Apply edge banding if desired.
- Then, center your top onto the dresser side to side and bring the back side flush.
- Screw top in place from the back side like shown. If I had planned this through better, I would have drilled pocket holes in the sides prior to this, but I didn’t. So for this, I just “toenailed” screws in through the inside up into the top and used 2" screws through the top frame pieces. Basically, toenailing is just screwing screws at an angle. Just be careful not to drill all the way through the top. I also suggest applying some glue here for extra holding strength.
13Add Bottom Brace
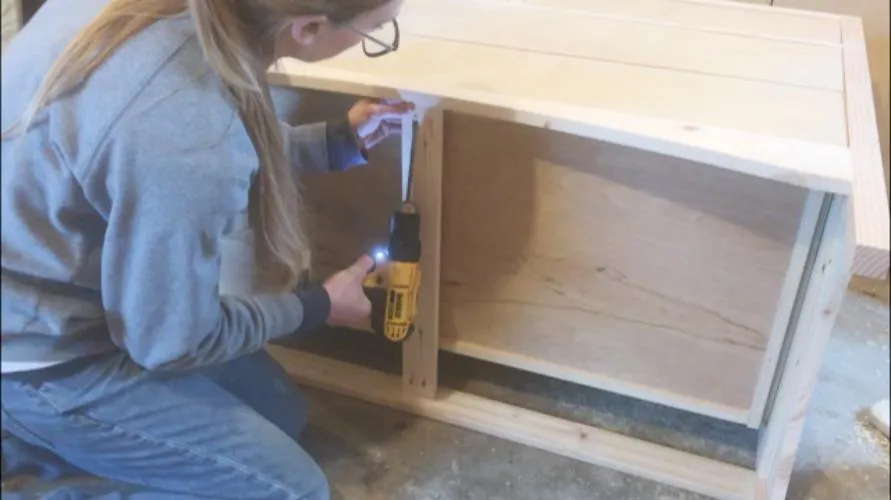
Once I had this all together, I realized it needed an extra brace between the two bottom frame pieces. I used a piece of 1x4 at 21 ½” long and attached in the center between the frame pieces using ¾” pocket holes and 1 ¼” pocket hole screws.
14Add Backing
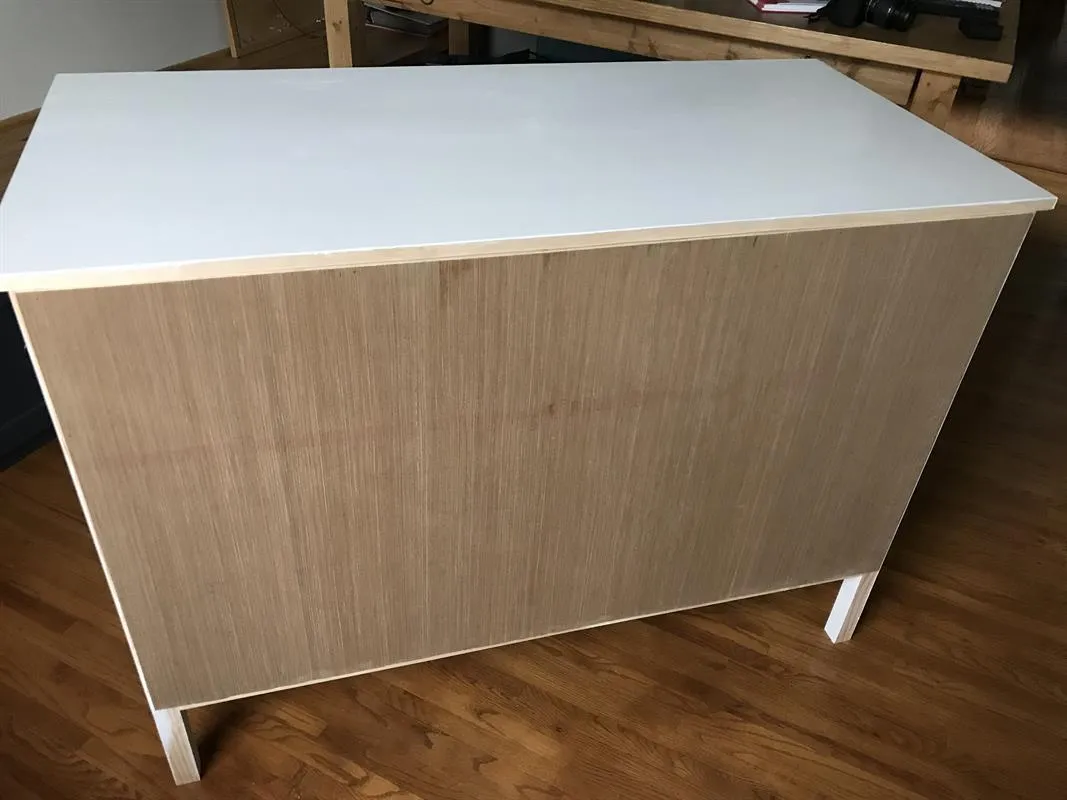
Finally, it’s ready to button up and finish. Cut a piece of ¼” plywood backing about 50” x 26” and staple in place on the back side.
15Finish
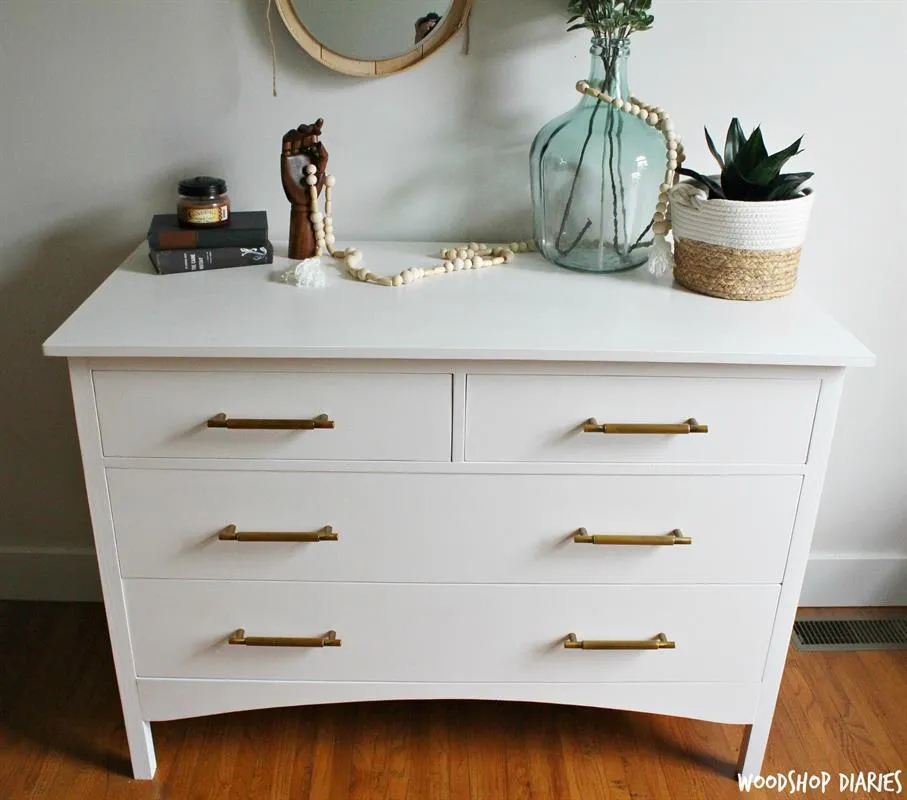
Apply paint or stain as desired, then add drawer pulls/knobs.
16OPTIONAL: Add Changing Table Tray
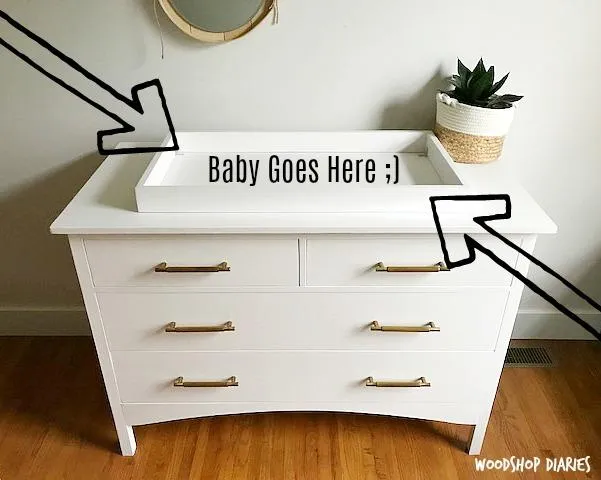
- As an optional step, this dresser could easily be used as a changing table with a matching tray. To build the tray, cut pieces of 1x3 to create a box the size of your changing pillow. Pillows come in all sorts of sizes, so you will need to cut this to match the one you are using.
- Glue and brad nail the boards together to make the box.
- Finish to match your dresser, then attach using small L brackets like shown in the video in the extras tab of this plan. When your baby outgrows the changing table, simply remove the tray, putty the screw holes and touch up the paint for a more “grown up” dresser :)