Notch
NotchCustom Closet System
Step-by-step build — 10 steps. Also available as a print sheet.
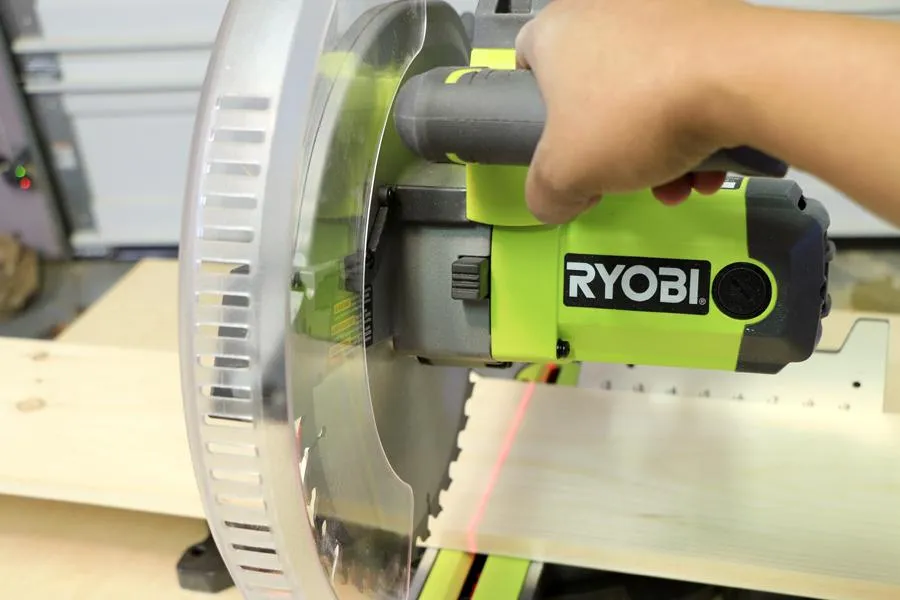
1Cut Pieces To Size
Using the provided cut list, cut all your boards to size. This is a custom closet system, so some of the dimensions may be based on your closet size. This plan has a middle shelf that is 3/4"x12"x80", and two smaller side shelves that measure 3/4"x8"x80". You can customize these shelves accordingly.
2Drill Pocket Holes
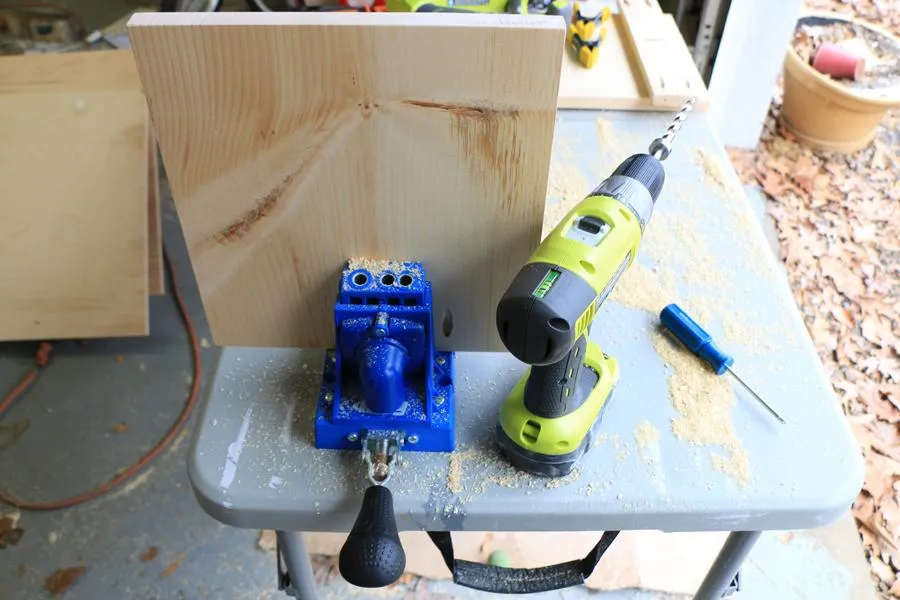
- Drill pocket holes in each horizontal shelf piece. Two pocket holes in the smaller shelf pieces, three in the larger ones.
- Sand any rough edges until smooth.
3Drill Shelf Pin Holes (optional)
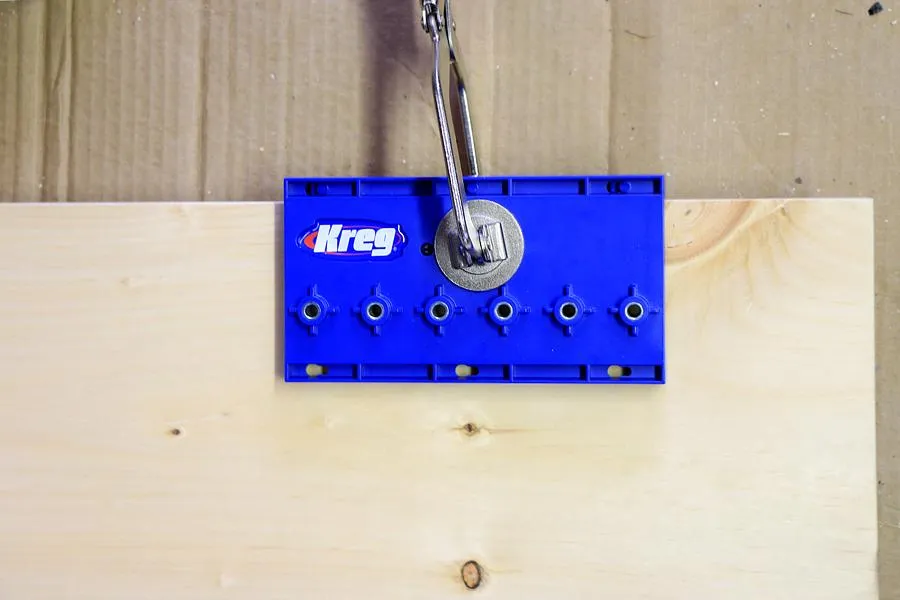
If you desire a few adjustable shelves, use the Kreg shelf pin hole jig and create them in each shelf's vertical side boards now.
4Attach Shelf Pieces To Side Boards
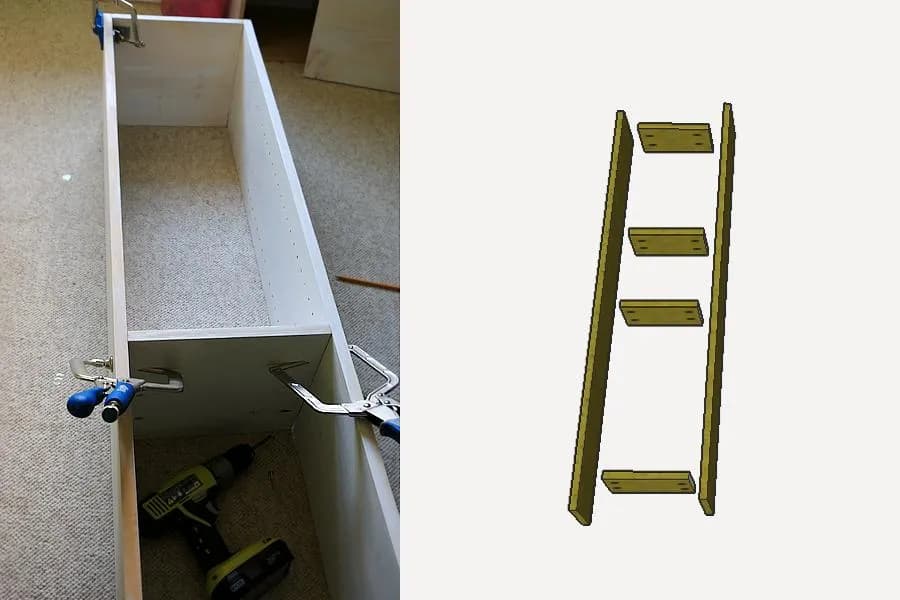
- Assemble each of your three closet organizers by attaching associated horizontal shelf pieces to each 80" side piece.
- Mark on each side piece where you desire the shelves to sit, line up your marks, then screw via your pocket holes. The top, bottom, and middle shelves should be pocket hole shelves and not adjustable ones.
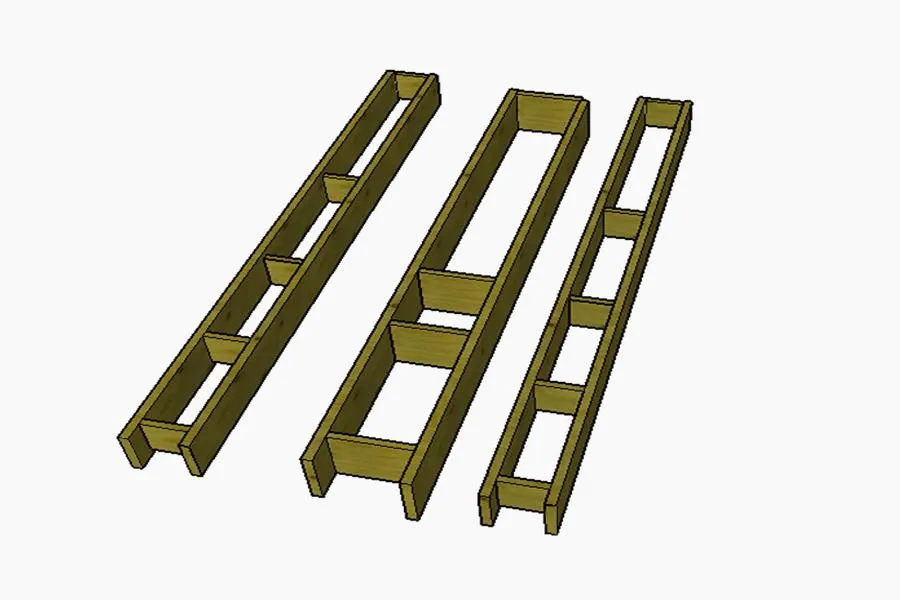
5Three Closet Organizers
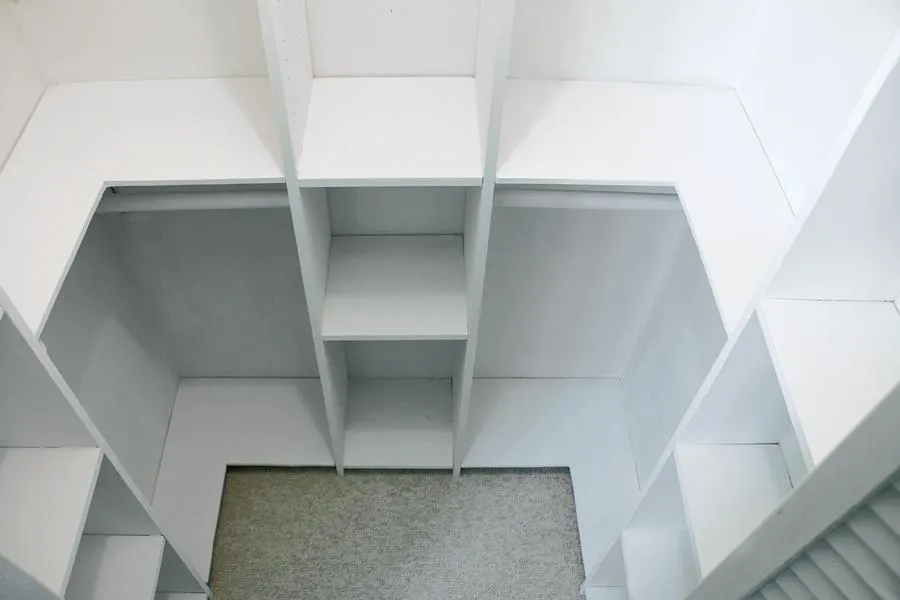
This is what your three organizers will look like once they have been assembled. They can be customized to your desired size, and shelves set to your desired distance.
6Attach Securing Strip
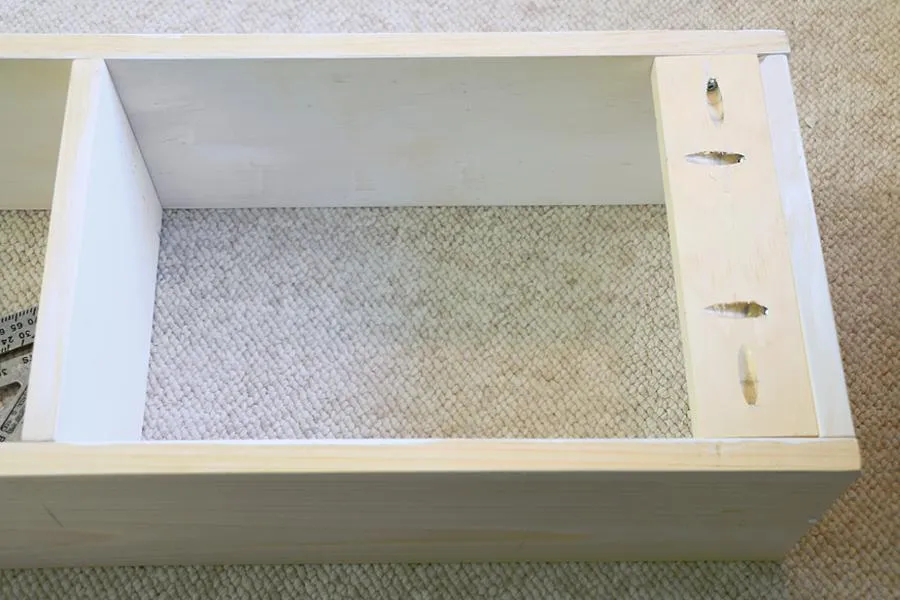
- Cut a 1"x3"x12" and two 1"x3"x10" strips of wood.
- Attach these securing strips to the top inside of each organizer unit.
- Then attach your organizers to the wall (be sure each unit is level).
- Drill and screw through the securing strip into the wall (add dry wall anchors if necessary).
7Cut 'L' Connection Shelves
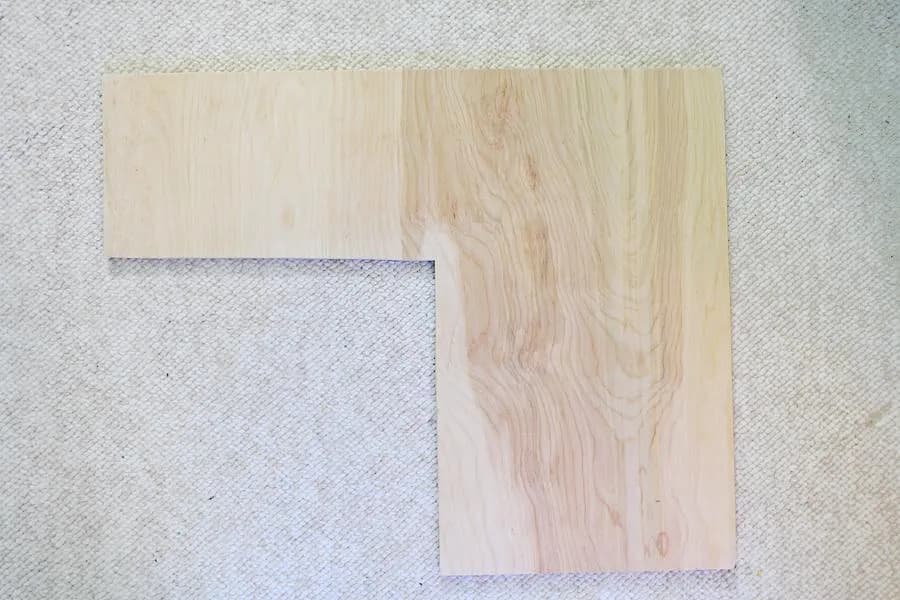
- This L piece is not contained in the cut list, as it is custom to the size of your closet. The larger end of the 'L' piece should be 12" x the distance from the middle closet shelf to the wall, and the smaller piece of the 'L' should be the 8" x the distance to the back wall. This piece will connect the two shelves.
- Cut three for the right side of the closet, and three for the left.
- Check the measurement for each piece individually as the wall may warp.
8Attach Shelf Supports
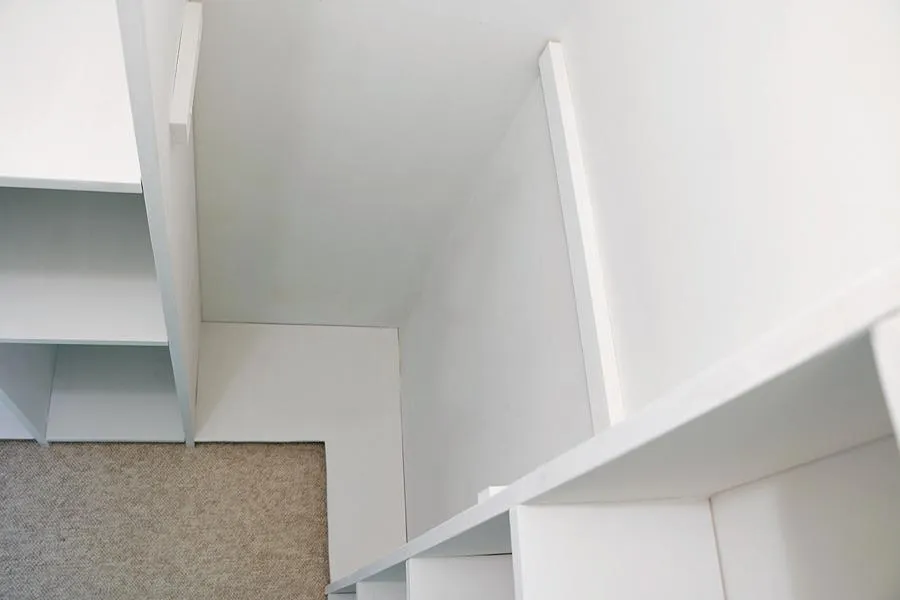
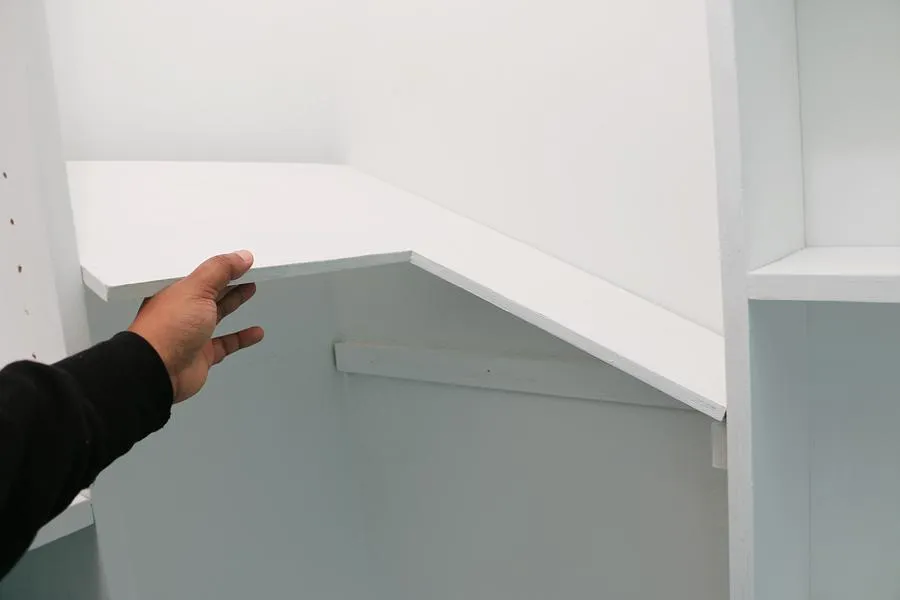
Cut and attach shelf supports to the wall and either side of the shelves. This will hold your 'L ' shelves in place.
9Lay Down 'L' Shelves
Lay in your six 'L' shelves. Two are shoe level shelves on either side of the middle shelf, and two are mid-level shelves, and two are top shelves. Optionally add trim to the top (and/or the each 'L' shelf).
10Final Coat of Paint
Add your hanging clothes bars. Touch up your new closet with one final coat of paint. If necessary, fill in any holes or gaps with paint-able silicone before the final coat.