 Notch
Notch- Difficulty
- Intermediate
- Time
- 5.3–10 hours
- Cost
- $$
About this build
This "curvy" shelf tricks your eyes into thinking it would be a very complicated build! But it's not, and we'll show you exactly how to do it! Such a fun and quirky shelf could be used for books, plants, home décor, or bathroom storage!
Tools
Essential
- Drill / Driver
- Impact Driver
- Pocket Hole Jig
- Random Orbit Sander
- Router
- Table Saw
- Track Saw
Optional / nice to have
- Bar / Pipe Clamps
- Combination Square
Materials
| Item | Qty |
|---|---|
| Pine Board, 1x4x72 | 1 board |
| D3 Maple Veneer Core Plywood, 3/4 x 4x8 | 1 board |
| Gripper Feet | 1 each |
Overall cost: $$. Lumber prices vary by region, species, and season, so we give a band rather than a figure we would only be pretending to know.
Cut list
| Part | Qty | T × W × L |
|---|---|---|
| Back | 1 | 3/4" × 13" × 61" |
| Narrow Back | 1 | 3/4" × 12" × 61" |
| Fronts | 1 | 3/4" × 16" × 61" |
| Shelf (One Cap) | 4 | 3/4" × 12" × 12" |
| Radius Shelf | 2 | 3/4" × 12" × 12" |
| Caps (Fronts) | 2 | 1/8" × 3/4" × 65" |
| Caps (Shelf) | 4 | 1/8" × 3/4" × 12" |
| Caps (Radius) | 2 | 1/8" × 3/4" × 24" |
What to buy
Buy 7 boards at 8 ft.
3/4" × 16"
1 board
3/4" × 13"
1 board
3/4" × 12"
2 boards
1/8" × 3/4"
3 boards
Assumes 8 ft stock, a 1/8" saw kerf, and buying each part at its own width. Change the board size or kerf on the full board plan →
Instructions
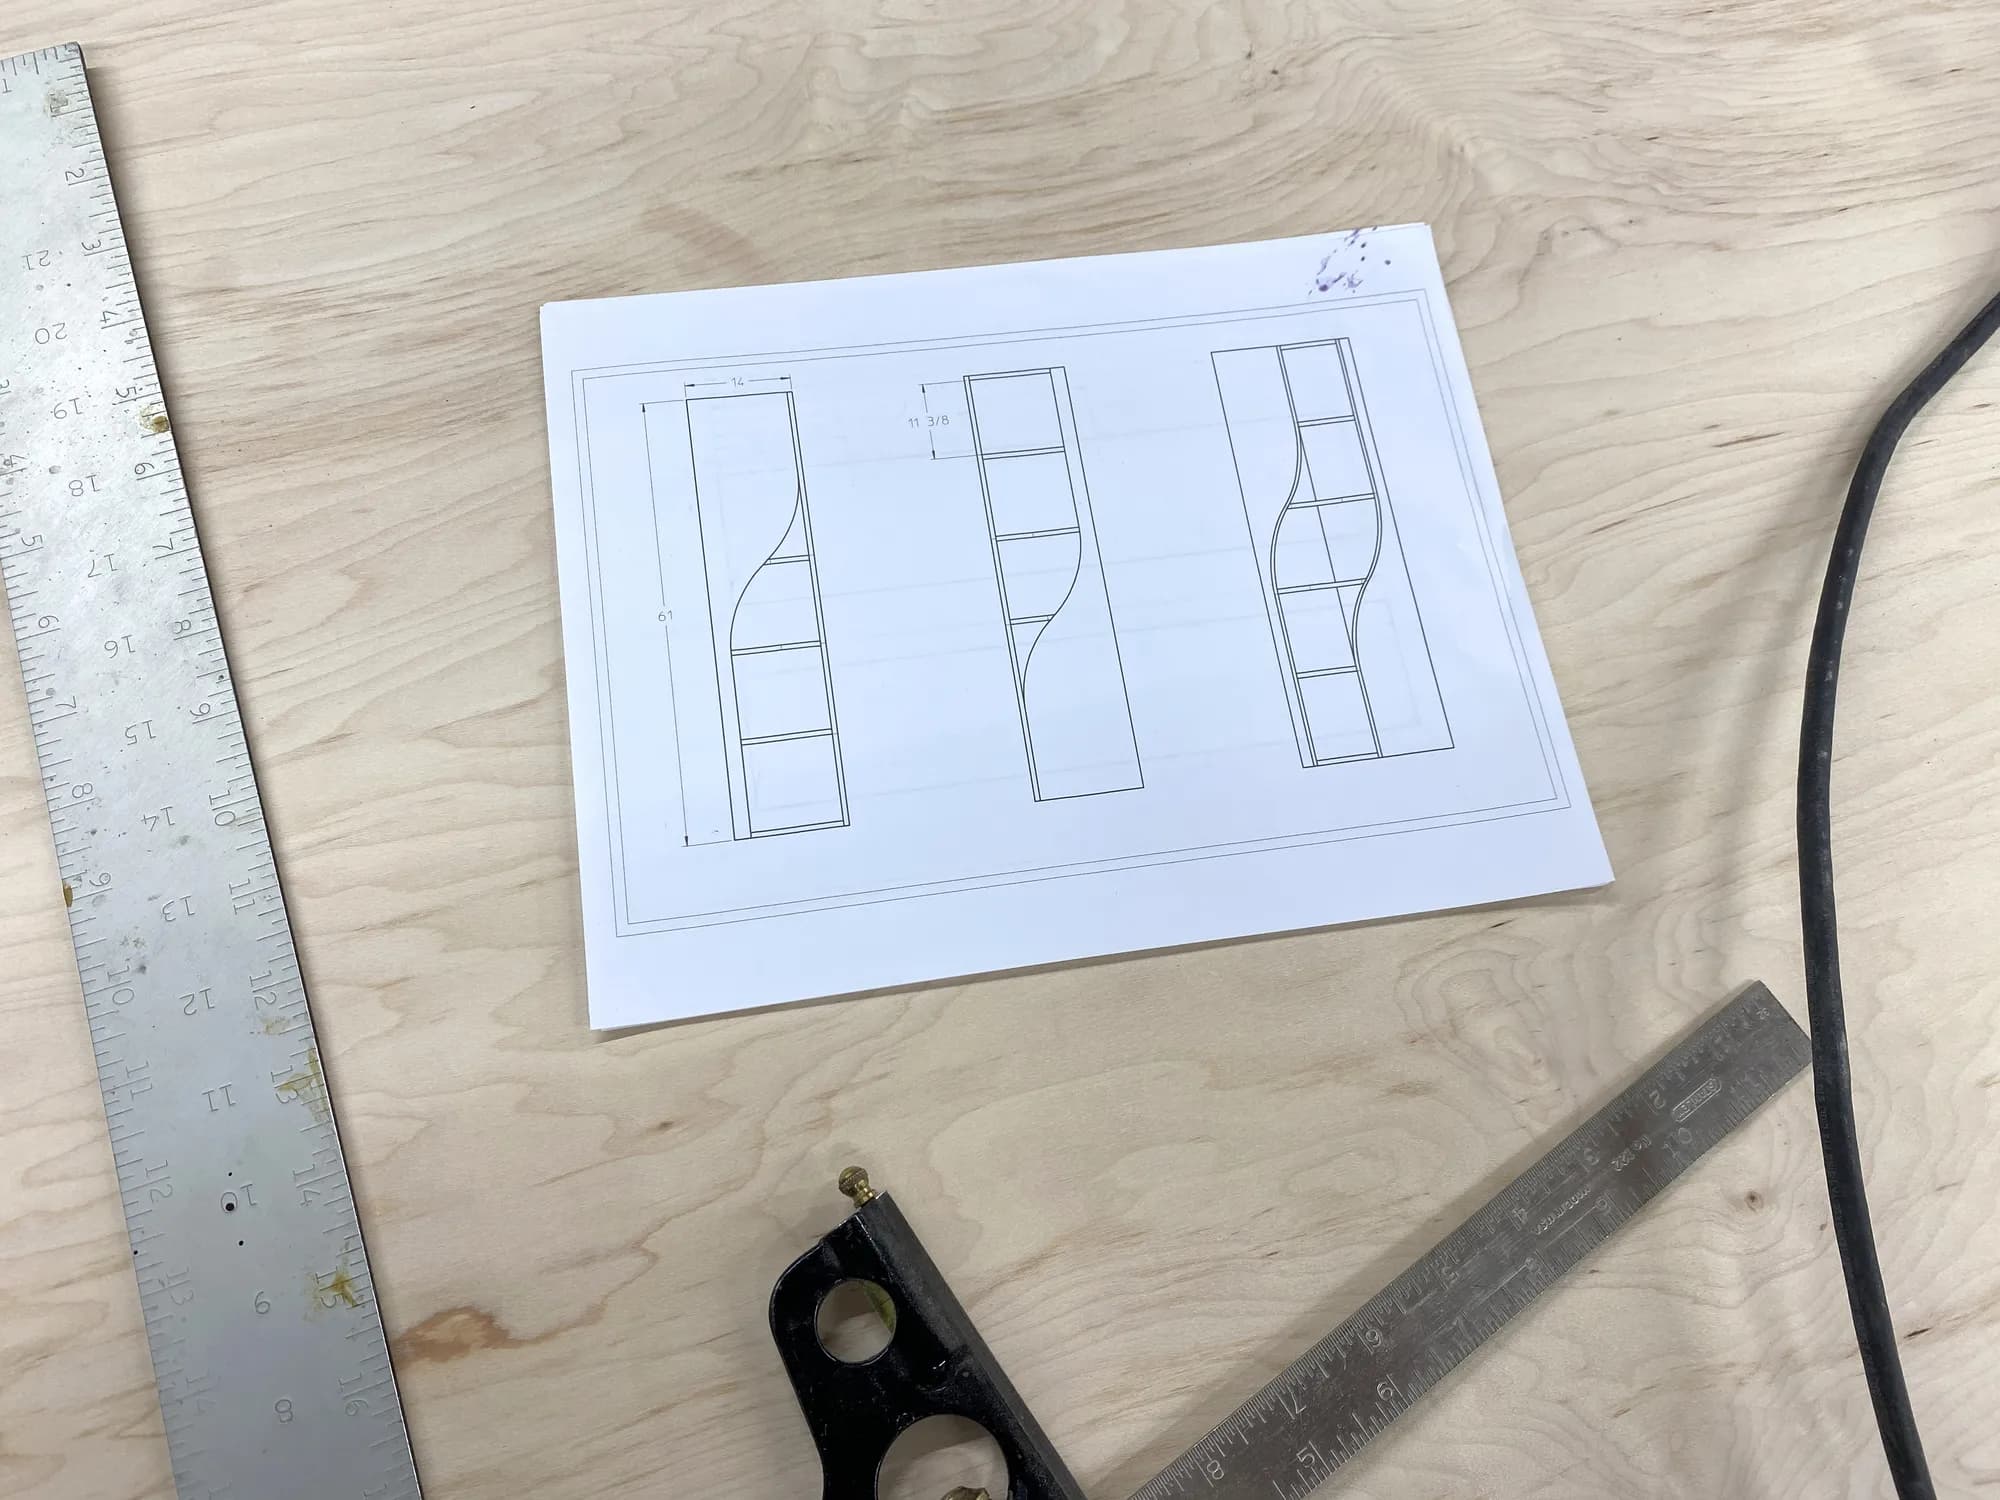
1Plans
Download and familiarize yourself with the plans.
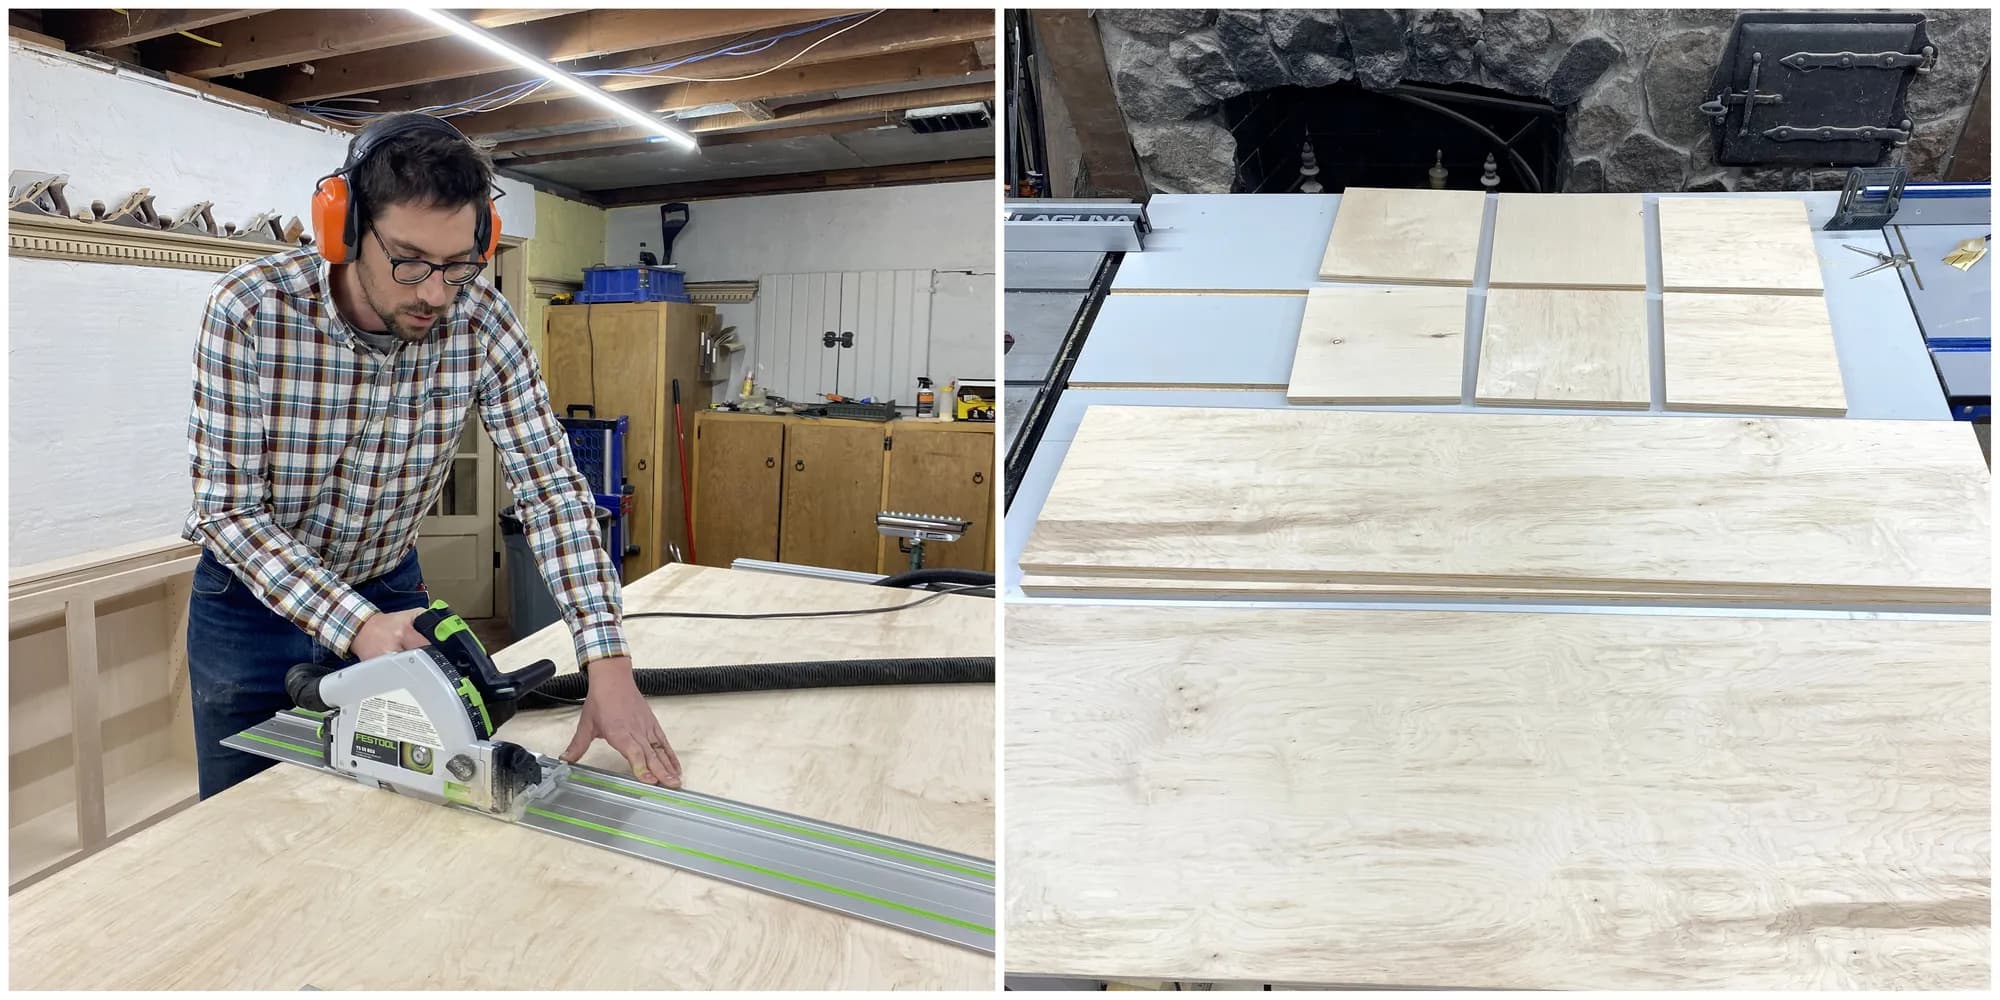
2Break down plywood
Using a track saw, break down the plywood. You should have both backs, six shelves, and a board that will be used for both fronts.
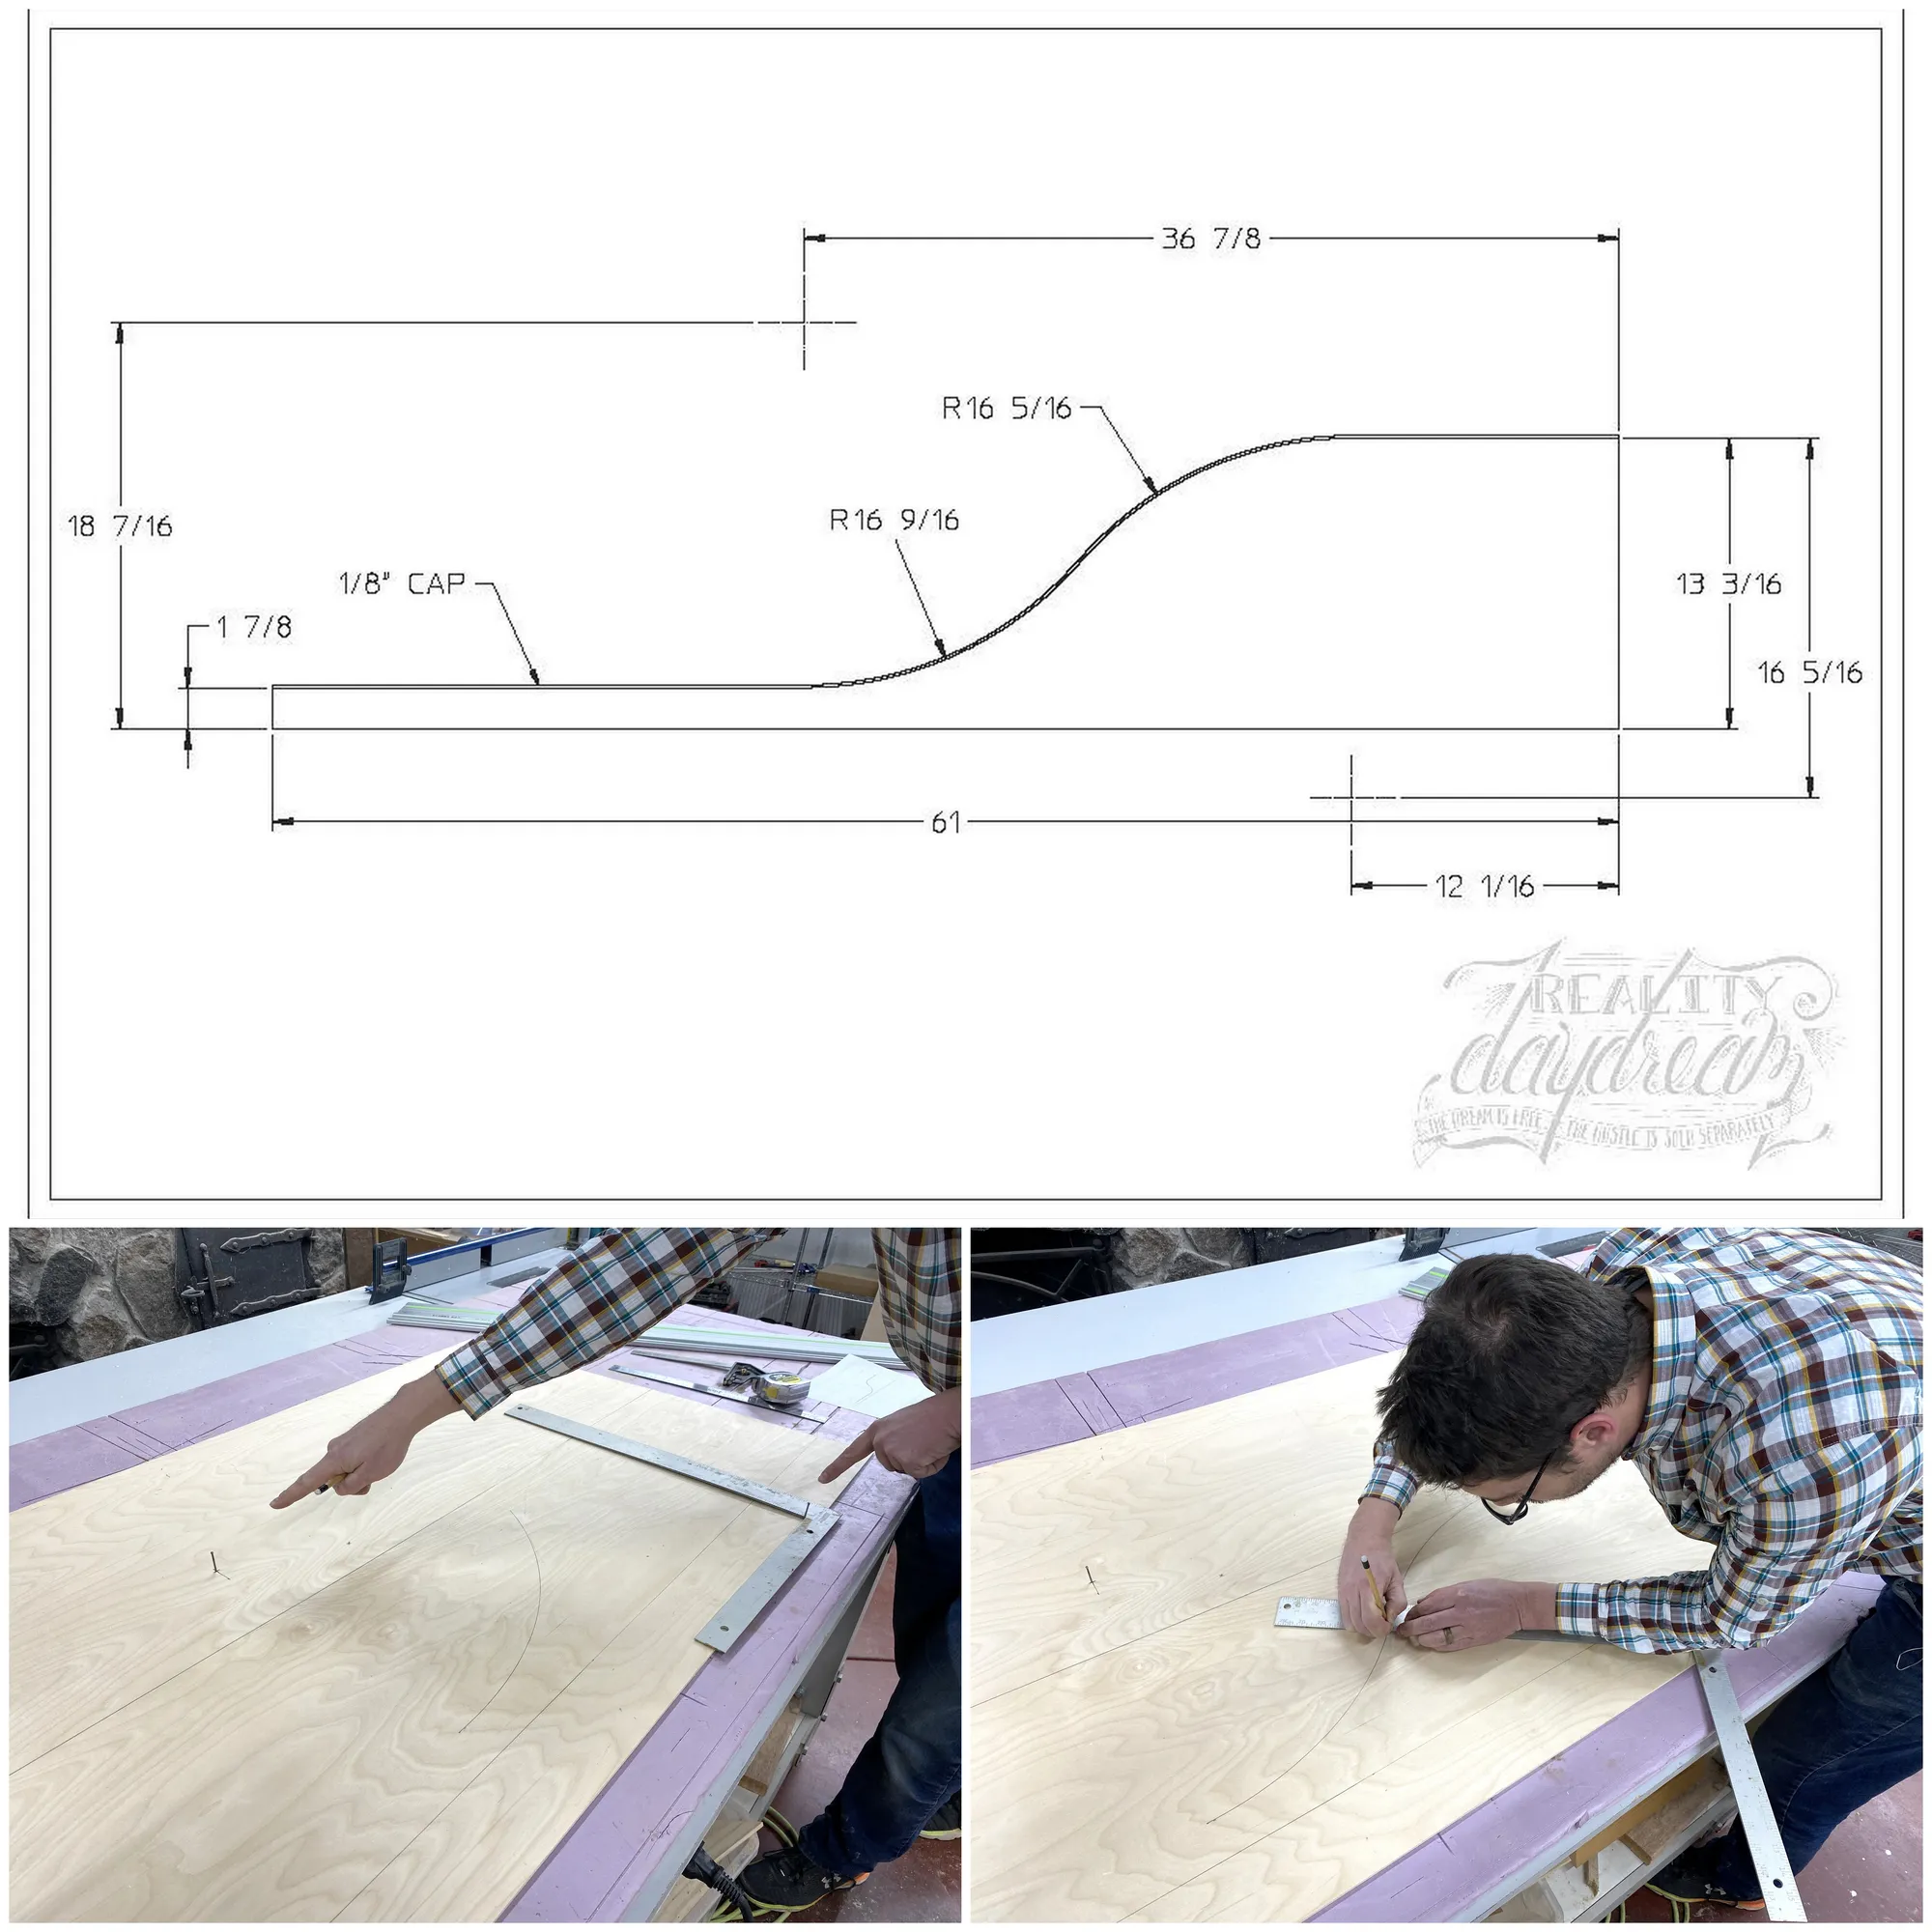
3Front Template
Using a scrap of 1/4 plywood, layout the front pattern
Tip: Using a square to create your radius Hammer a nail into the center then use the square, hooked on the nail.
4Cut Template
Cut 1/4" Template and sand smooth.
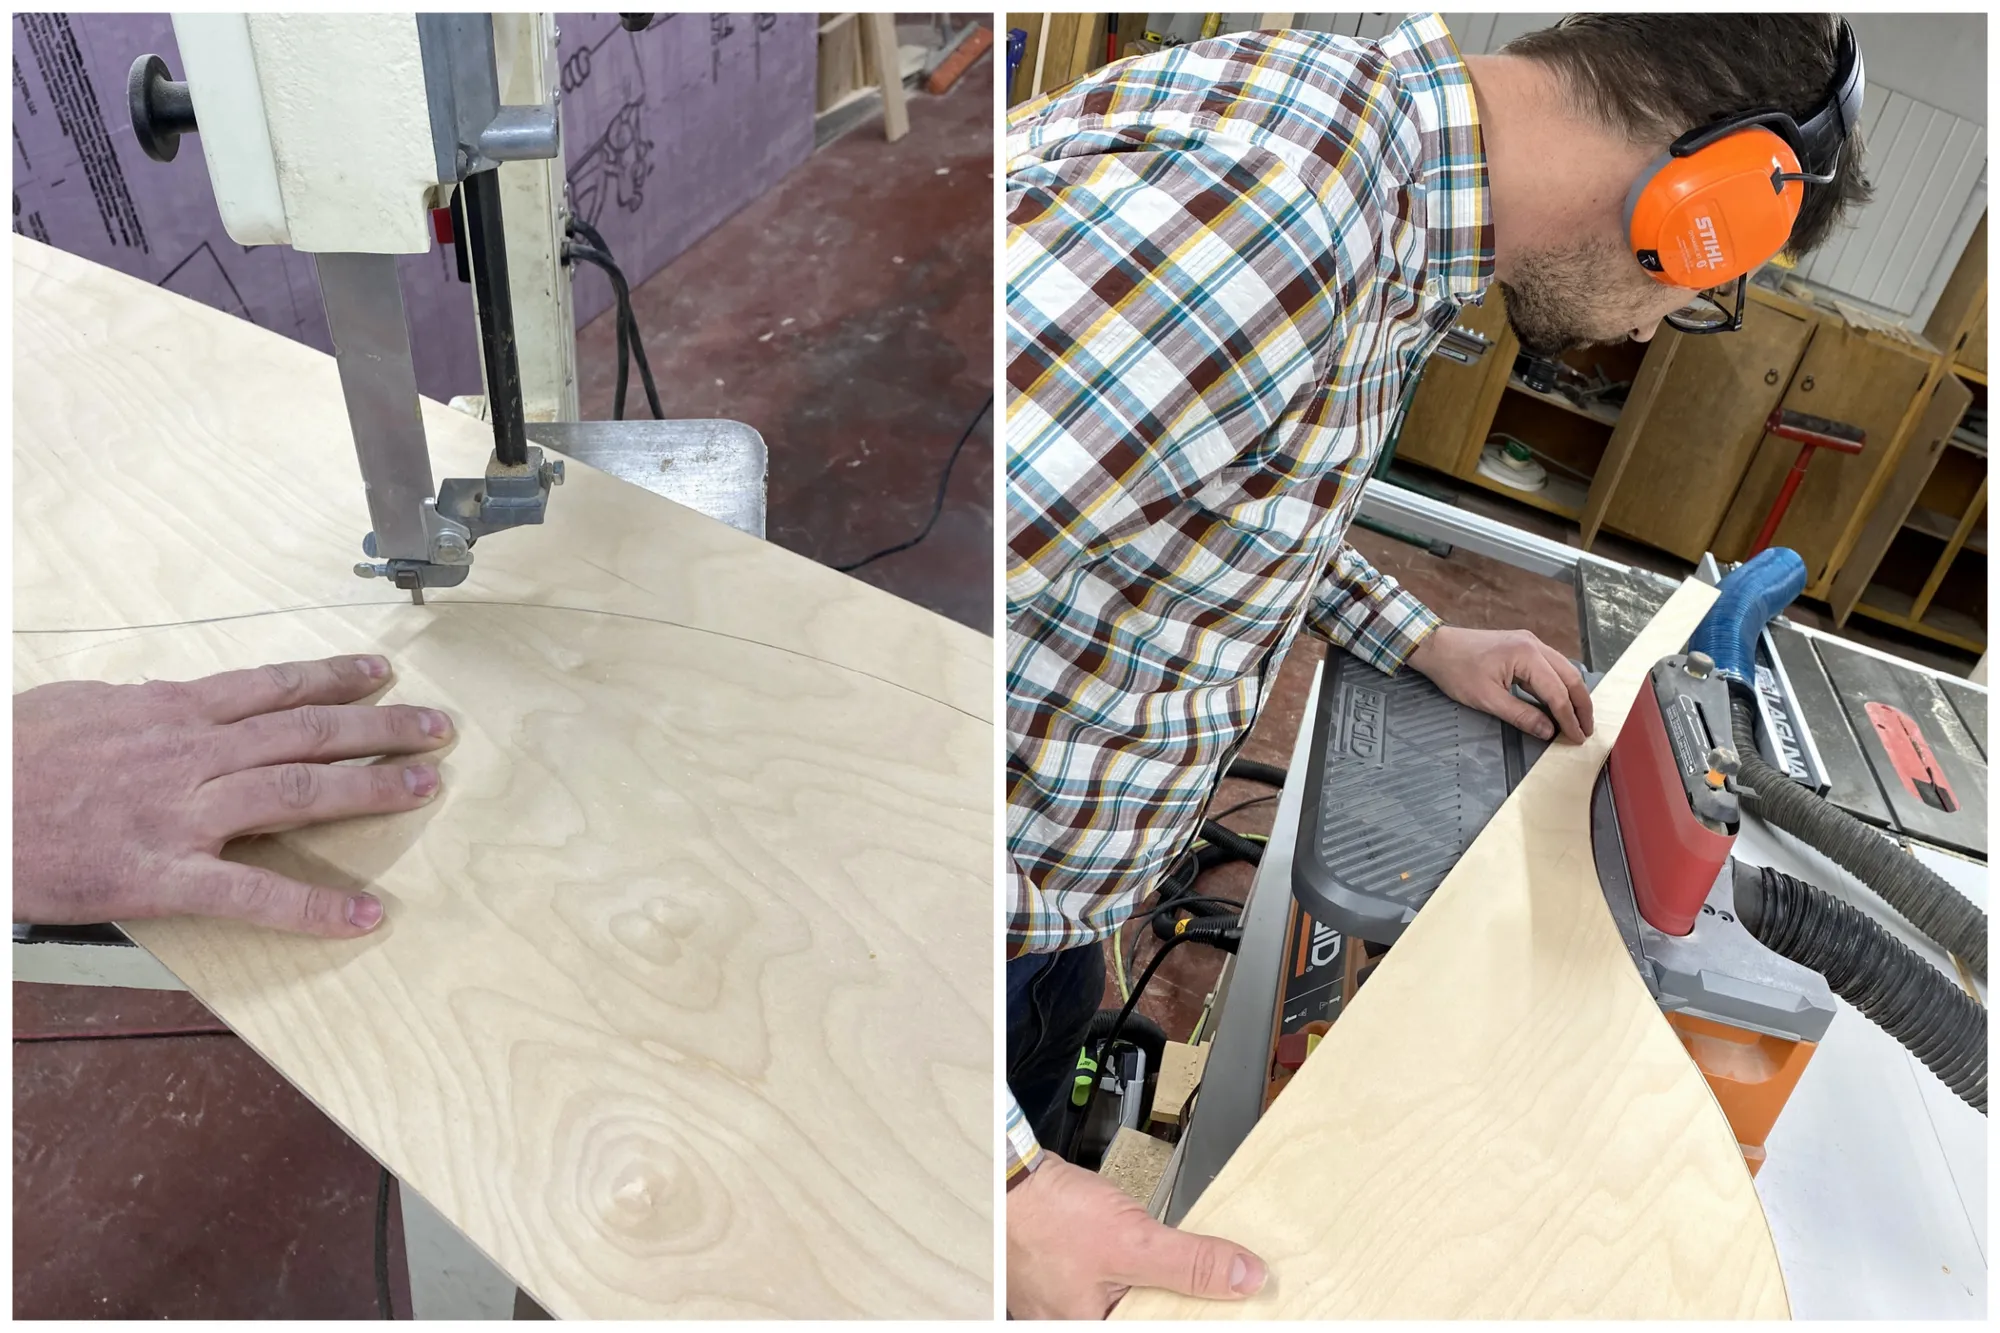
5Layout Fronts
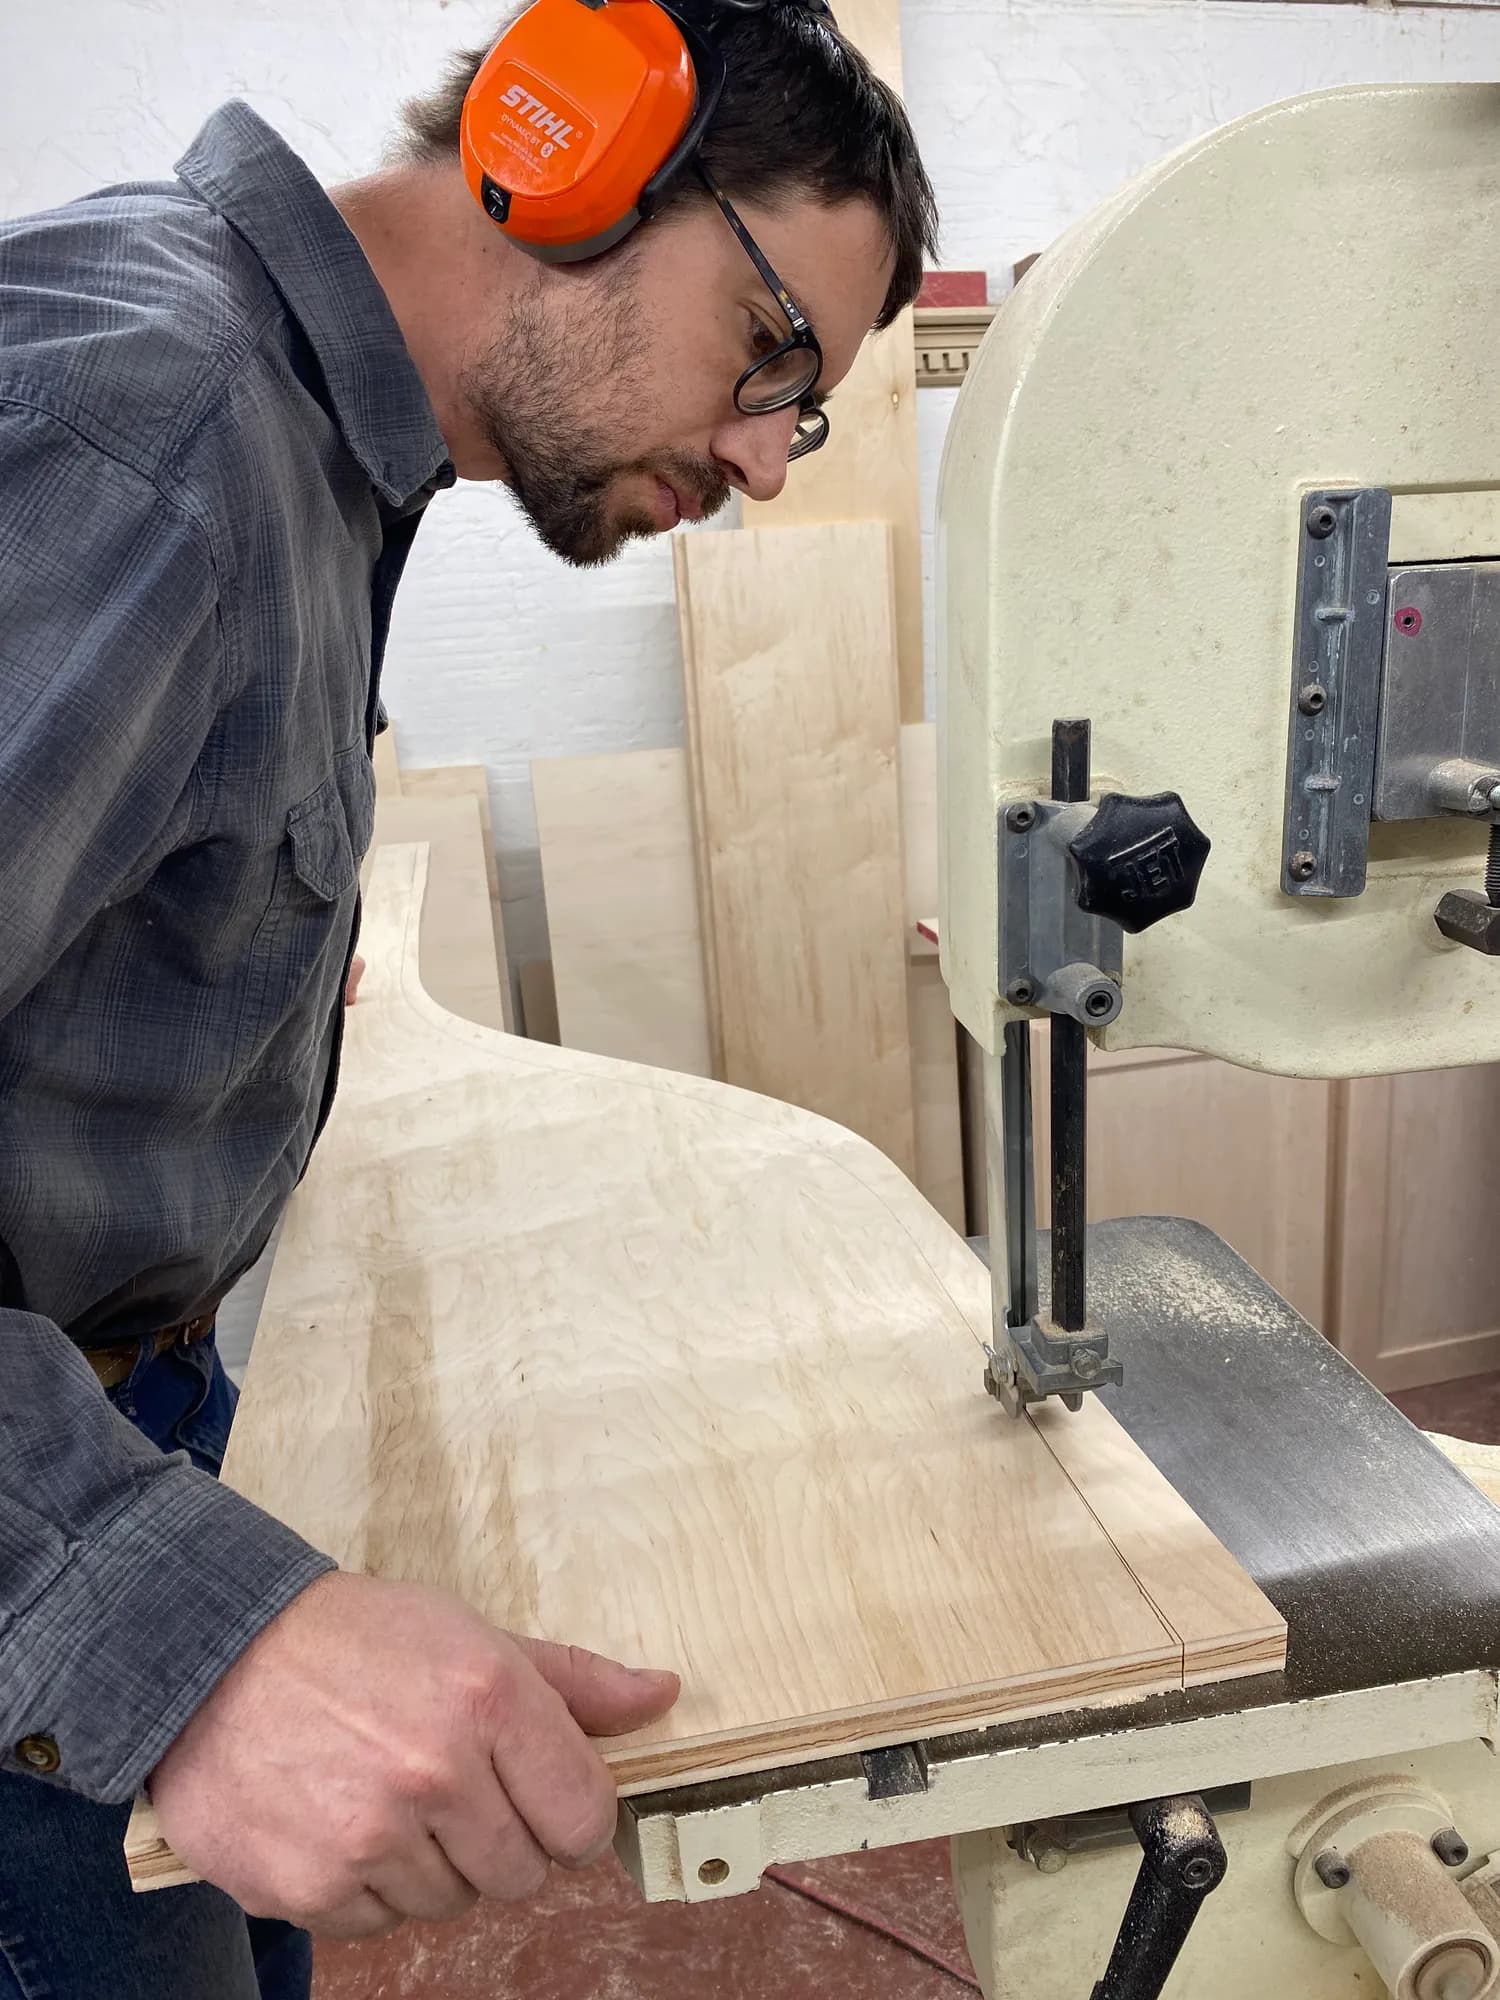
Layout fronts on 3/4" plywood and cut with bandsaw.
Tip: Leave some meat leave between a 1/16" to an 1/8" inch of material. we will clean it up with the router in the next step
6Route using the Template
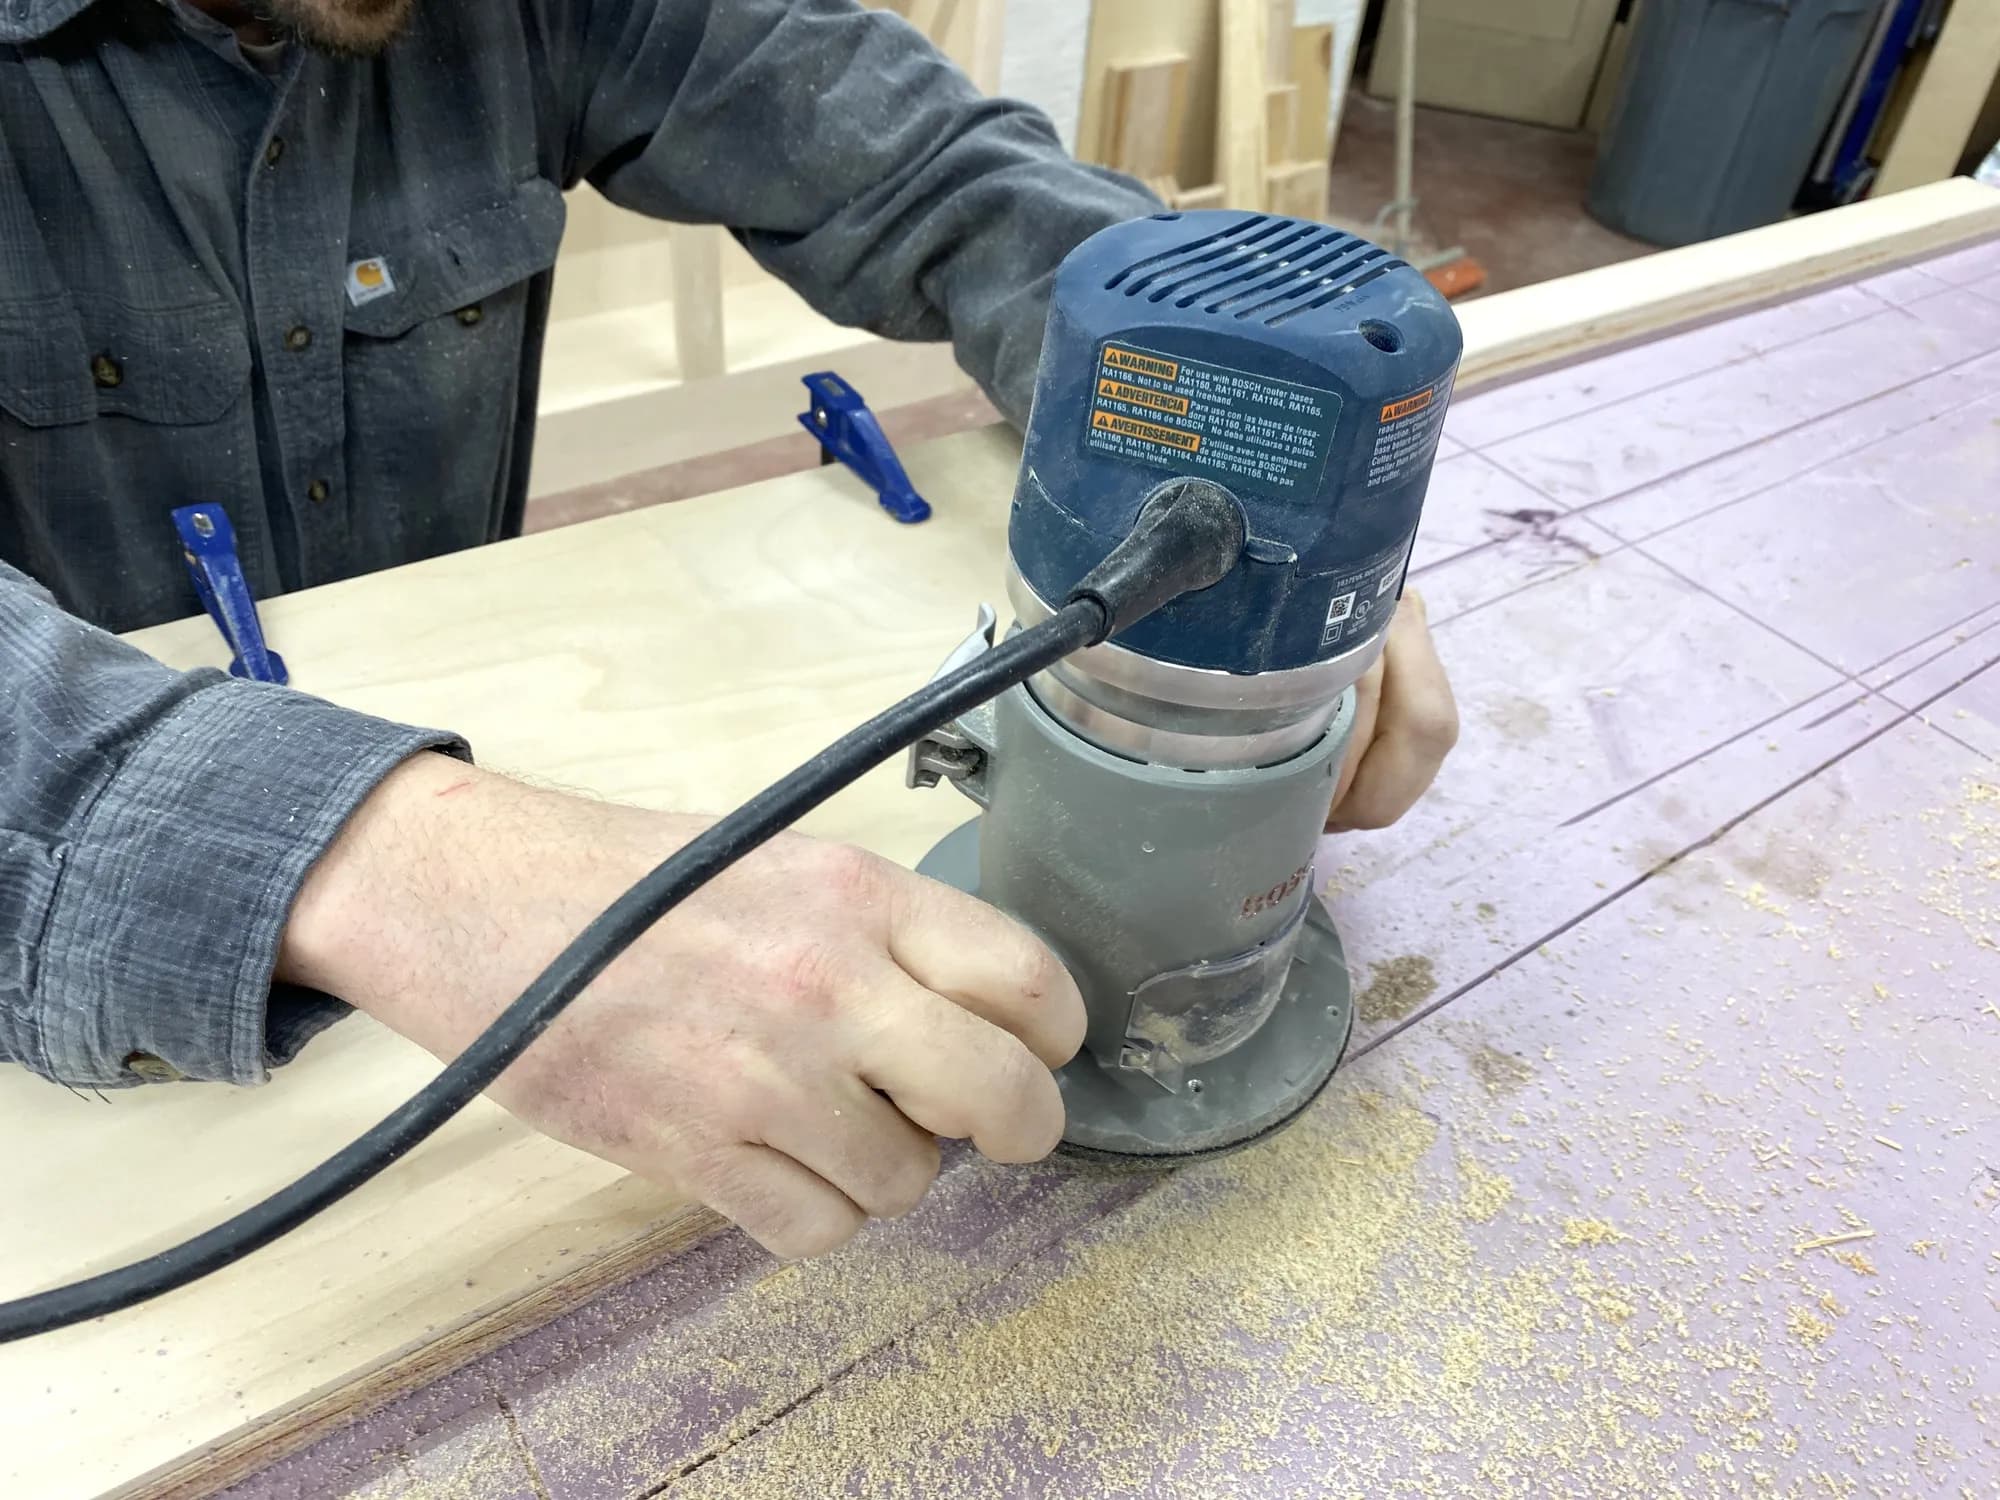
clamp the template to the fronts and route using a pattern bit.
Tip: Carpet Tape We used Carpet tape on the narrow part of the template.
7Add Cap
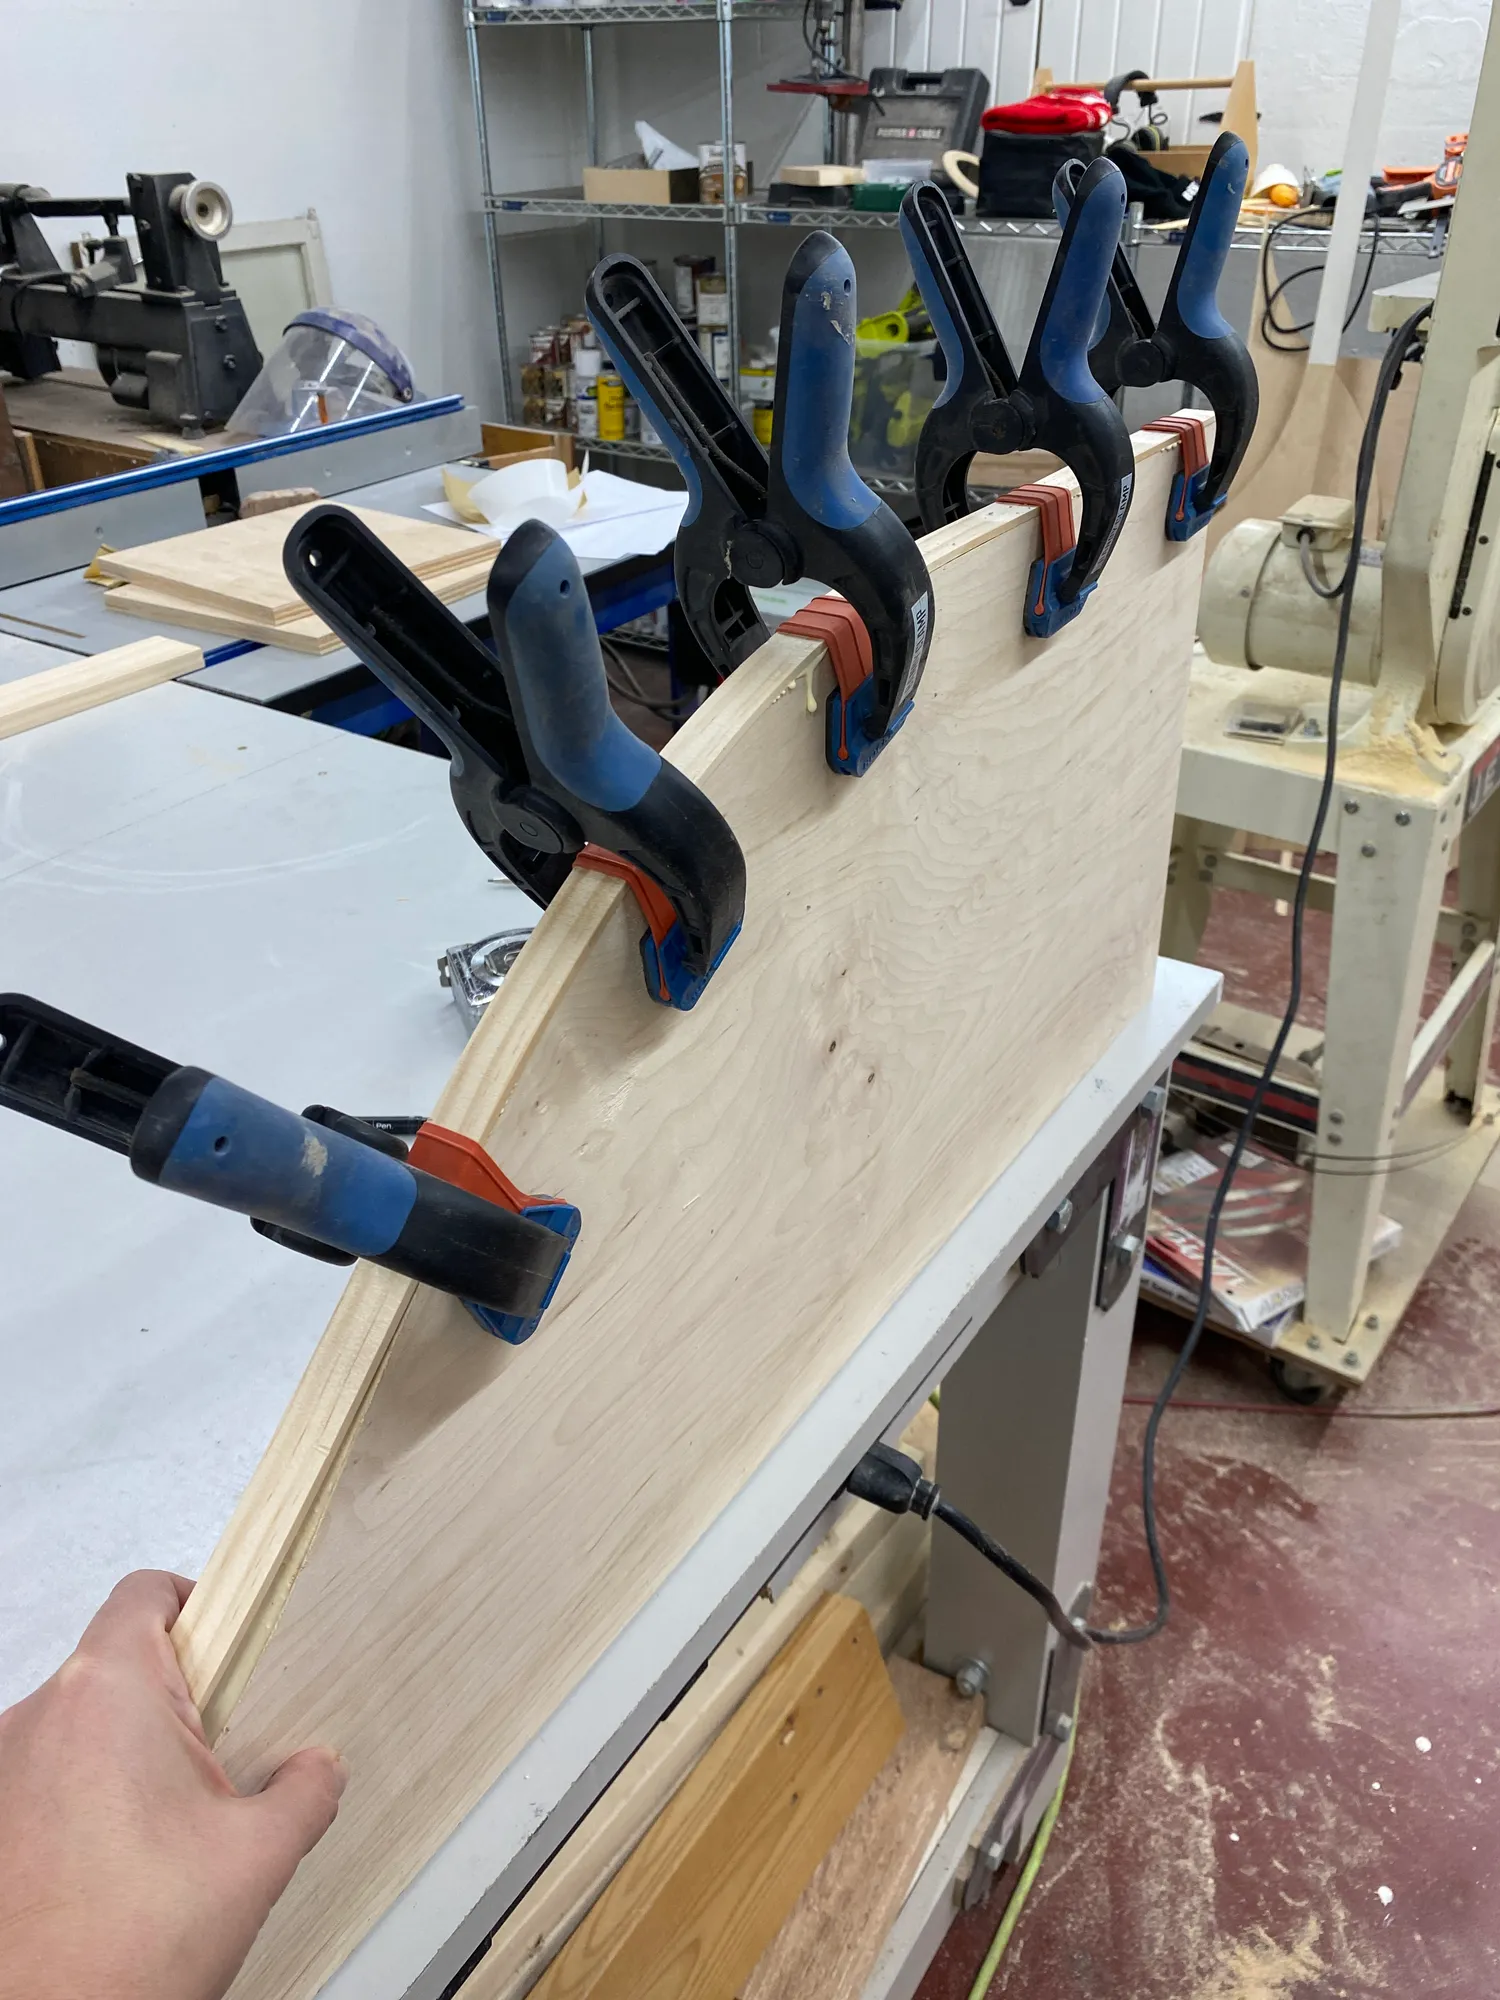
Cut 1/8" pine caps using a table saw and glue onto the edge of the plywood fronts.
Tip: Use a lot of clamps Bandy Clamps work nice for this.
8Middle Shelves
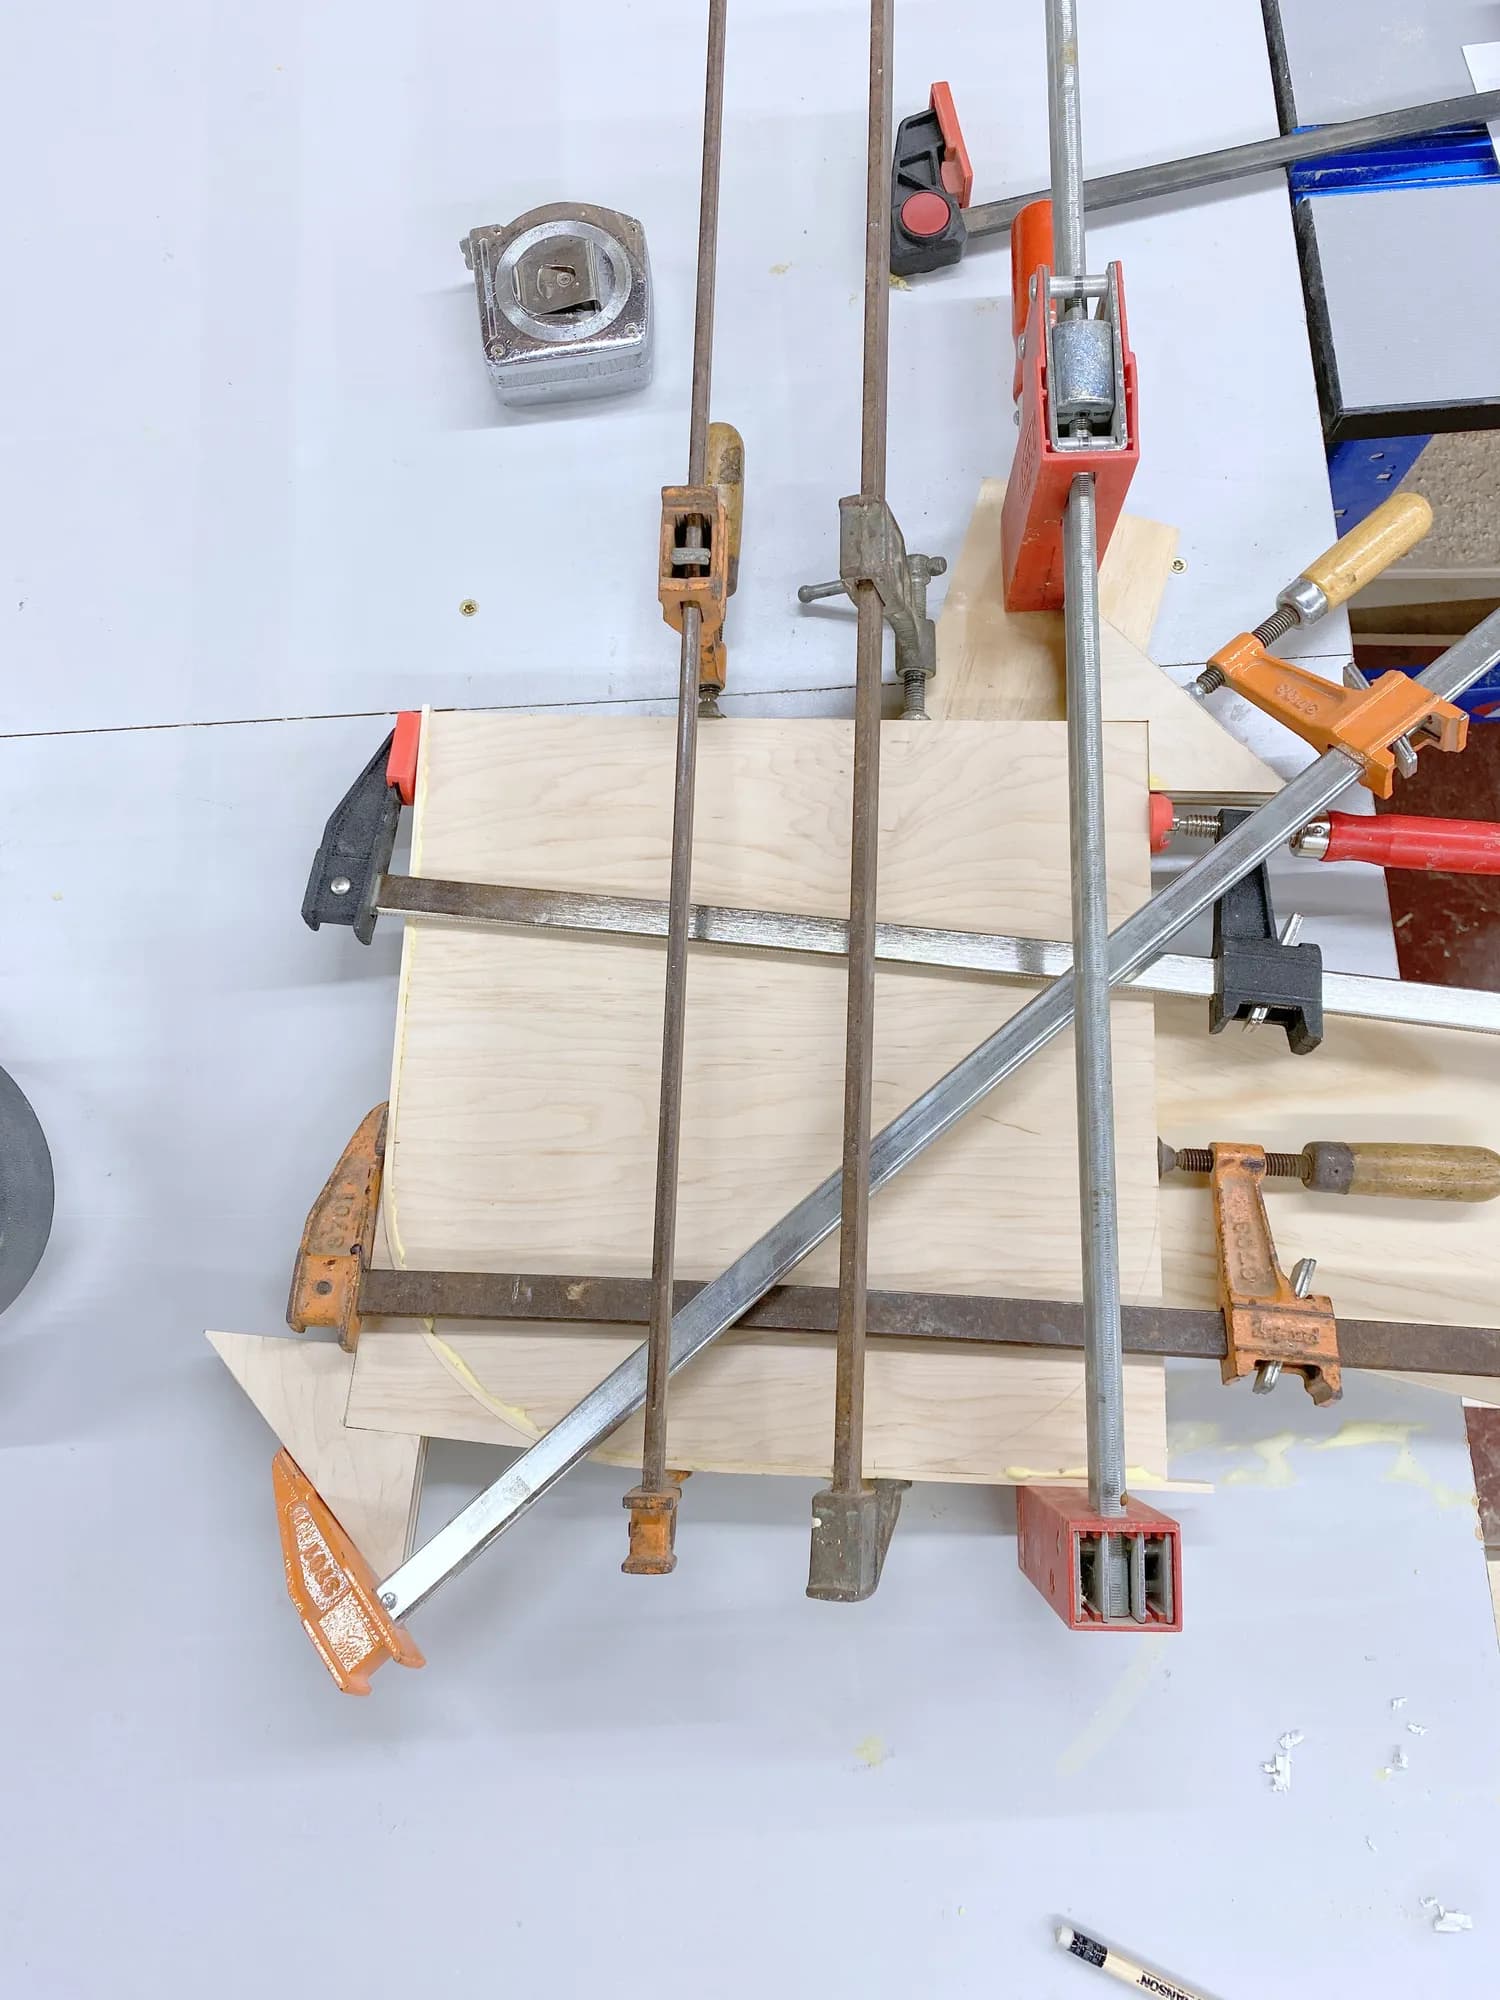
Cut the radius of the middle shelf and glue the 1/8" cap the the front edge. Then glue the caps to the remaining shelves.
Tip: Use the scrap of wood Use the the scrap remaining from cutting the radius to help when bending the cap around the sharp radius.
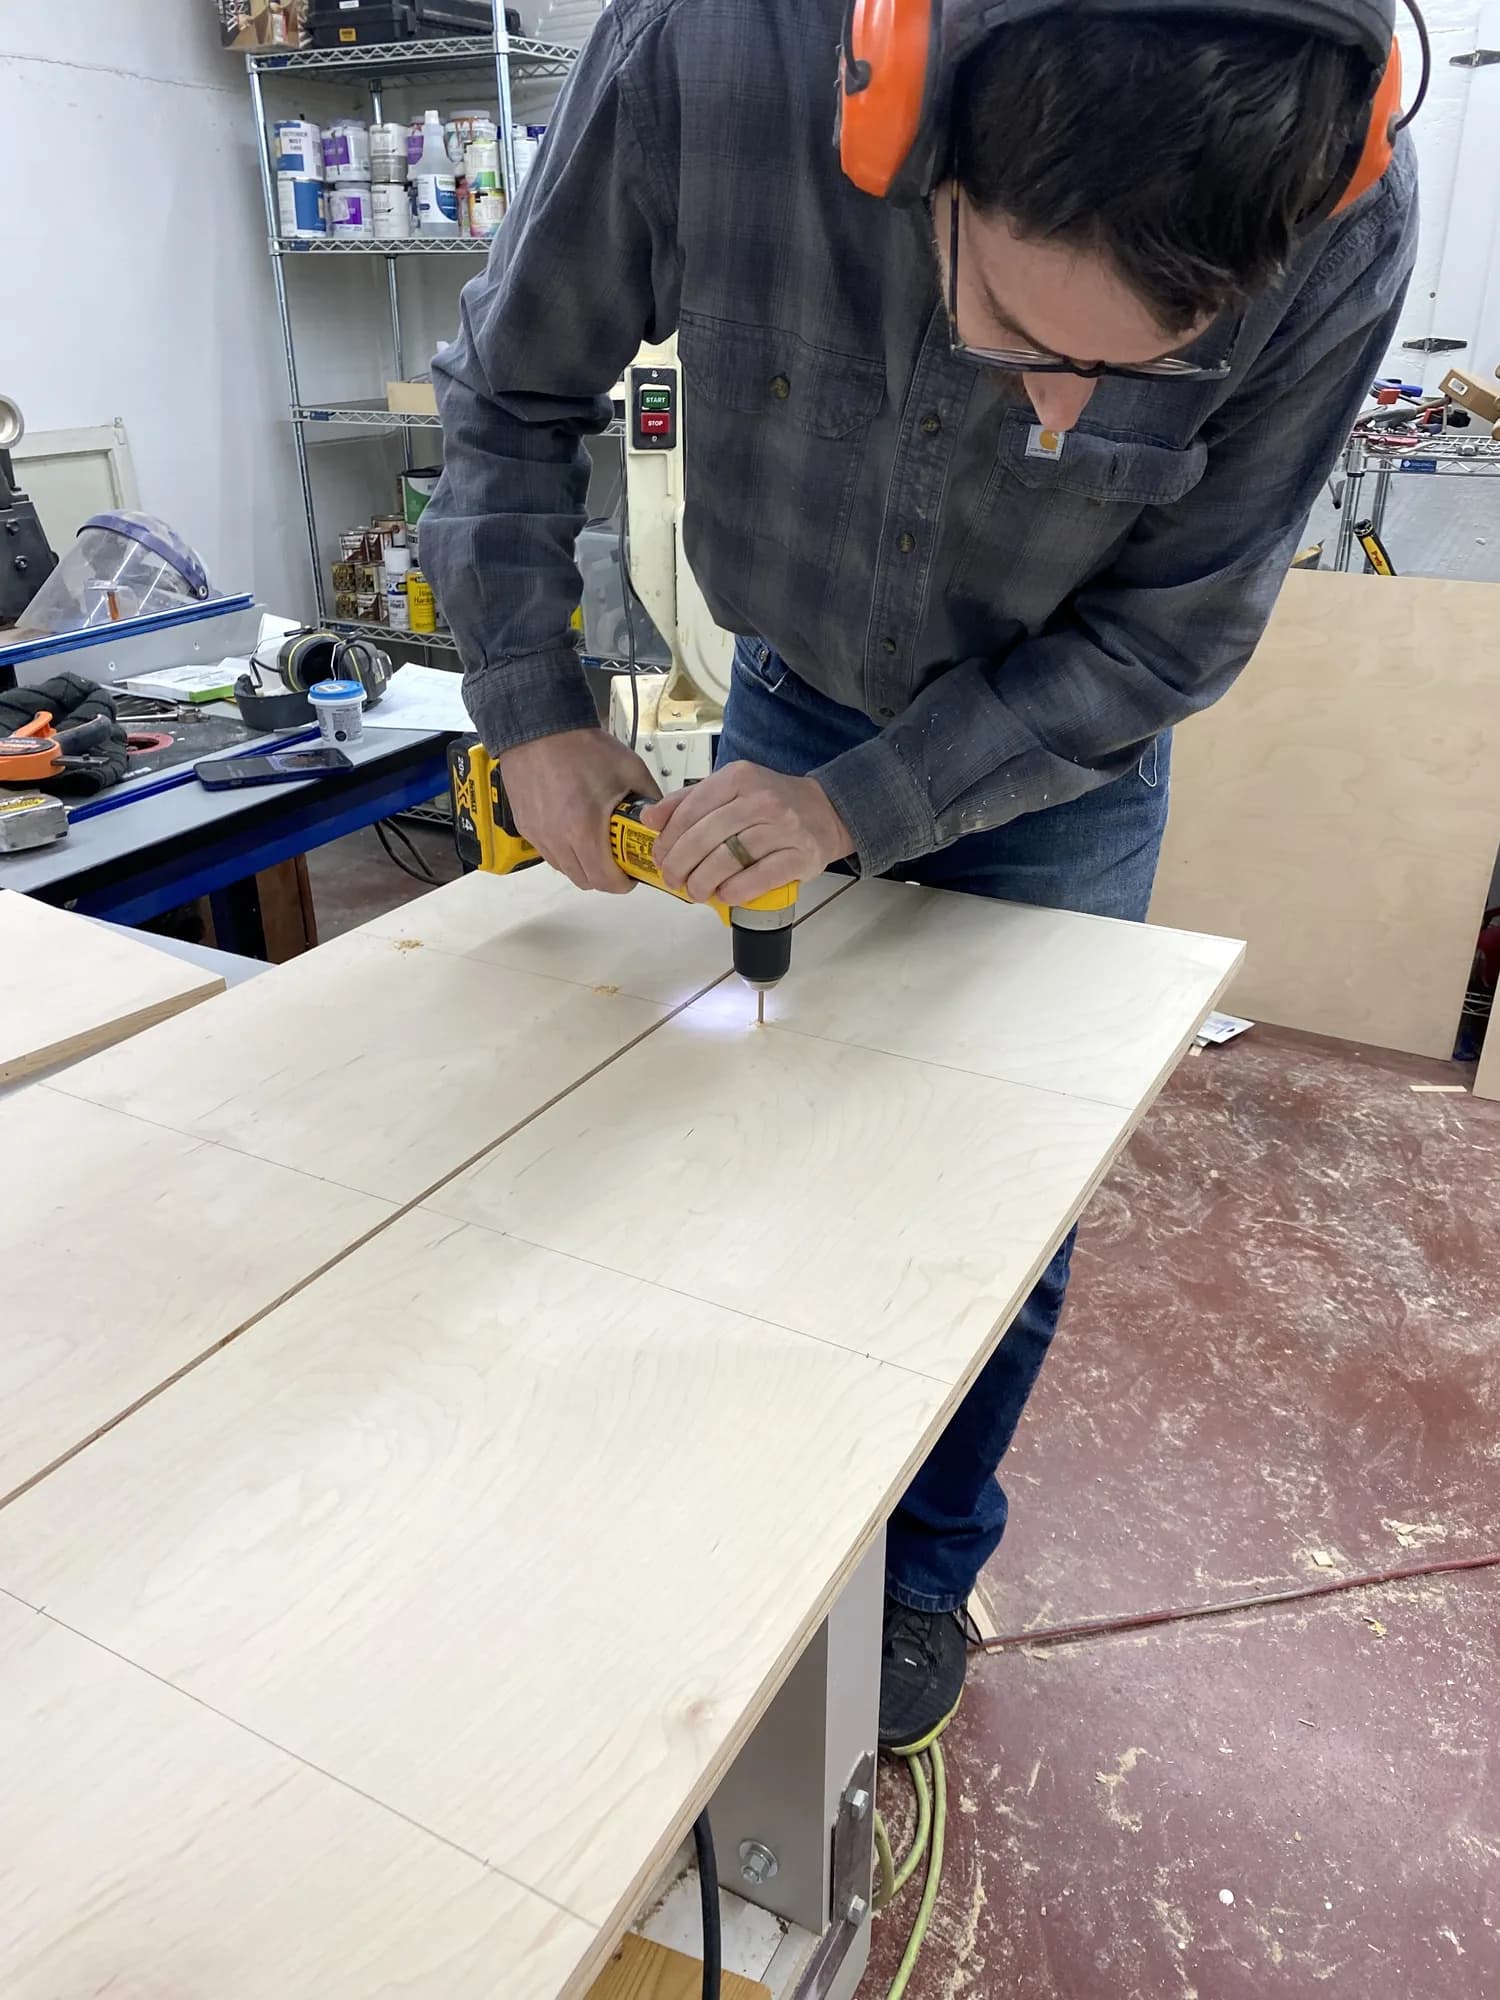
9Shelf Pilot Holes
Layout the location for the shelves and drill a 1/8" pilot hole through both backs.
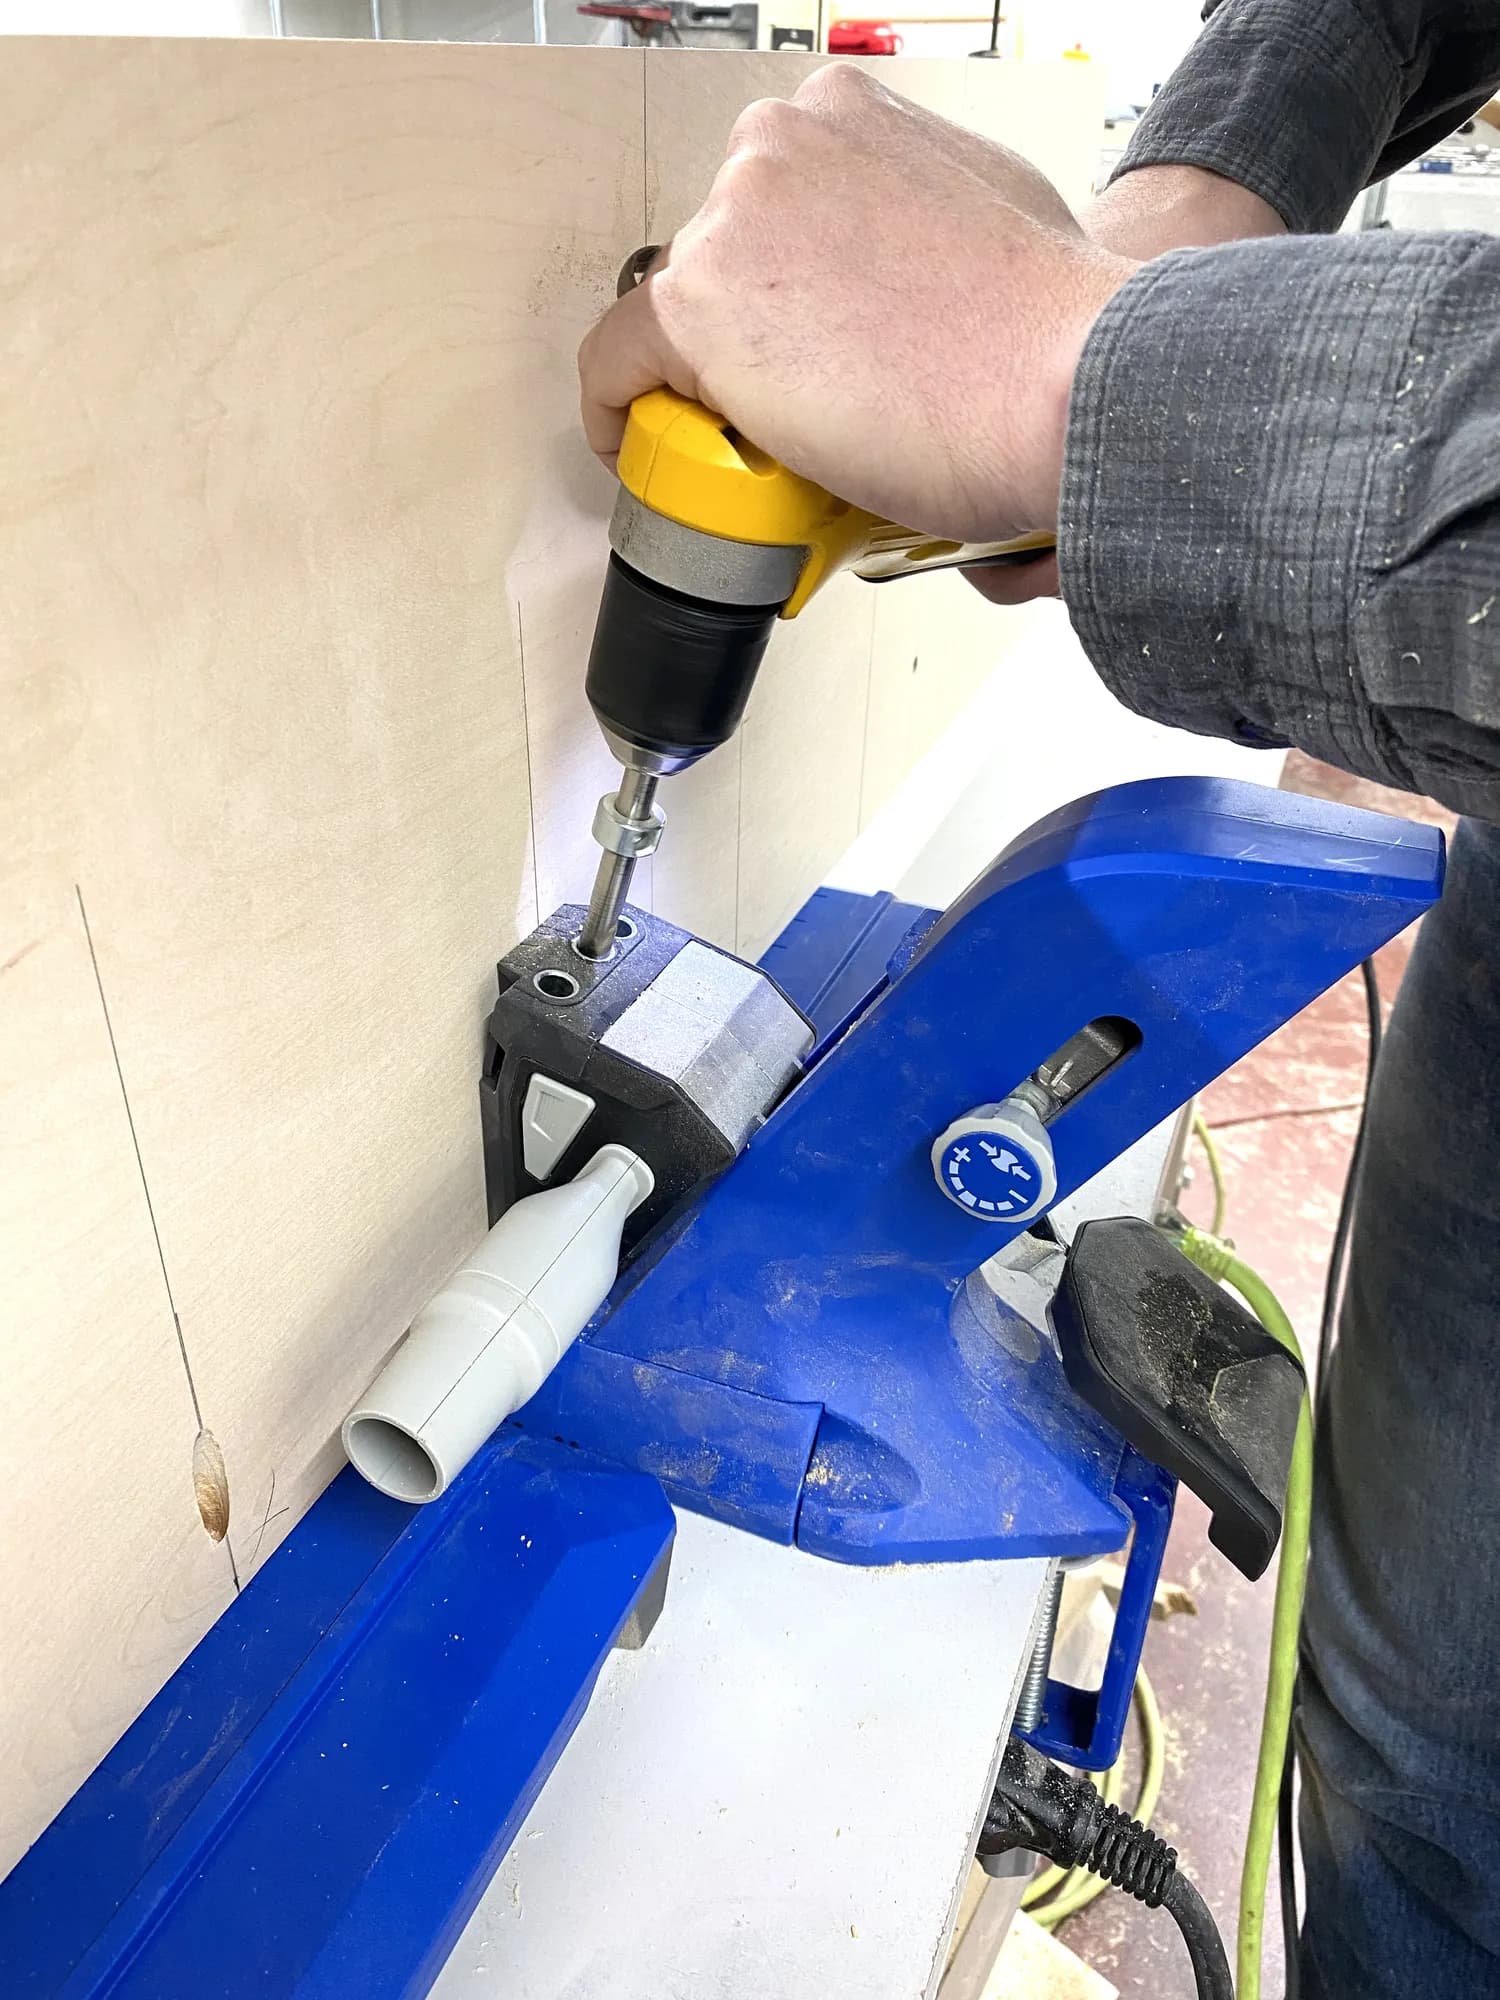
10Drill Pocket Holes
Drill pocket holes on one edge of the Narrow Back.
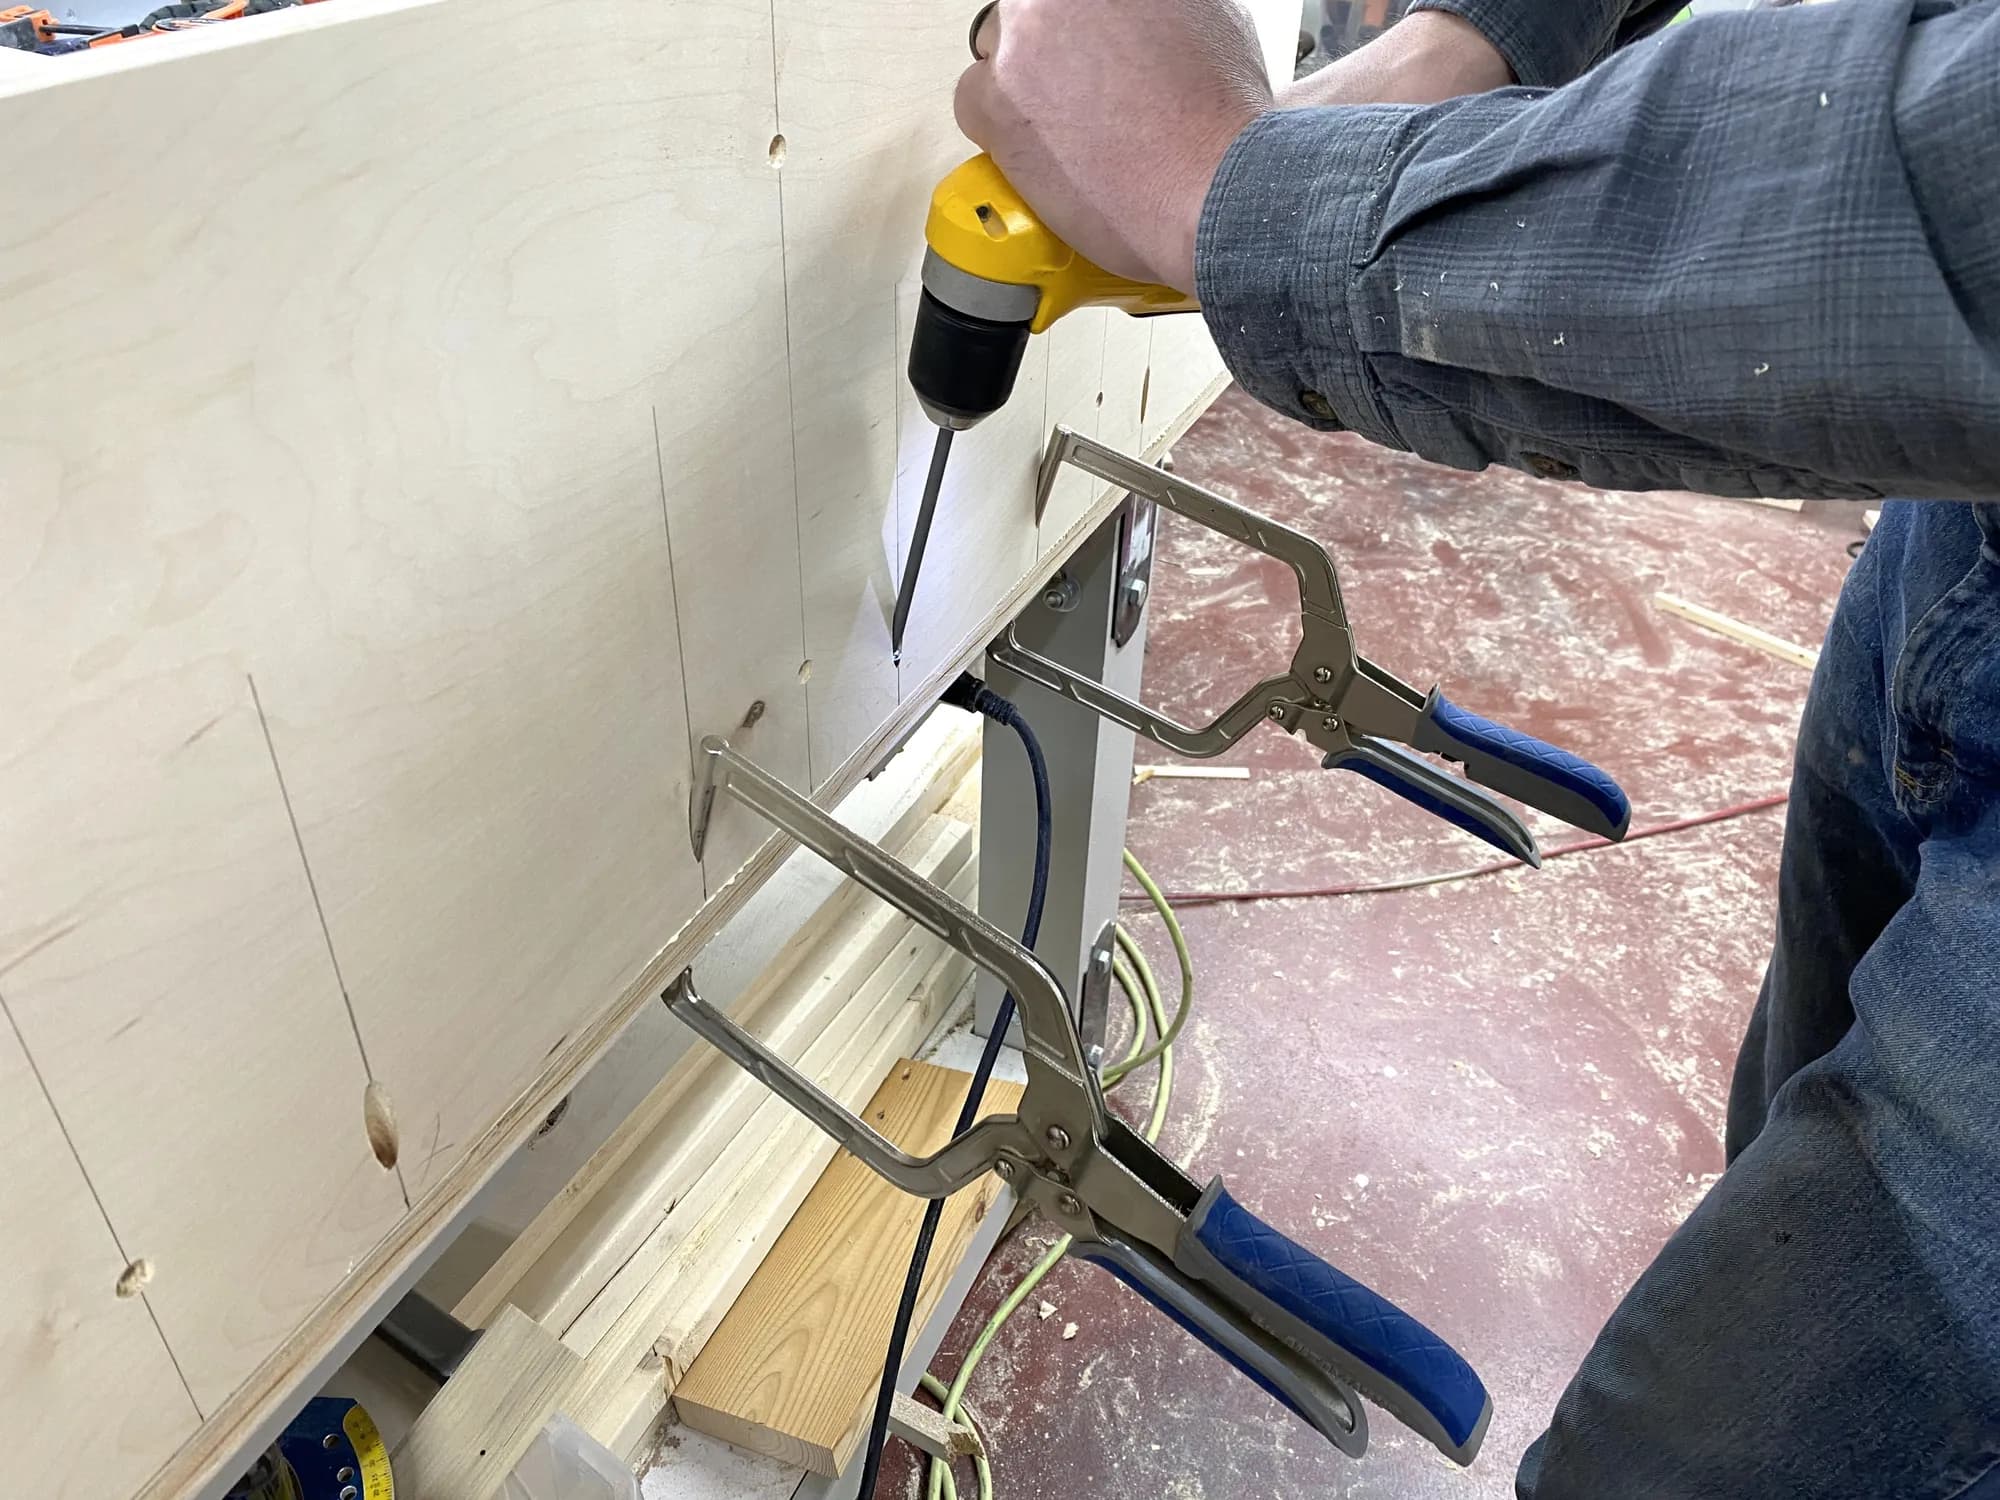
11Glue and Screw the Backs
Screw the Narrow back to the other back.
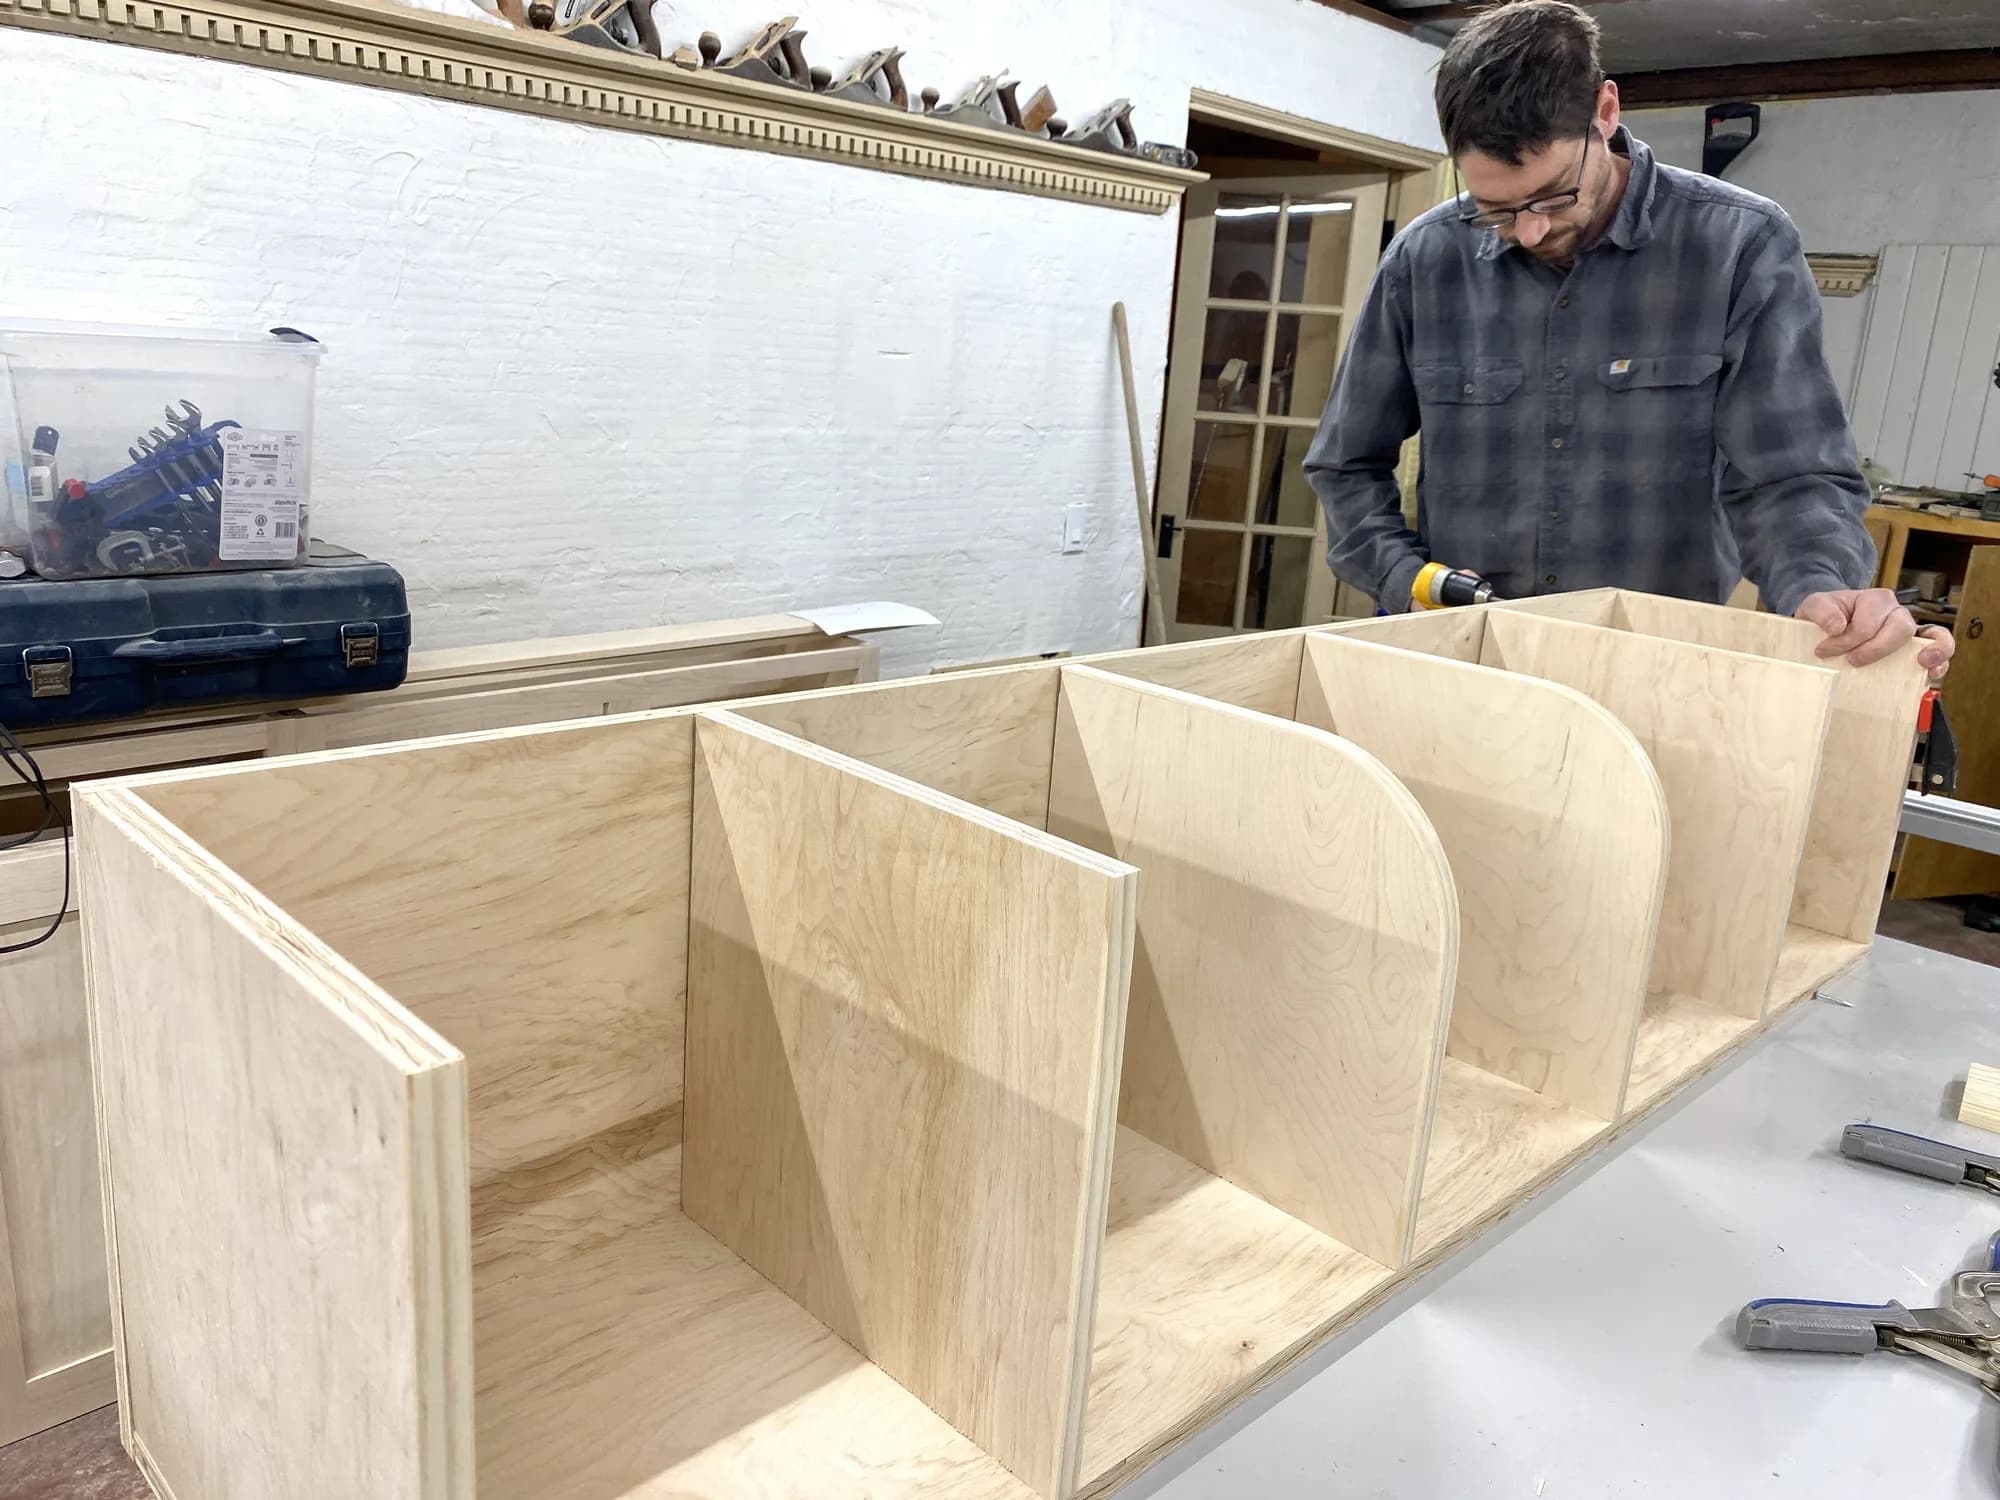
12install the shelves
line up and screw the shelves into position.
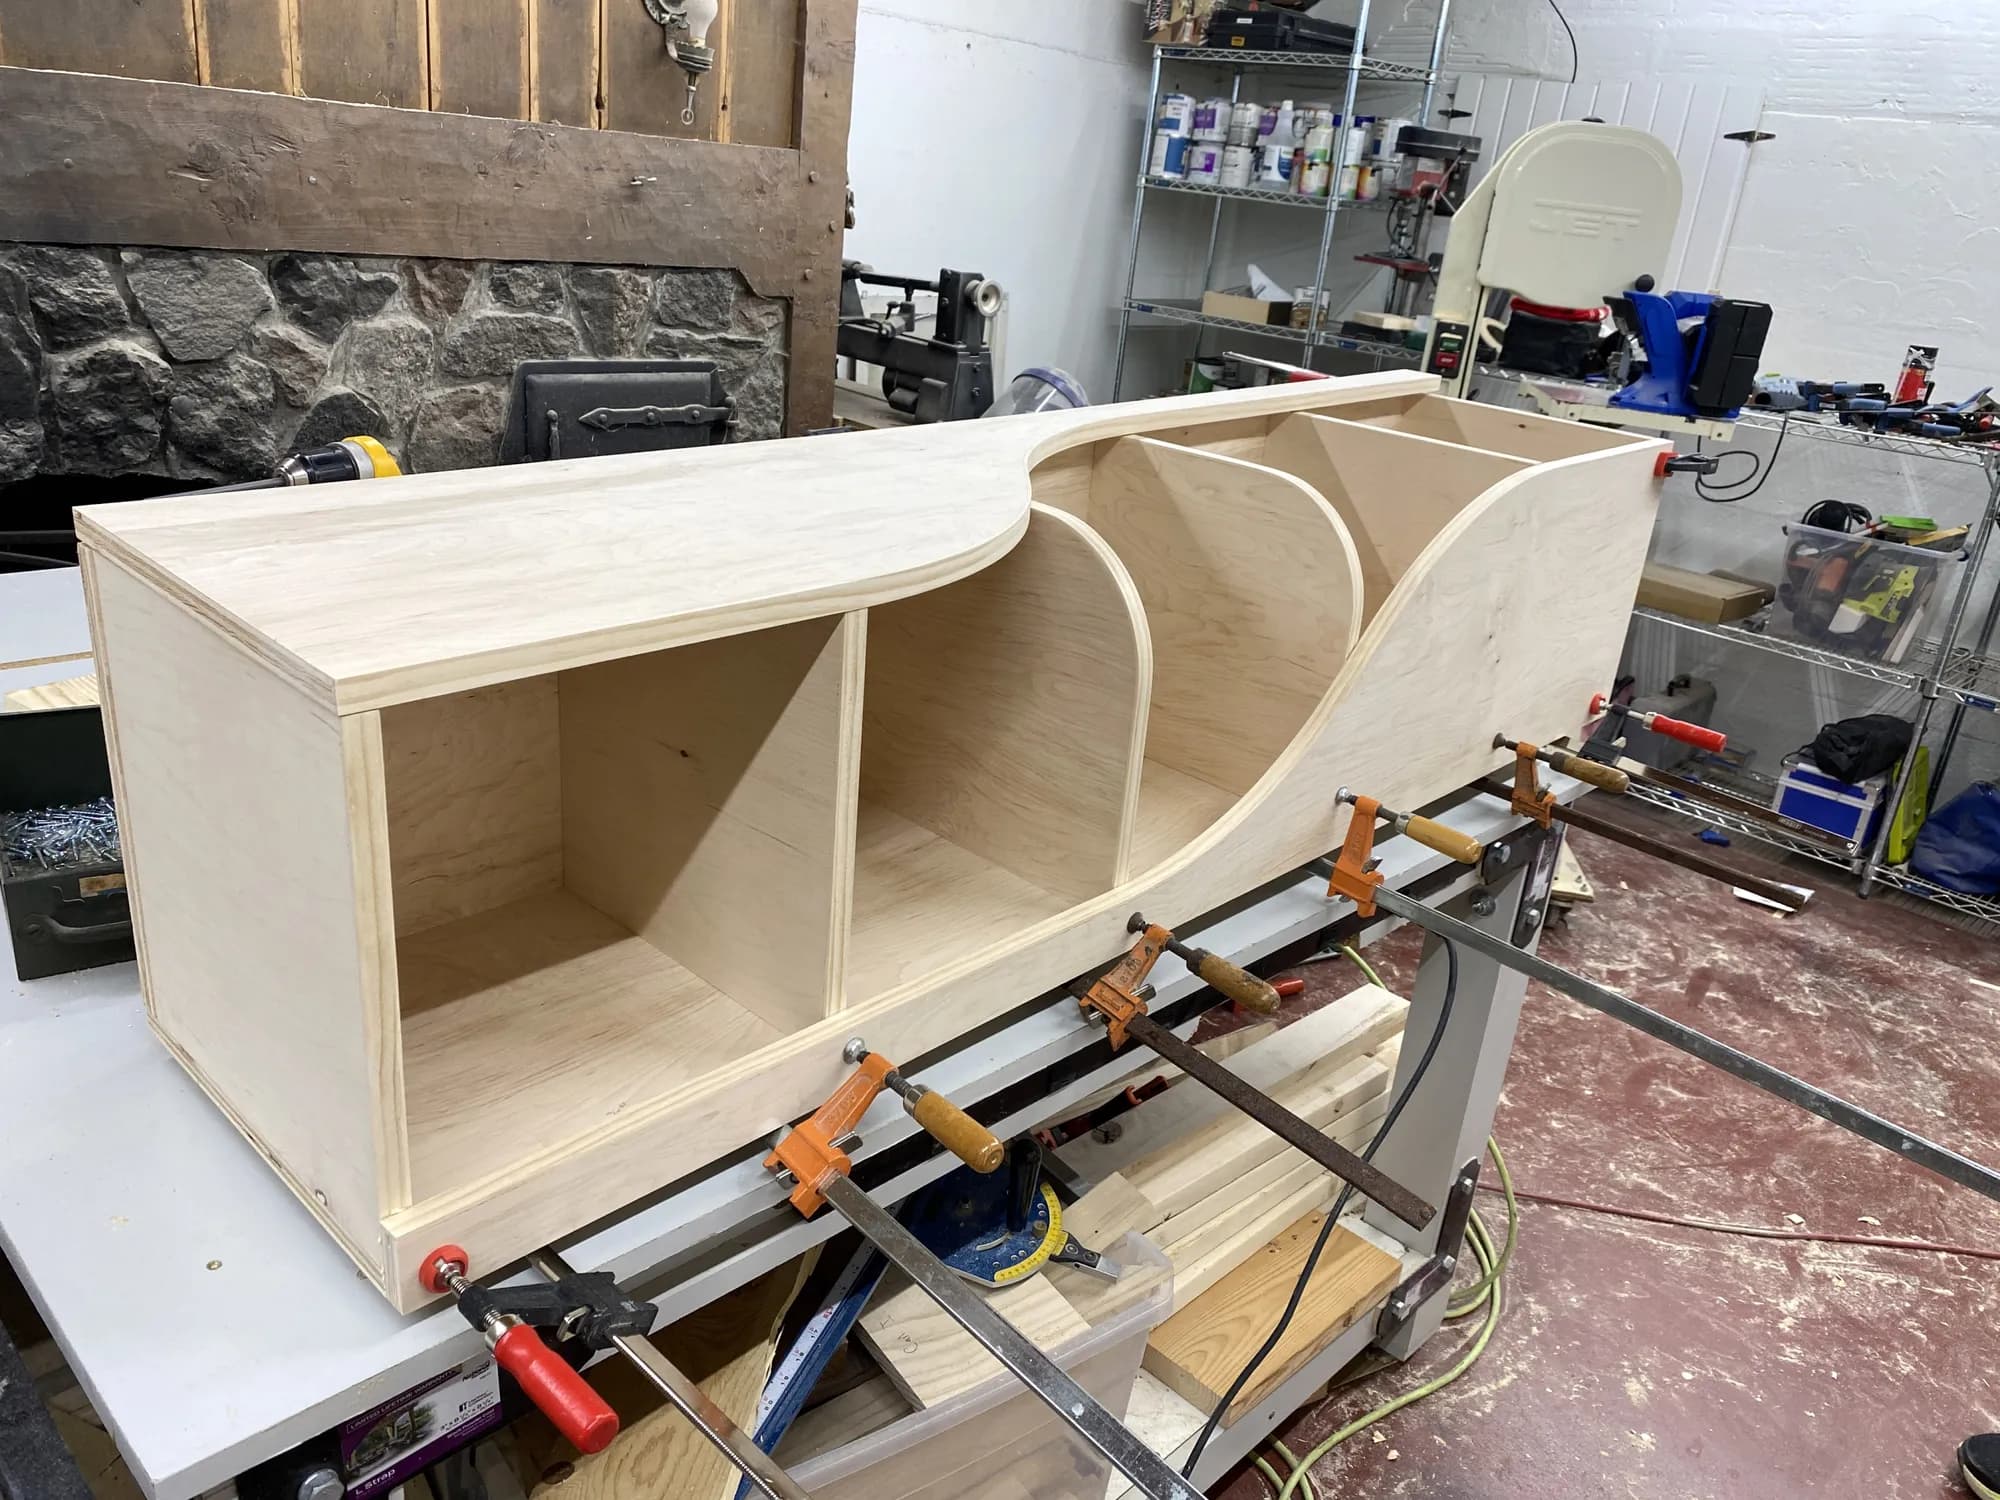
13Glue and clamp the Fronts.
Glue and clamp the fronts into position.
14Visit us for more!
Check out our blog www.RealityDaydream.com for more tutorials and fun project inspiration!
Tags
- Shelves
- Intermediate
Reviews & builds
No reviews yet
Sign in to review this plan or share your build.
No reviews yet. Be the first to build this.