Notch
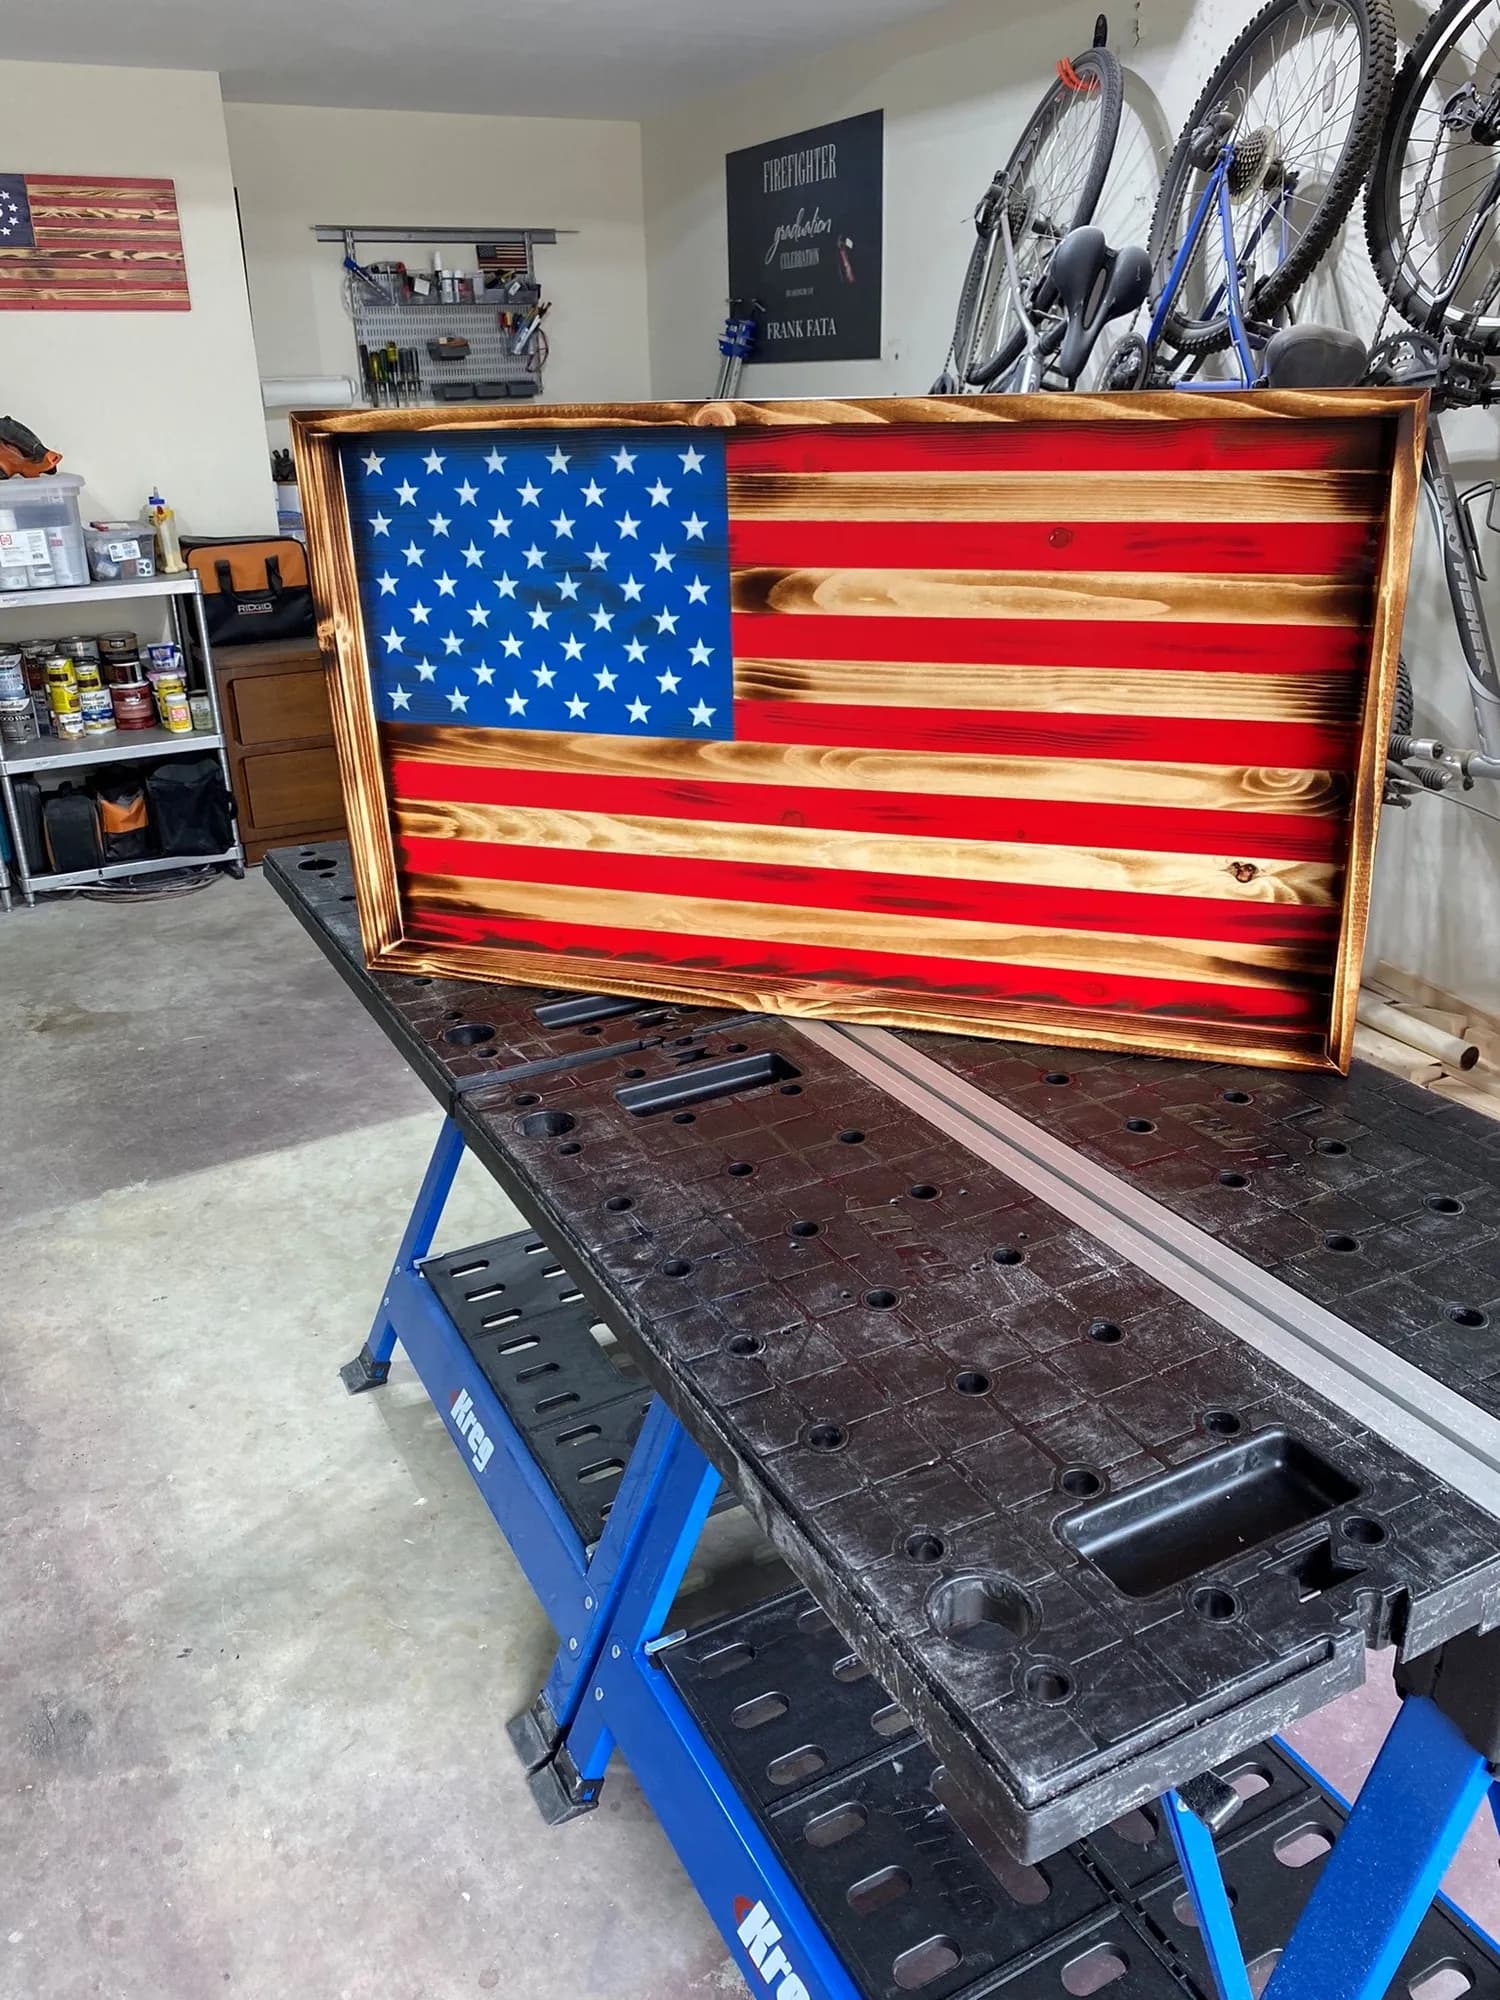
NotchBox-Framed Rustic Wood Flag
Step-by-step build — 17 steps. Also available as a print sheet.
1Cut 1x2s
Start by cutting your 1x2s down to 36" (13 pieces). Cut 2 18" pieces from the leftover wood.
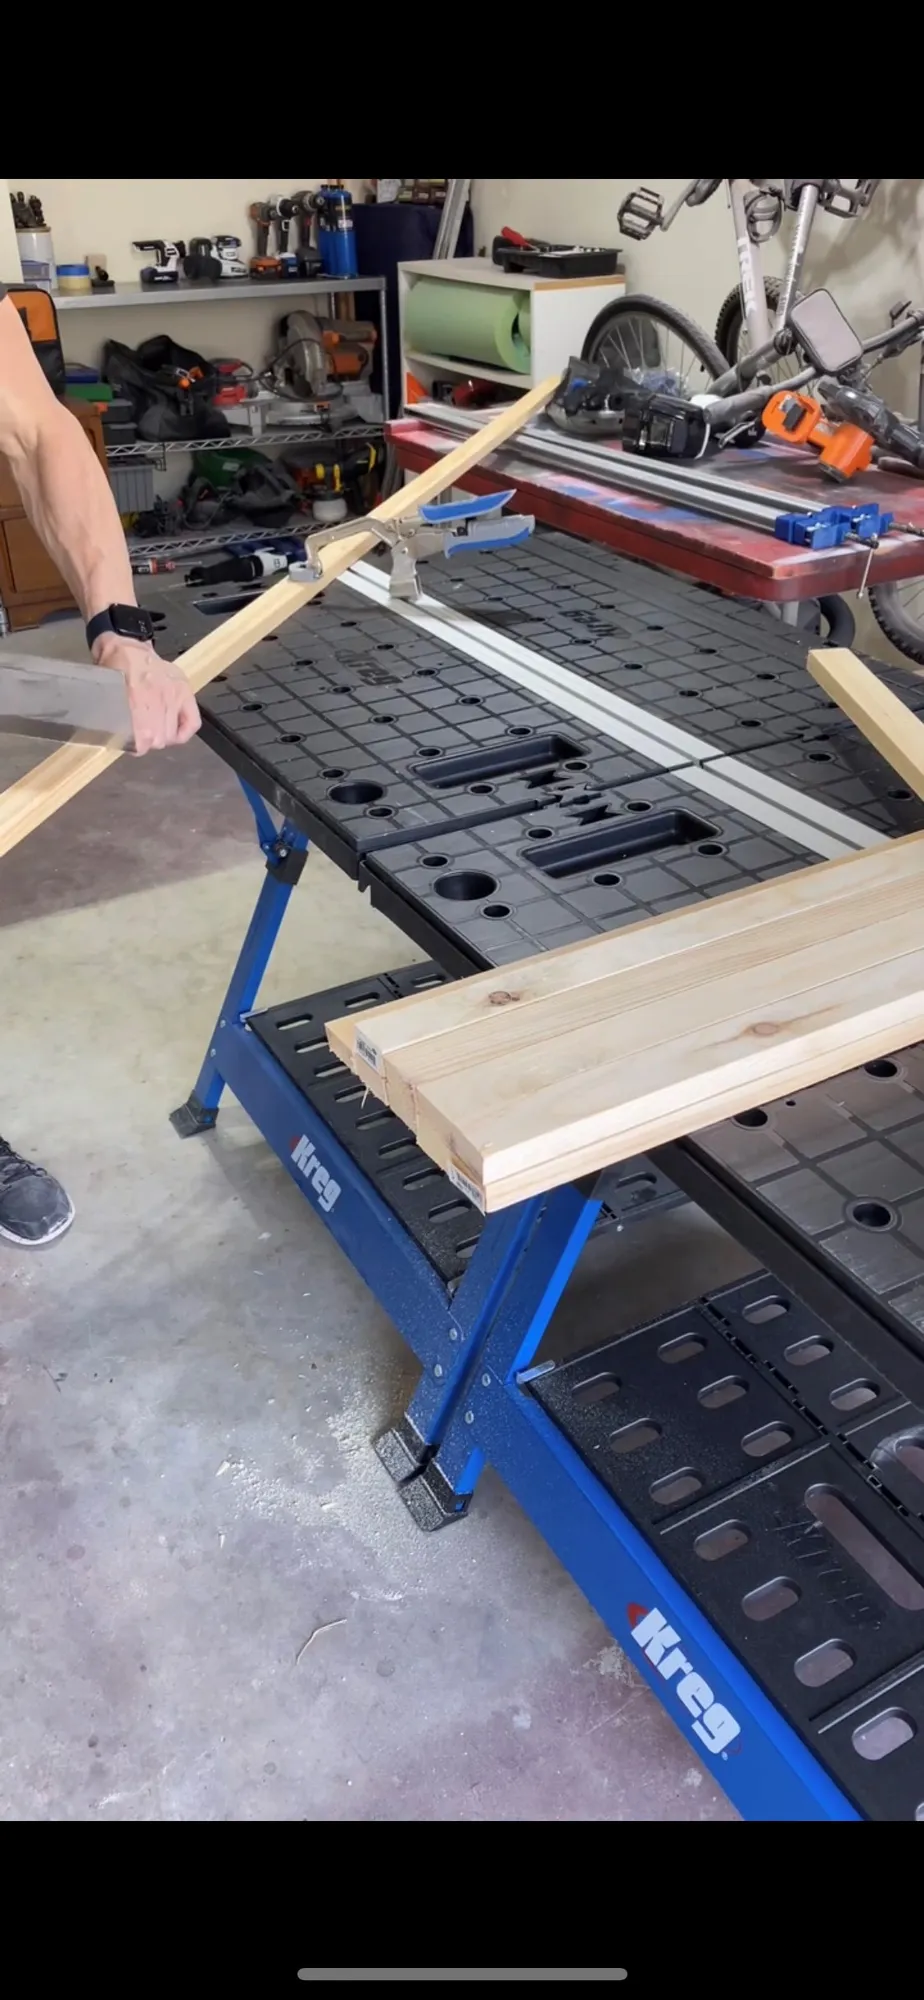
2Organize wood strips
Lay your 36” strips of wood on a flat table or wood clamps and organize them however you like. I like to keep the knots on the stripes that will be painted.
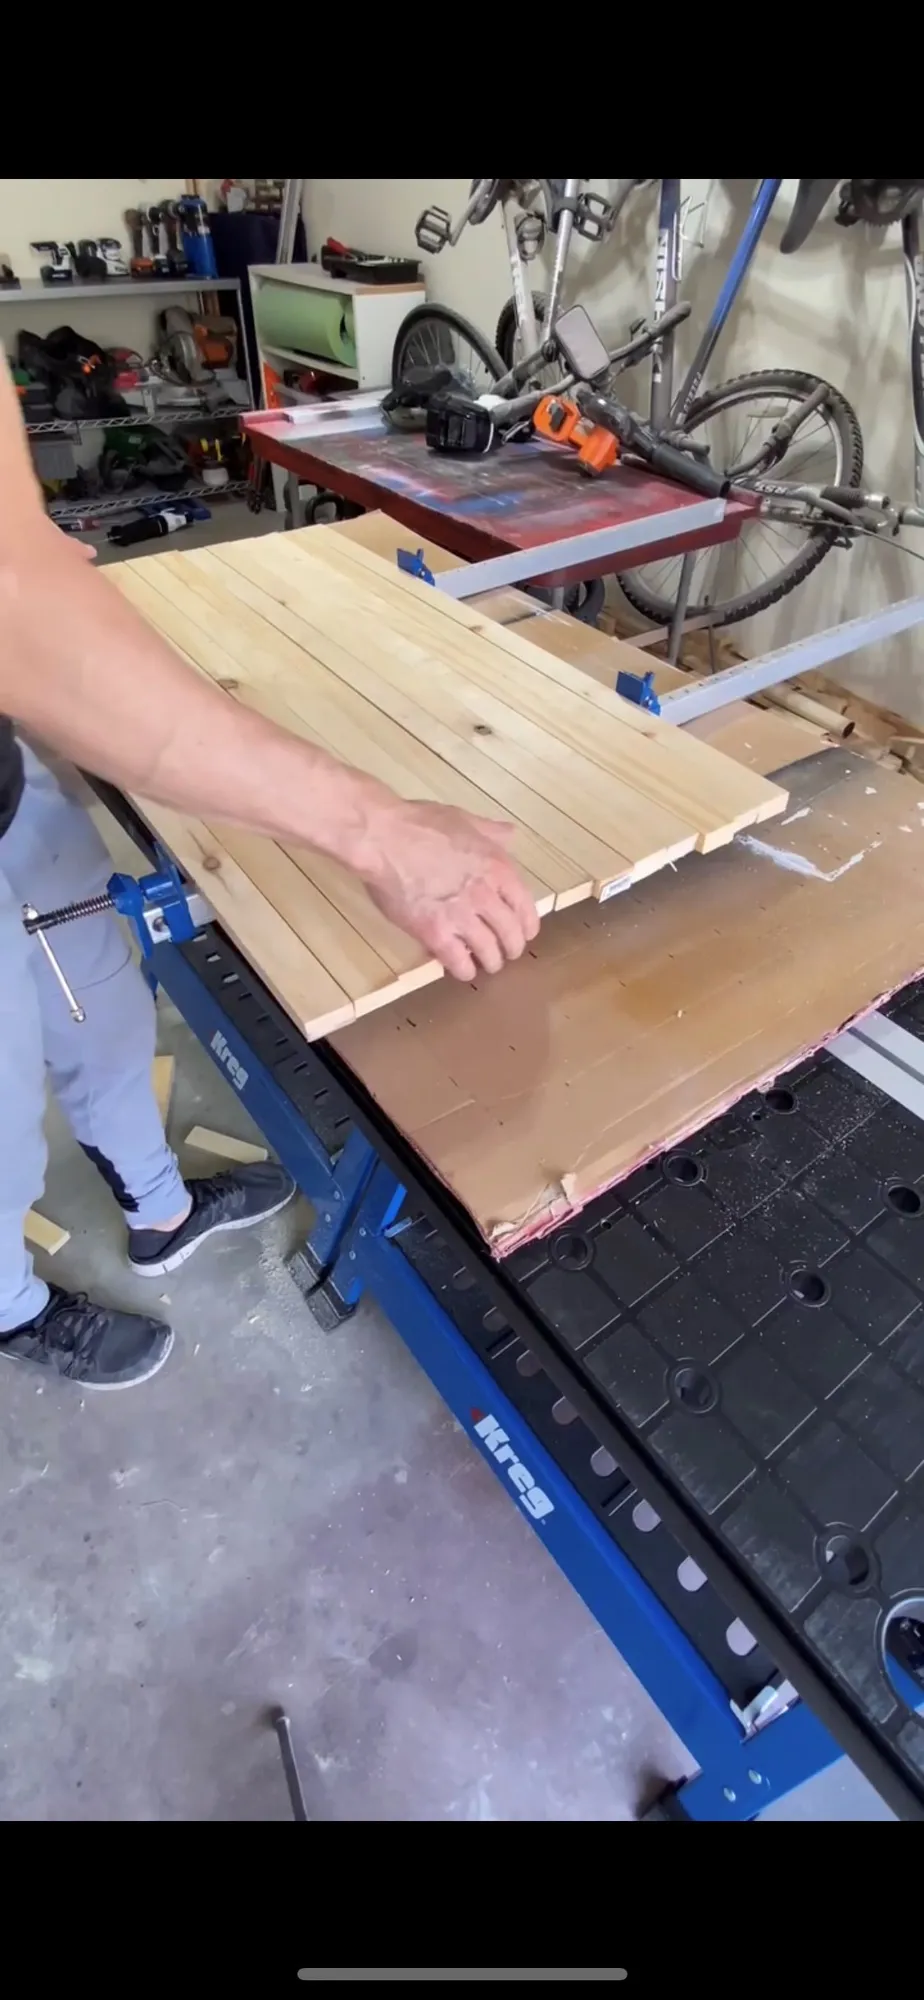
3Glue up
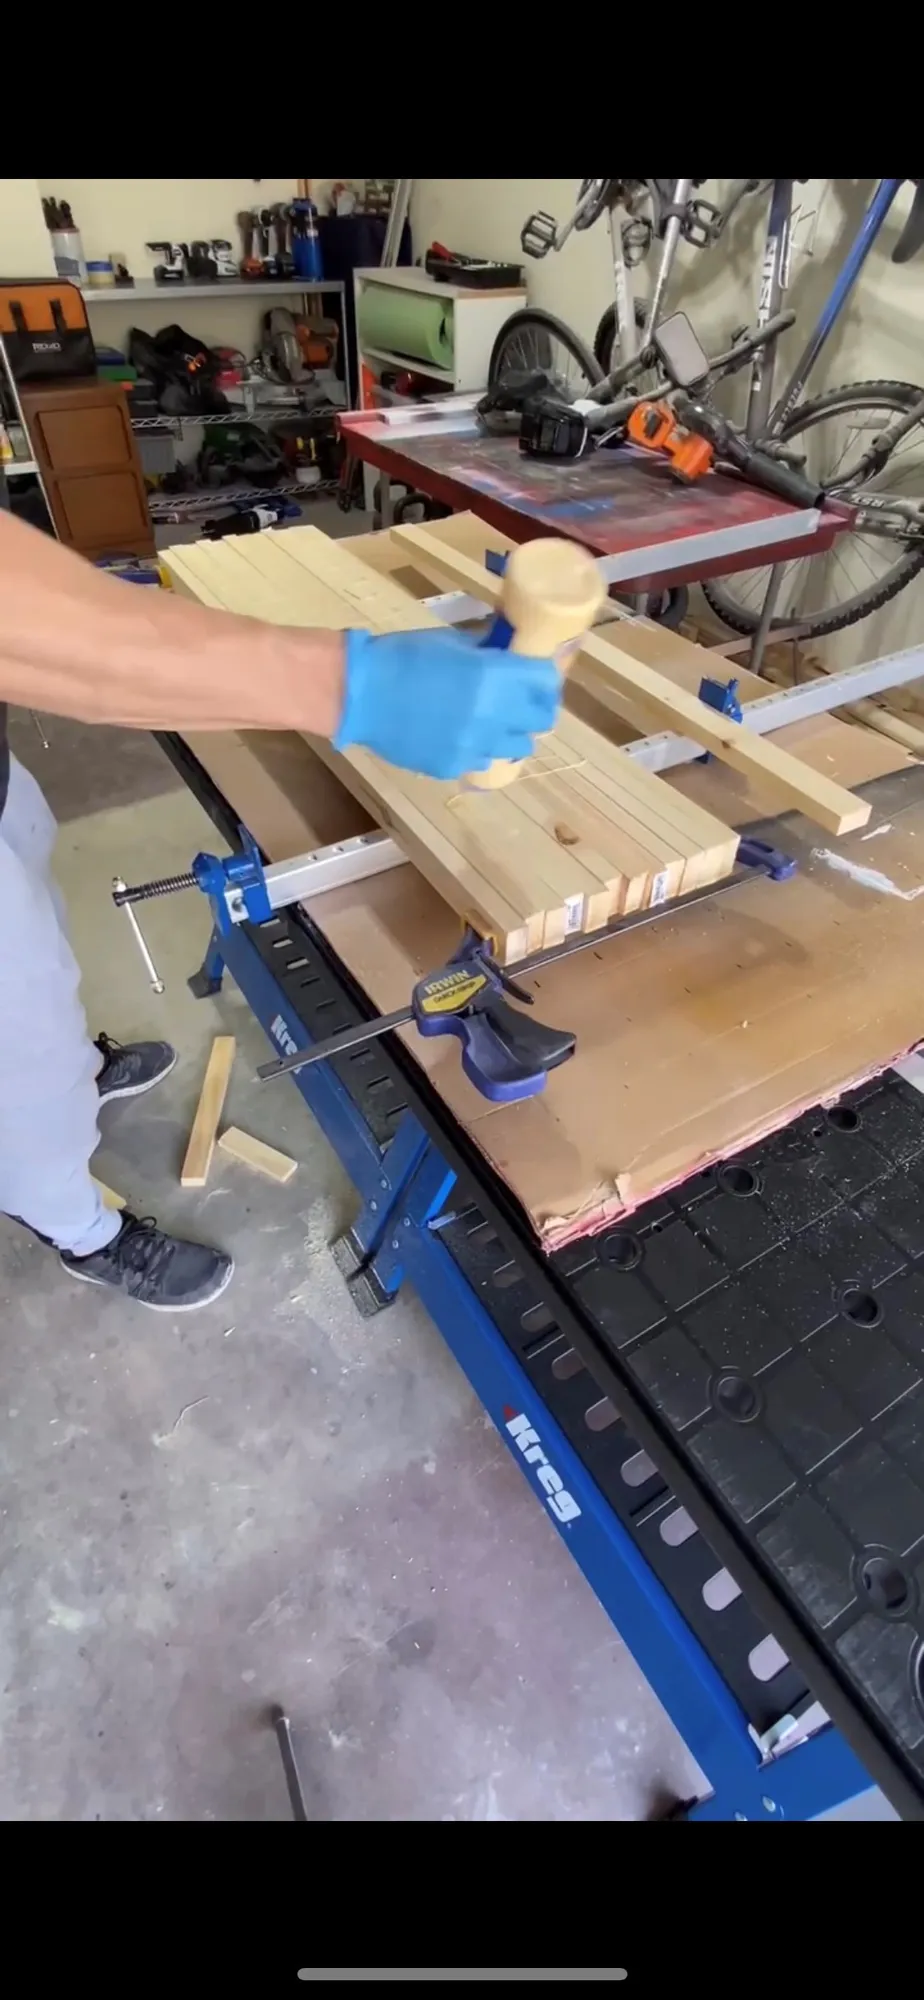
Glue your strips of wood together and clamp them down. Allow it to dry for at least an hour.
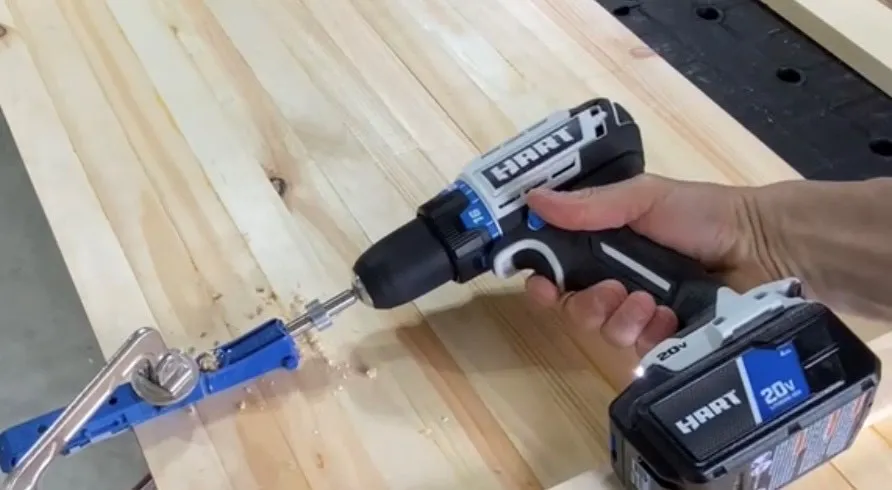
4Add pocket holes
- Take the clamps off and flip the board over.
- Take your pocket-hole jig and add 4 pocket holes on the top and bottom and 3 on each side.
- Space them out evenly.
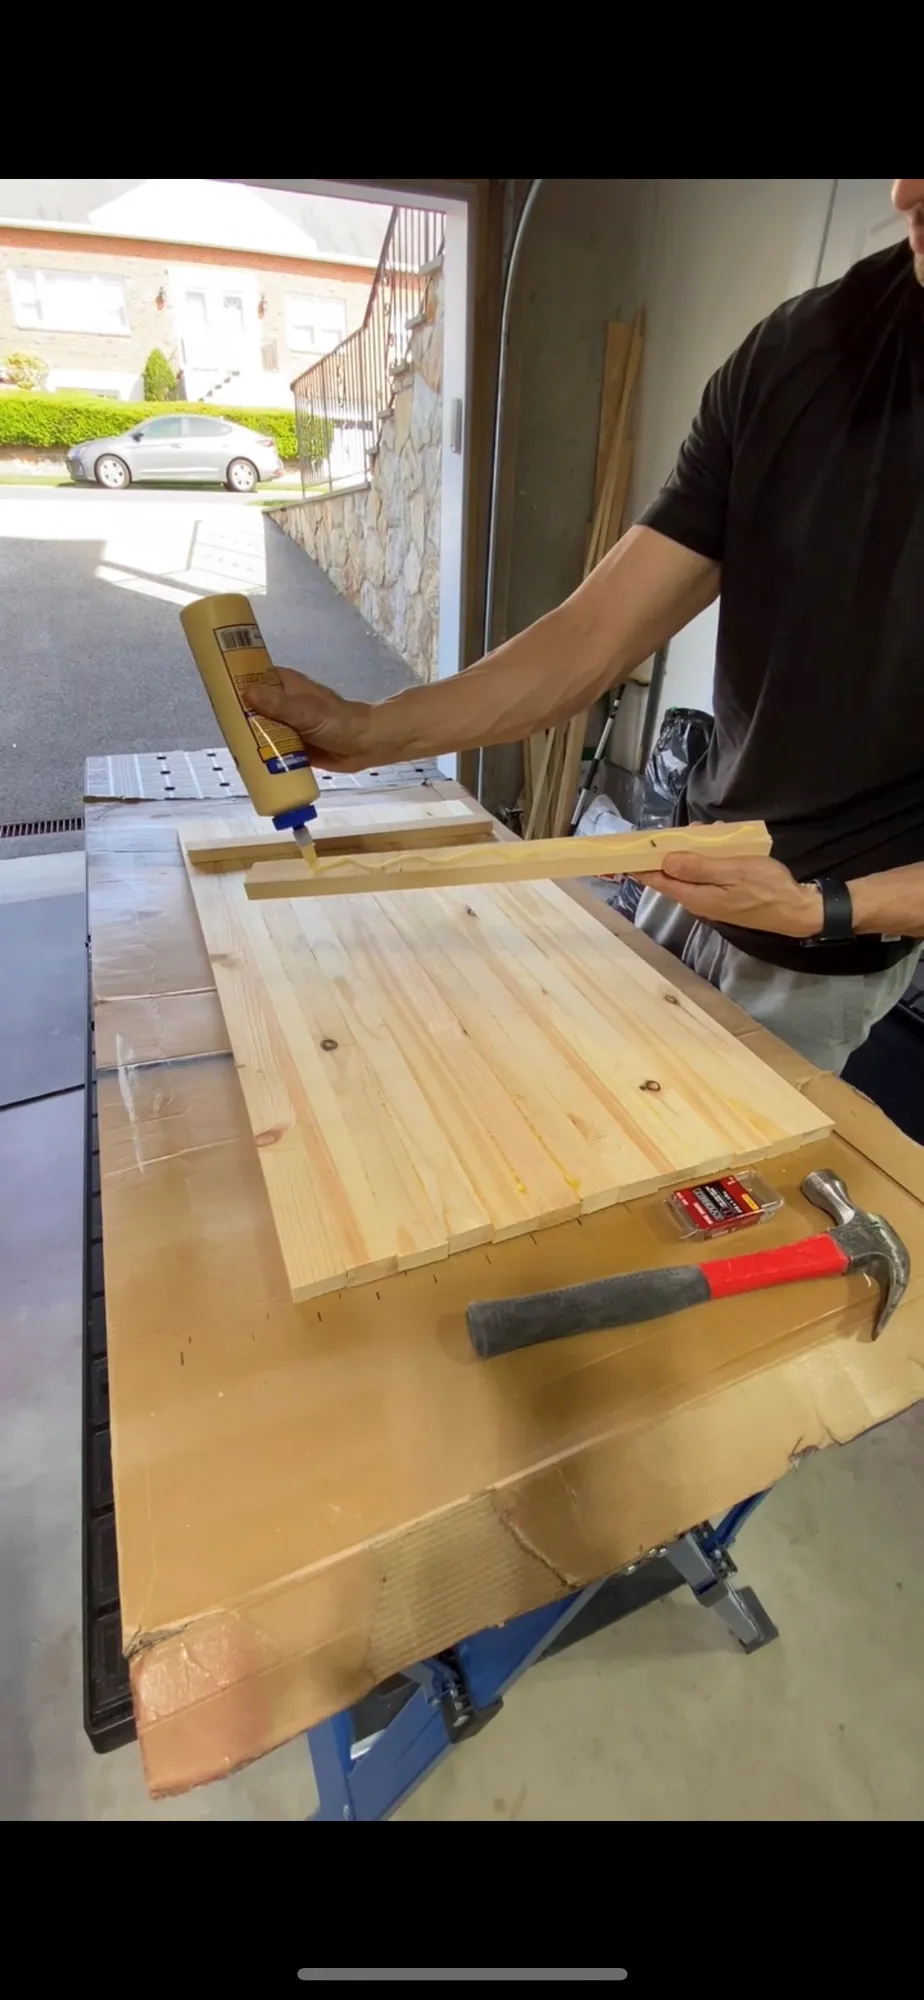
5Glue brackets
Take your 18” strips/brackets and glue one to each side of the flag. Make sure you don’t cover the pocket holes.
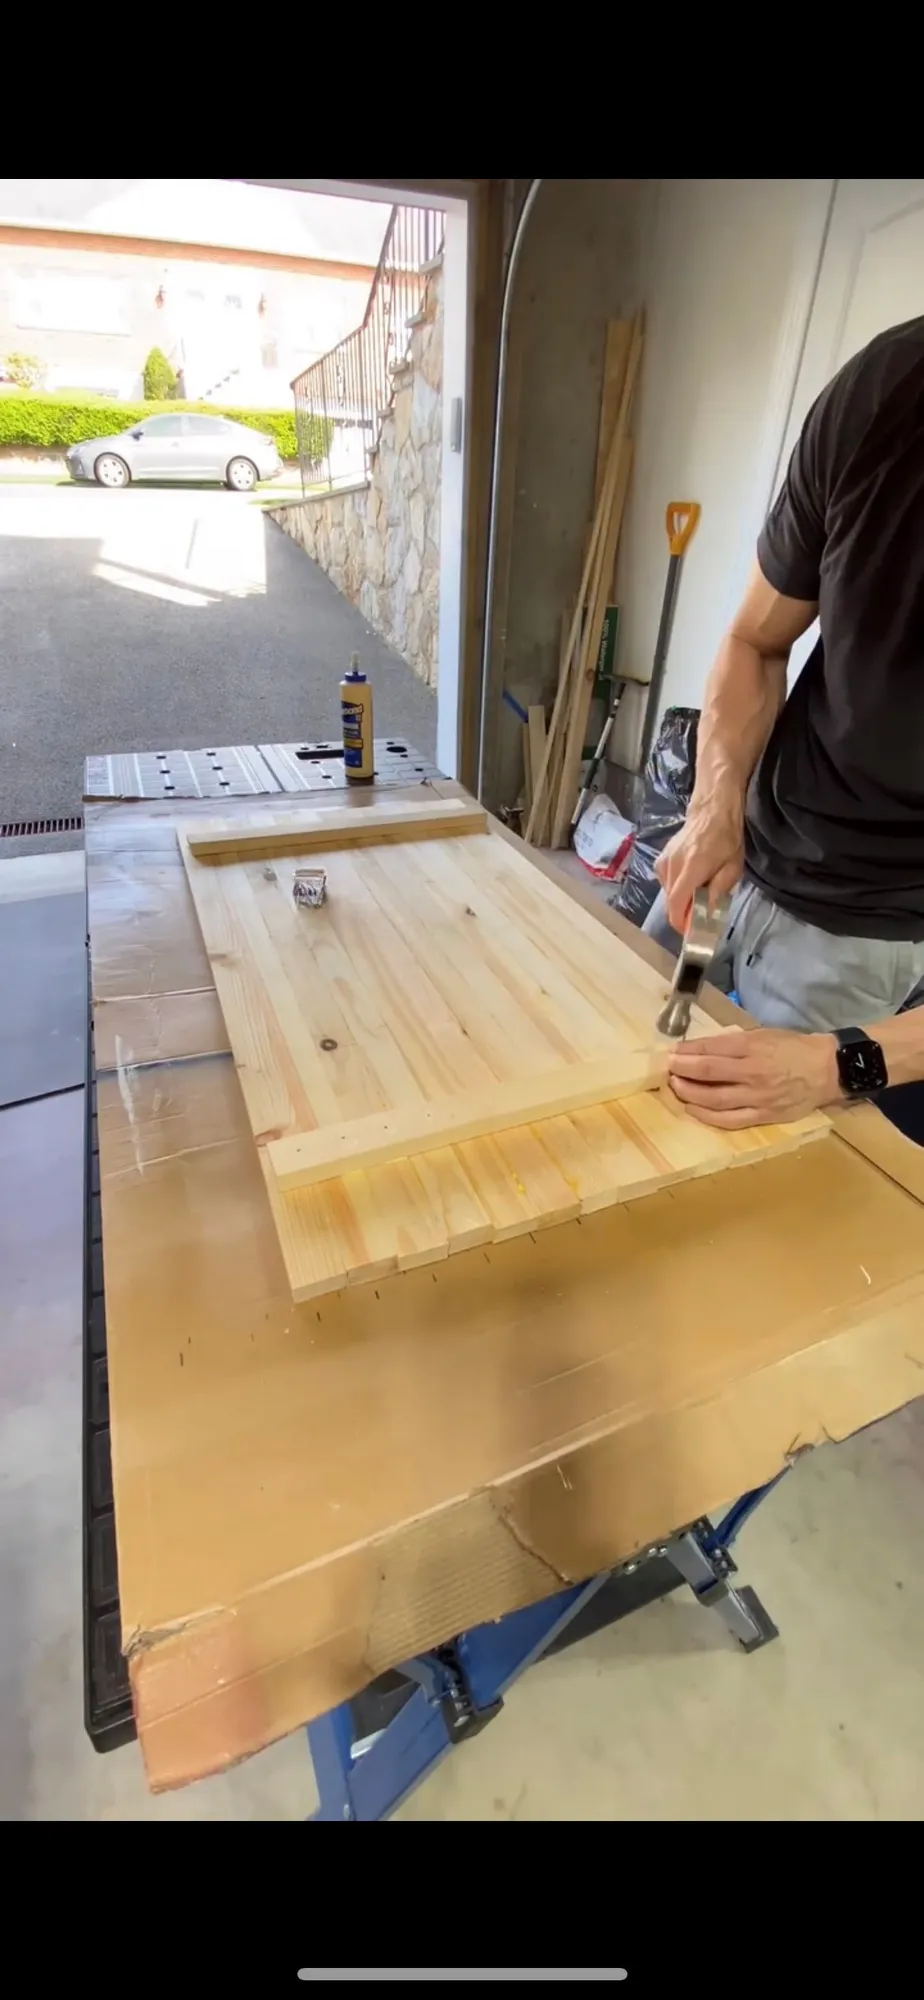
6Nail brackets
Add nails to the 18” brackets (1 nail in each strip, 13 total).
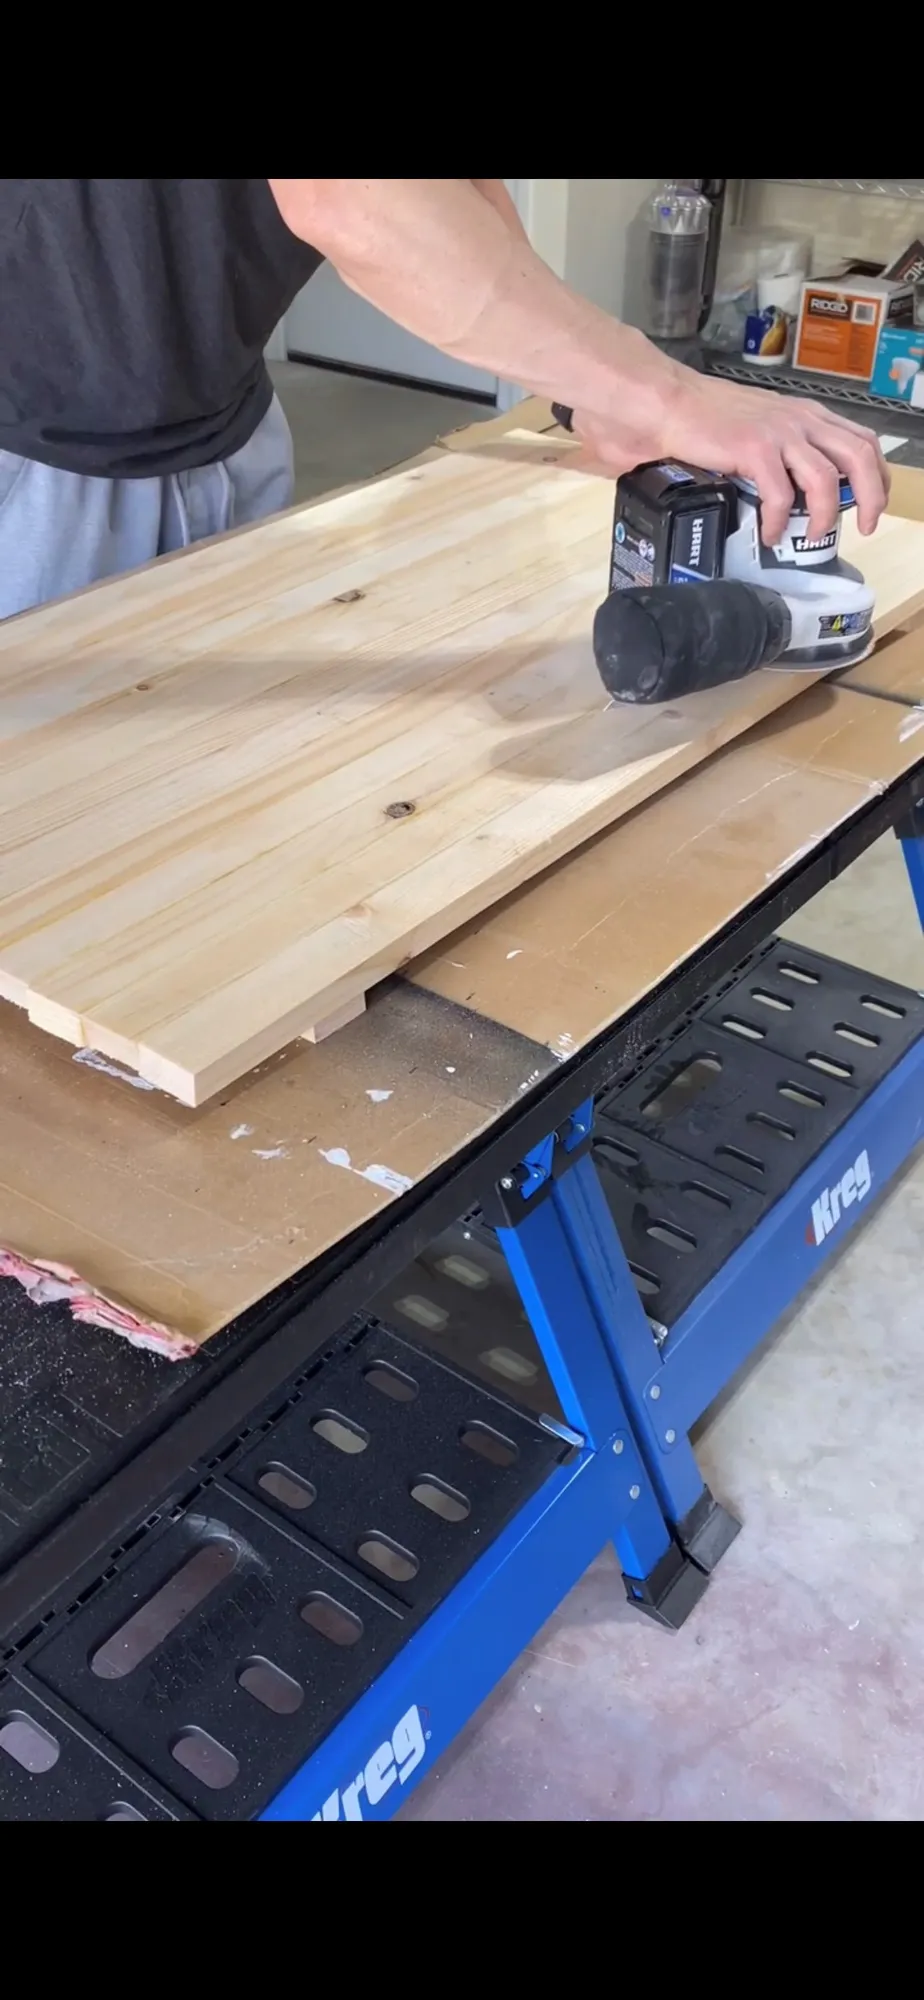
7Sand front of flag
Turn the board back over and sand first with 80 grit and finish with 220 grit.
8Add stars with stencil
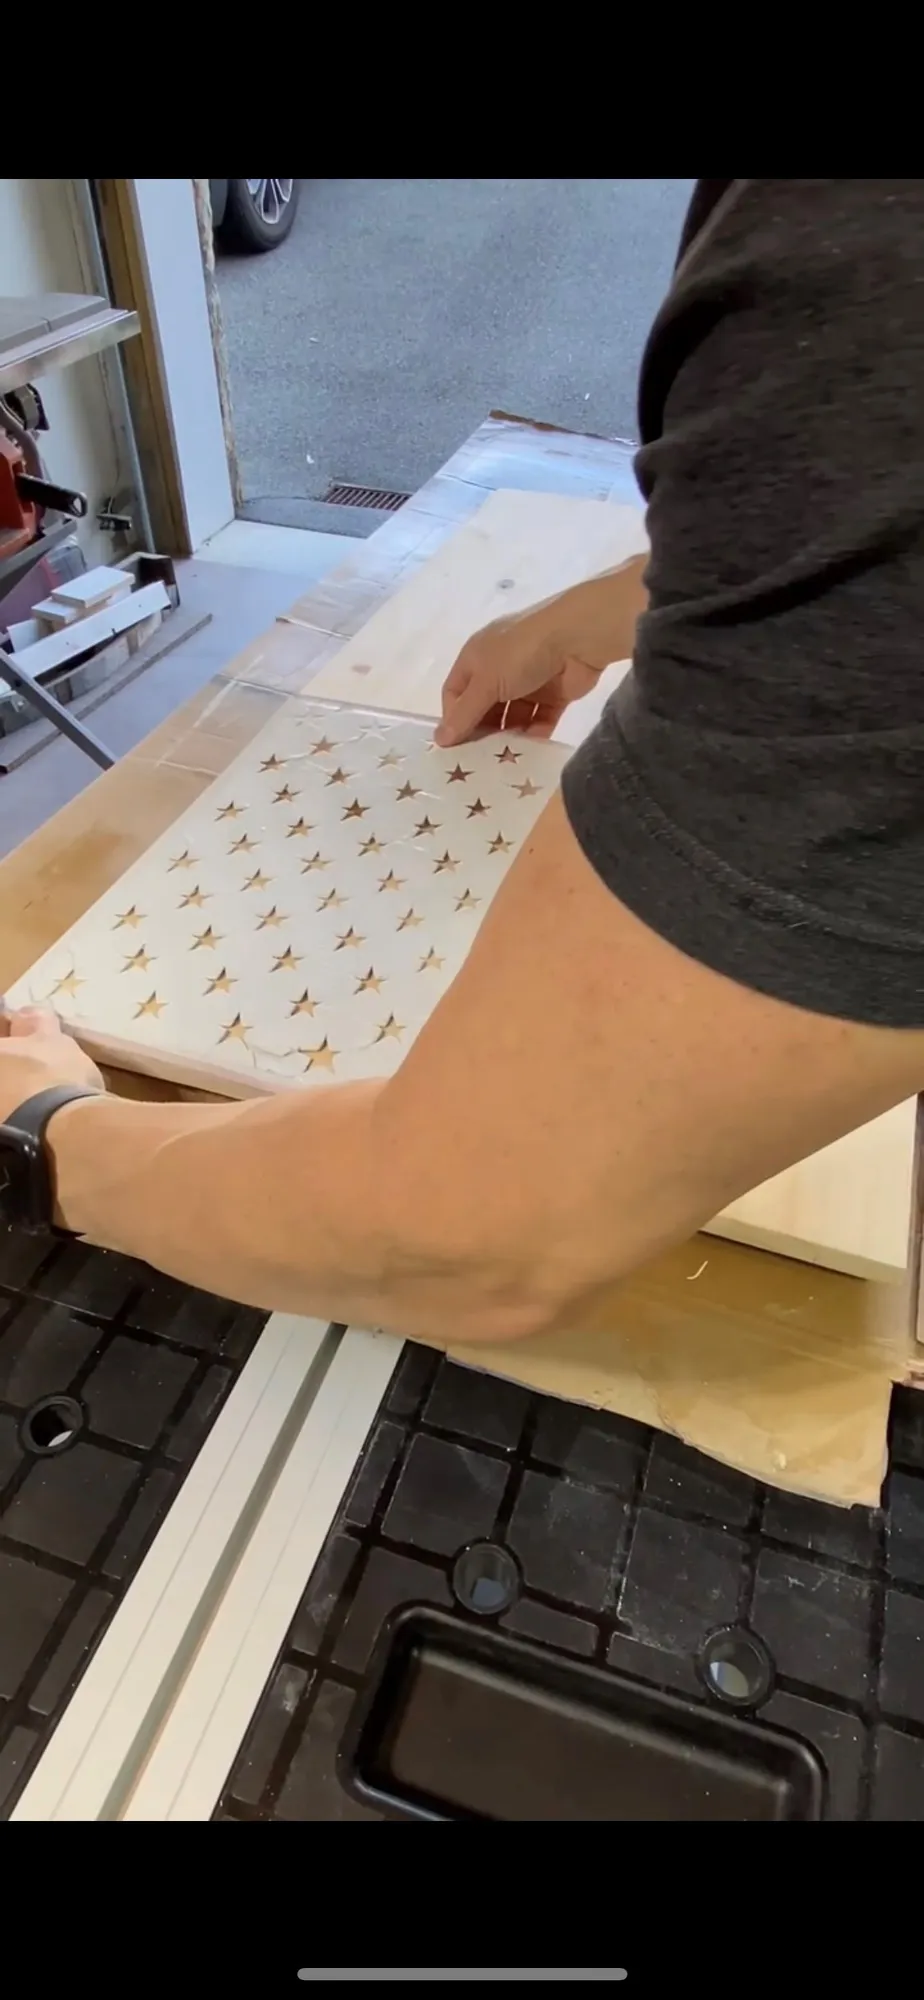
- Wipe clean and add the star stencil on the upper left corner. Tape around the stencil and add some cardboard over the board.
- Take the stencil back off before spraying the blue paint. Spray the blue paint and let it dry for an hour.
Tip: See Extras tab for a link to the star stencil.
9Add red stripes
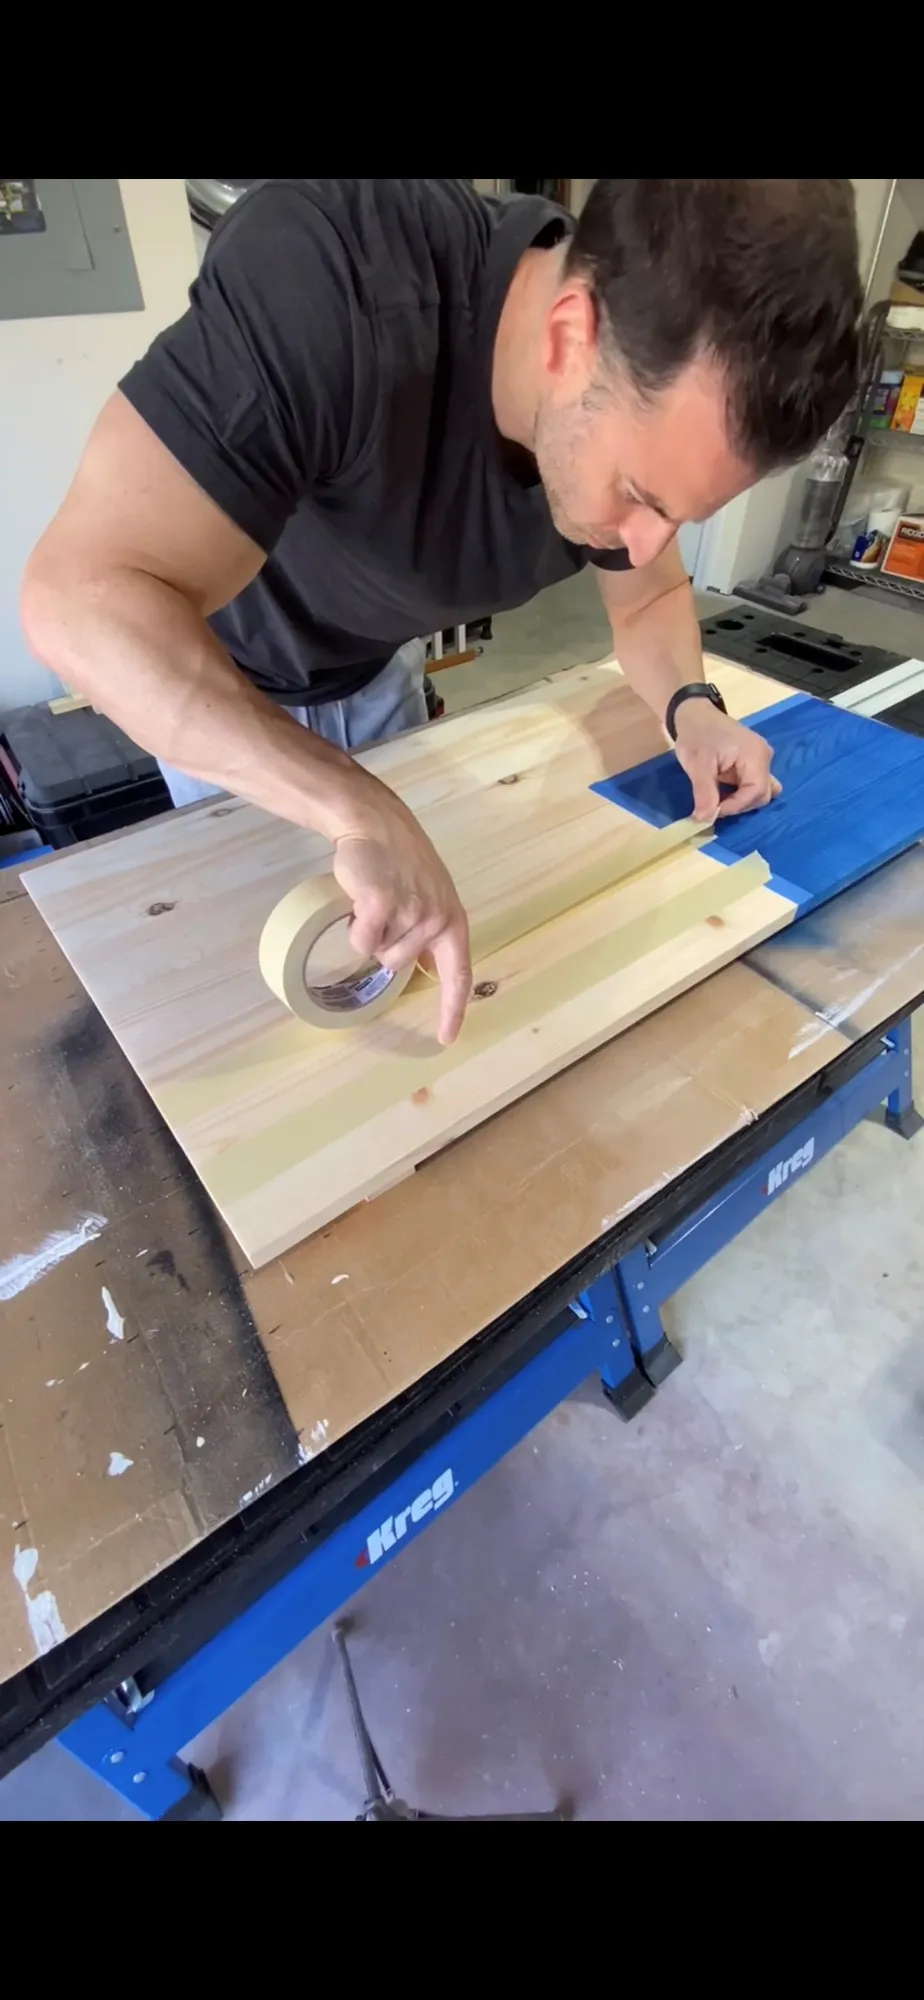
Tape up all the white stripes and the Union (star area) Paint your stripes red and allow the paint to dry for 1-2 hours.
10Paint white stars
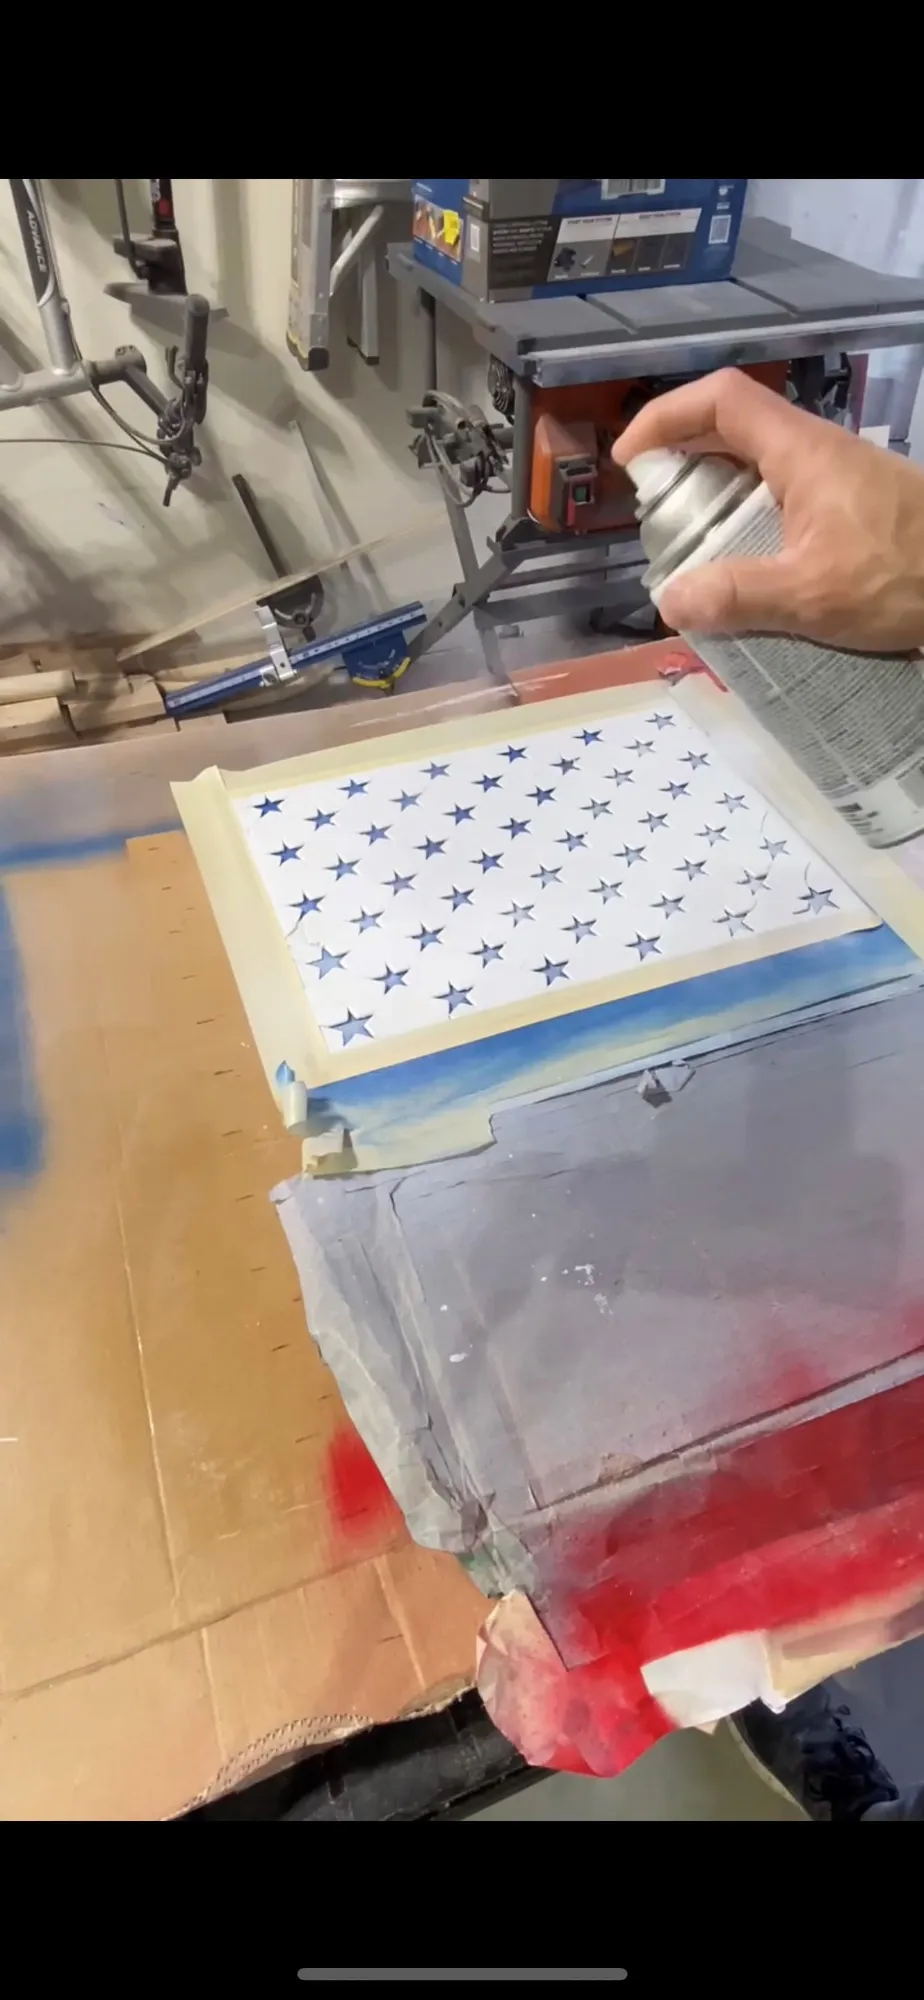
Remove the tape and add your star stencil back to the upper left corner. Tape around the sides and put cardboard over the rest of the board. Use the white spray paint and lightly spray the stars. Let dry for 20 minutes and add another slightly heavier coat.
11Burn "white" stripes
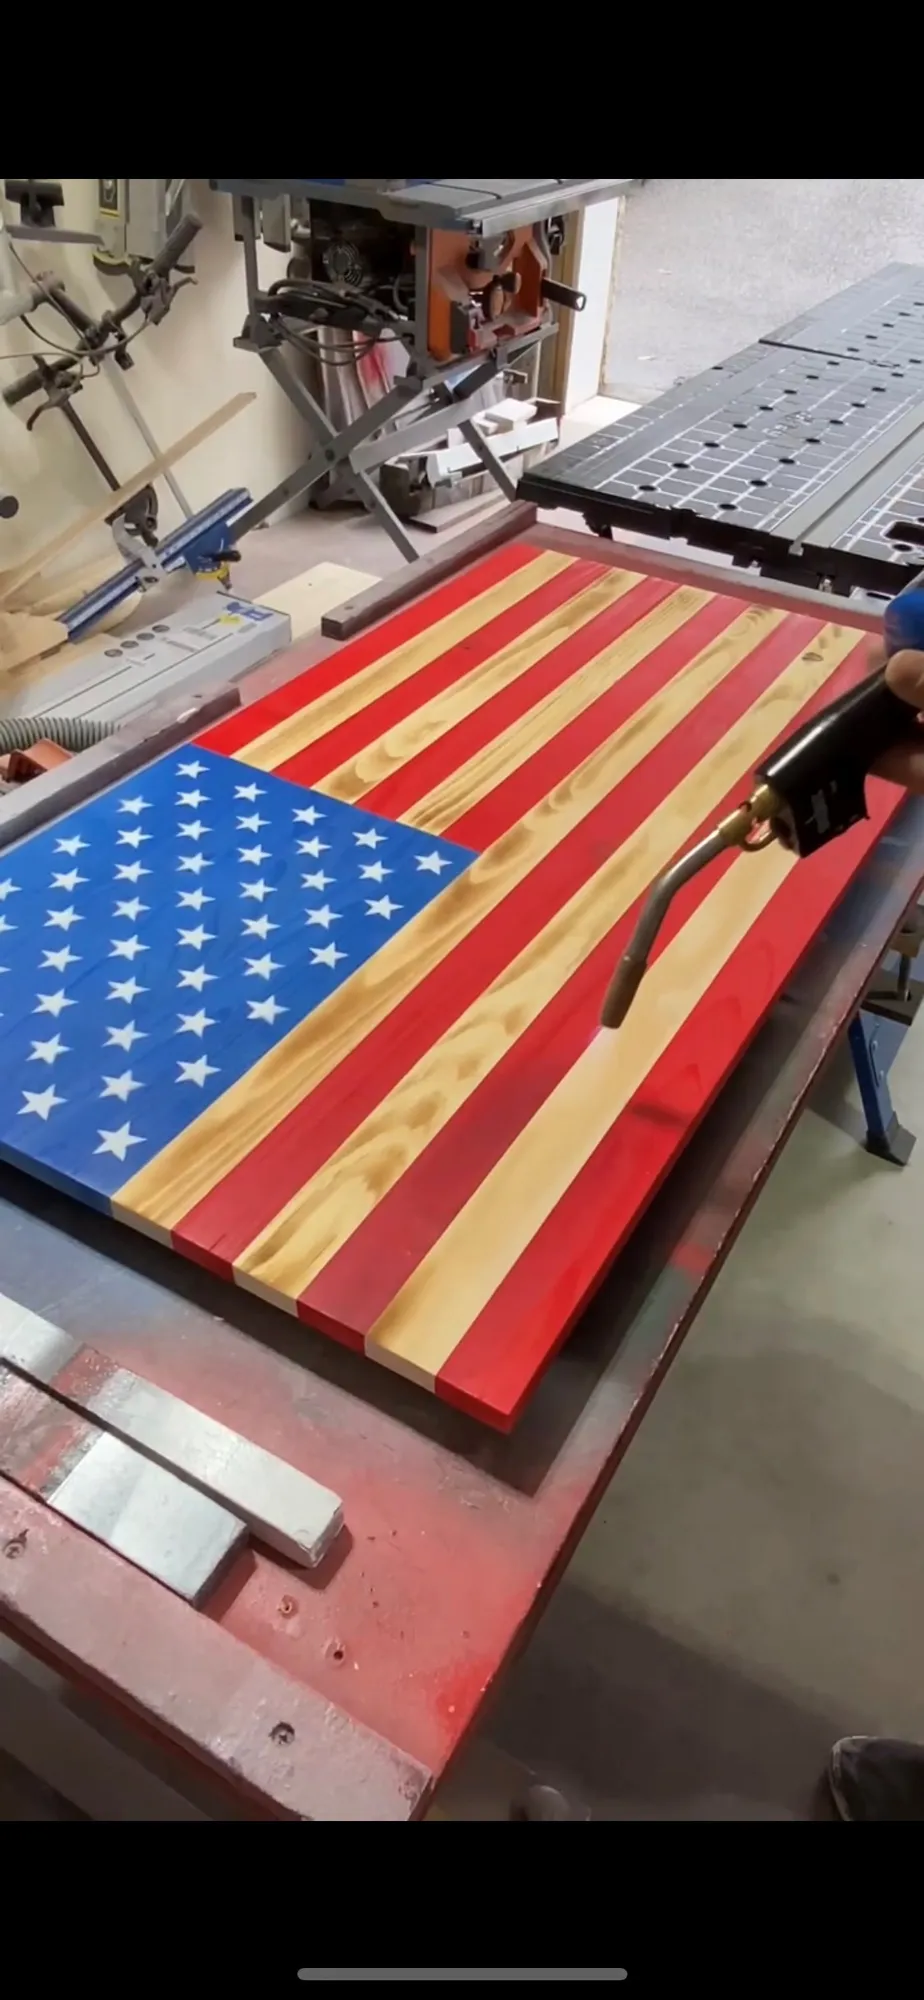
Use your propane torch and burn all of the white stripes.
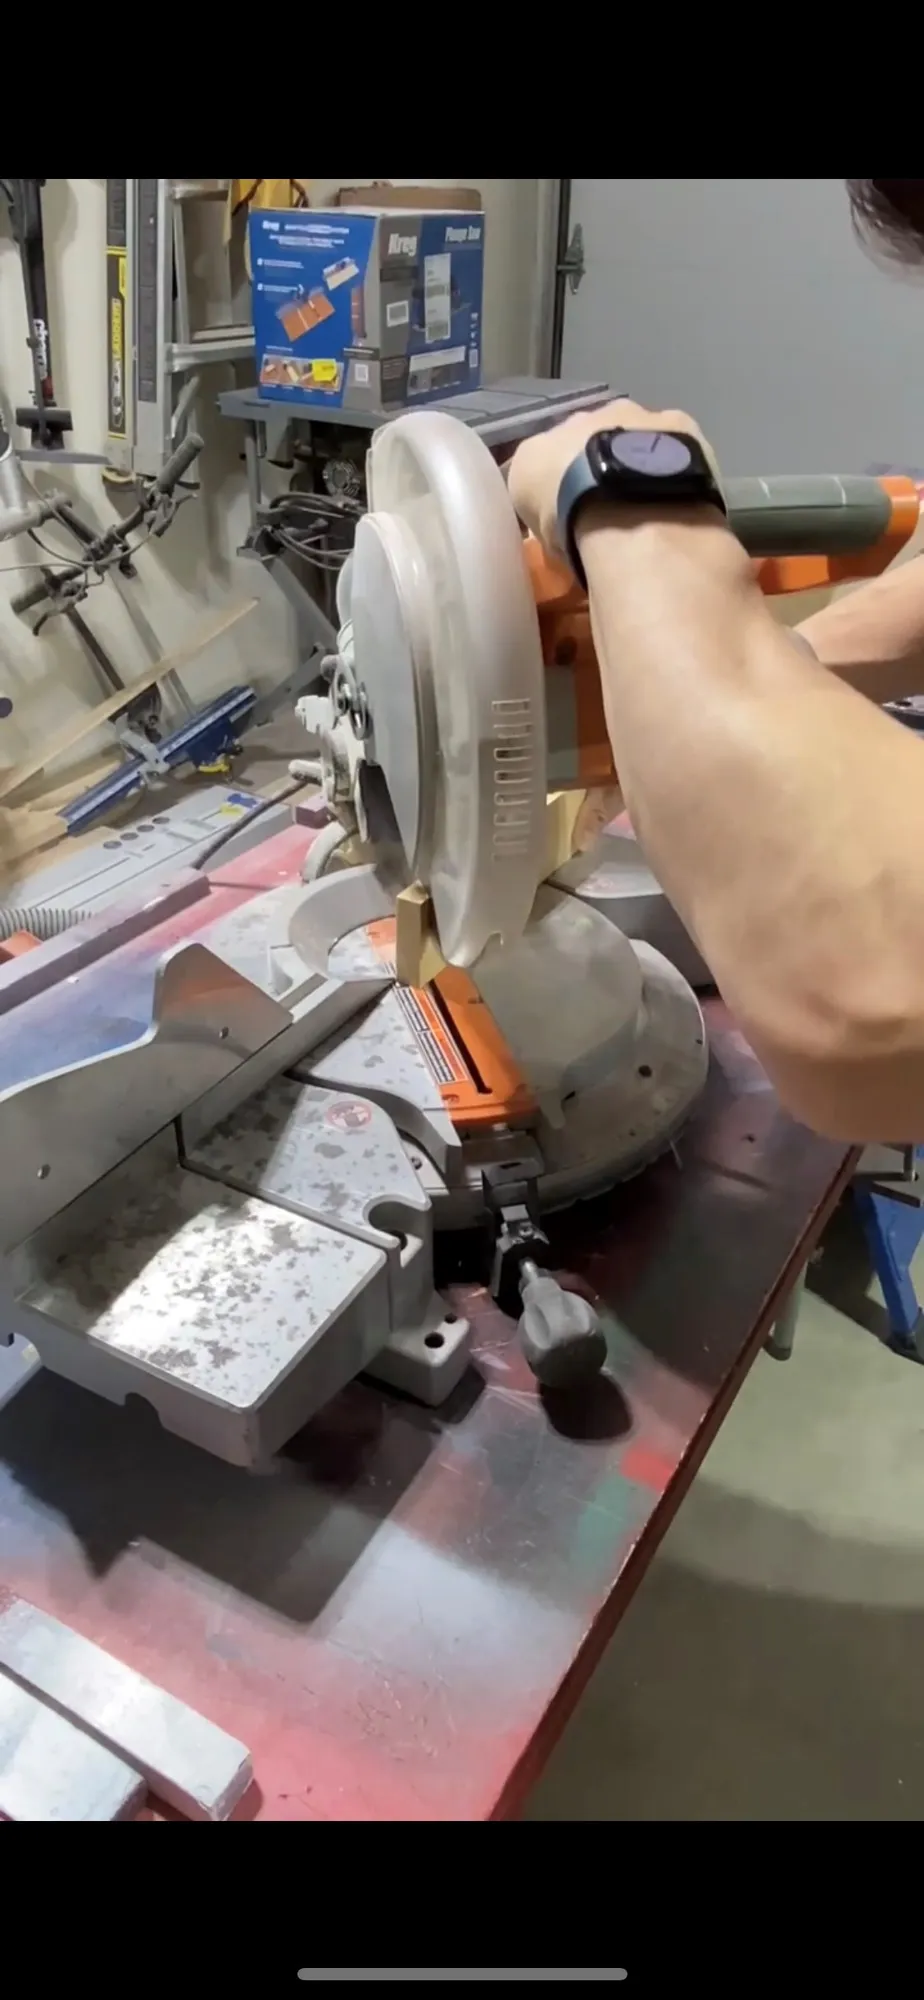
12Cut 4 pieces for frame
- Take your 1x3 wood and cut 2 pieces at 36” and 2 at 19.5”. These will be cut at 45 degree angles on each side.
- Measure from the heel/short part of the angle.
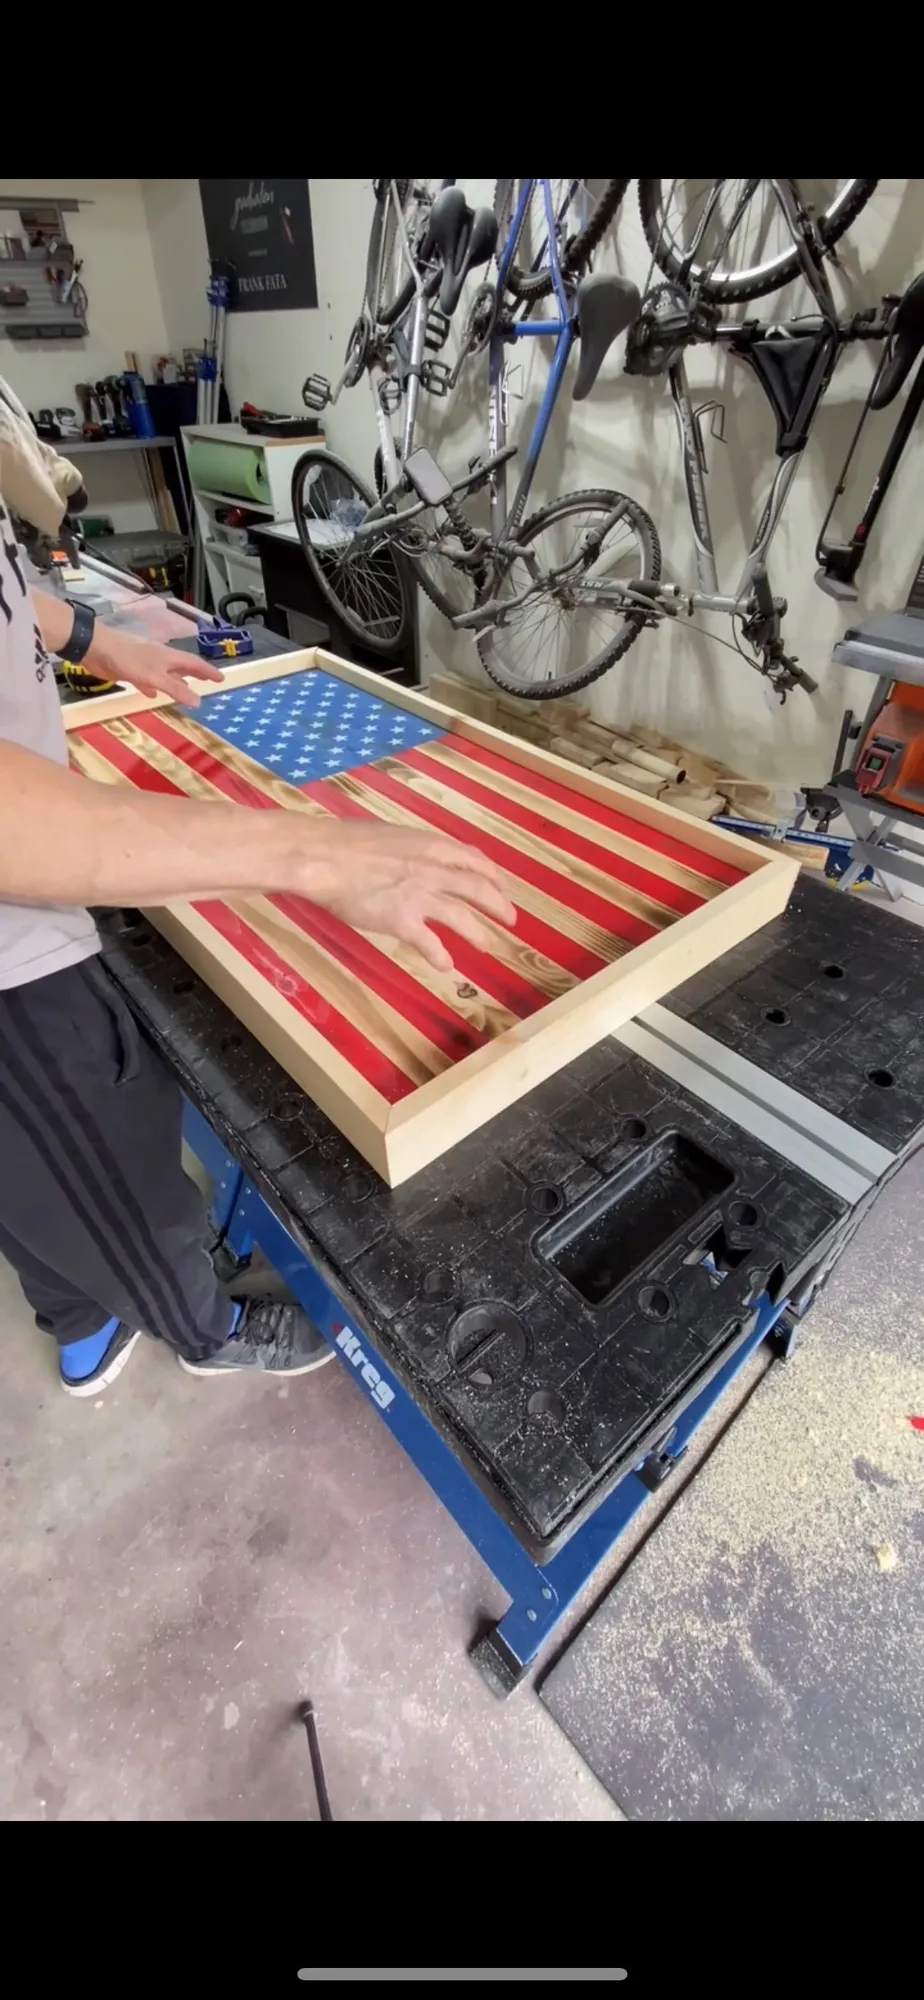
13Secure frame with pocket-screws
Put the 19.5” pieces on each side and the 36” pieces on the top and bottom. Secure them to the flag by using the pocket holes from the back with 1 1/4” screws.
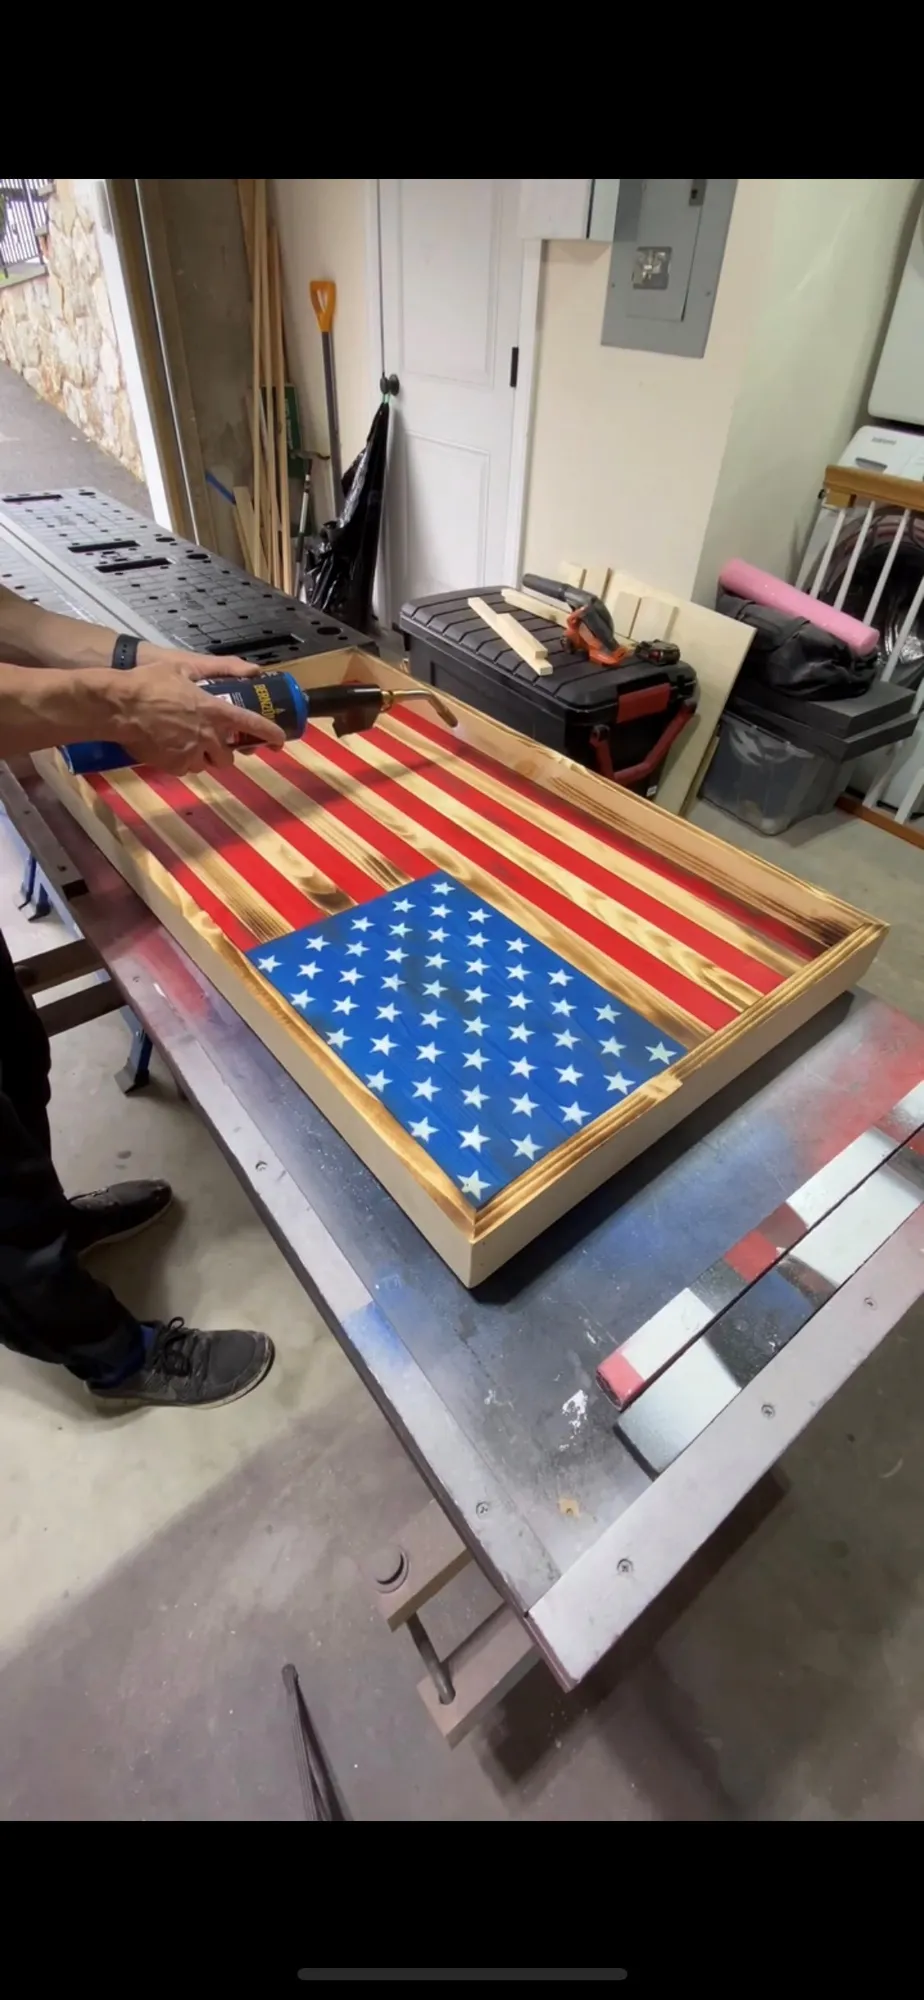
14Burn frame with torch
Use the propane torch to burn the inside/outside of the frame.
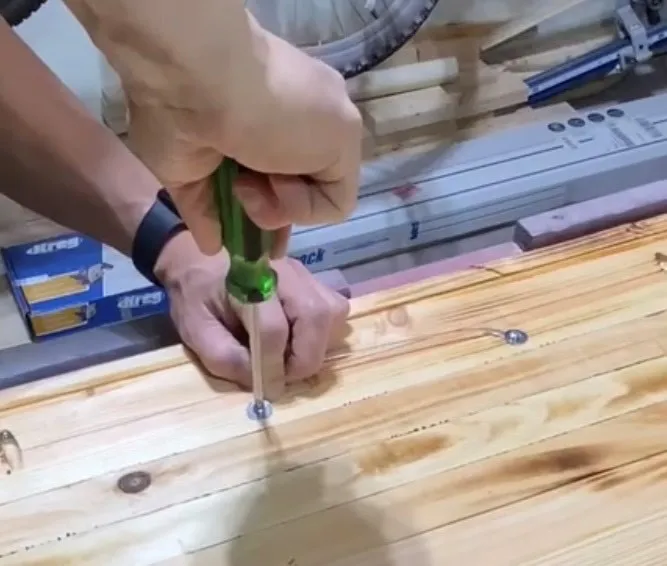
15Add hanging cord
Turn the board around and add your hanging cord. Cut the cord to desired size and secure it to the flag using 1/2” screws with washers.
16Add polyurethane
Last step is to add 1-2 coats of polyurethane.
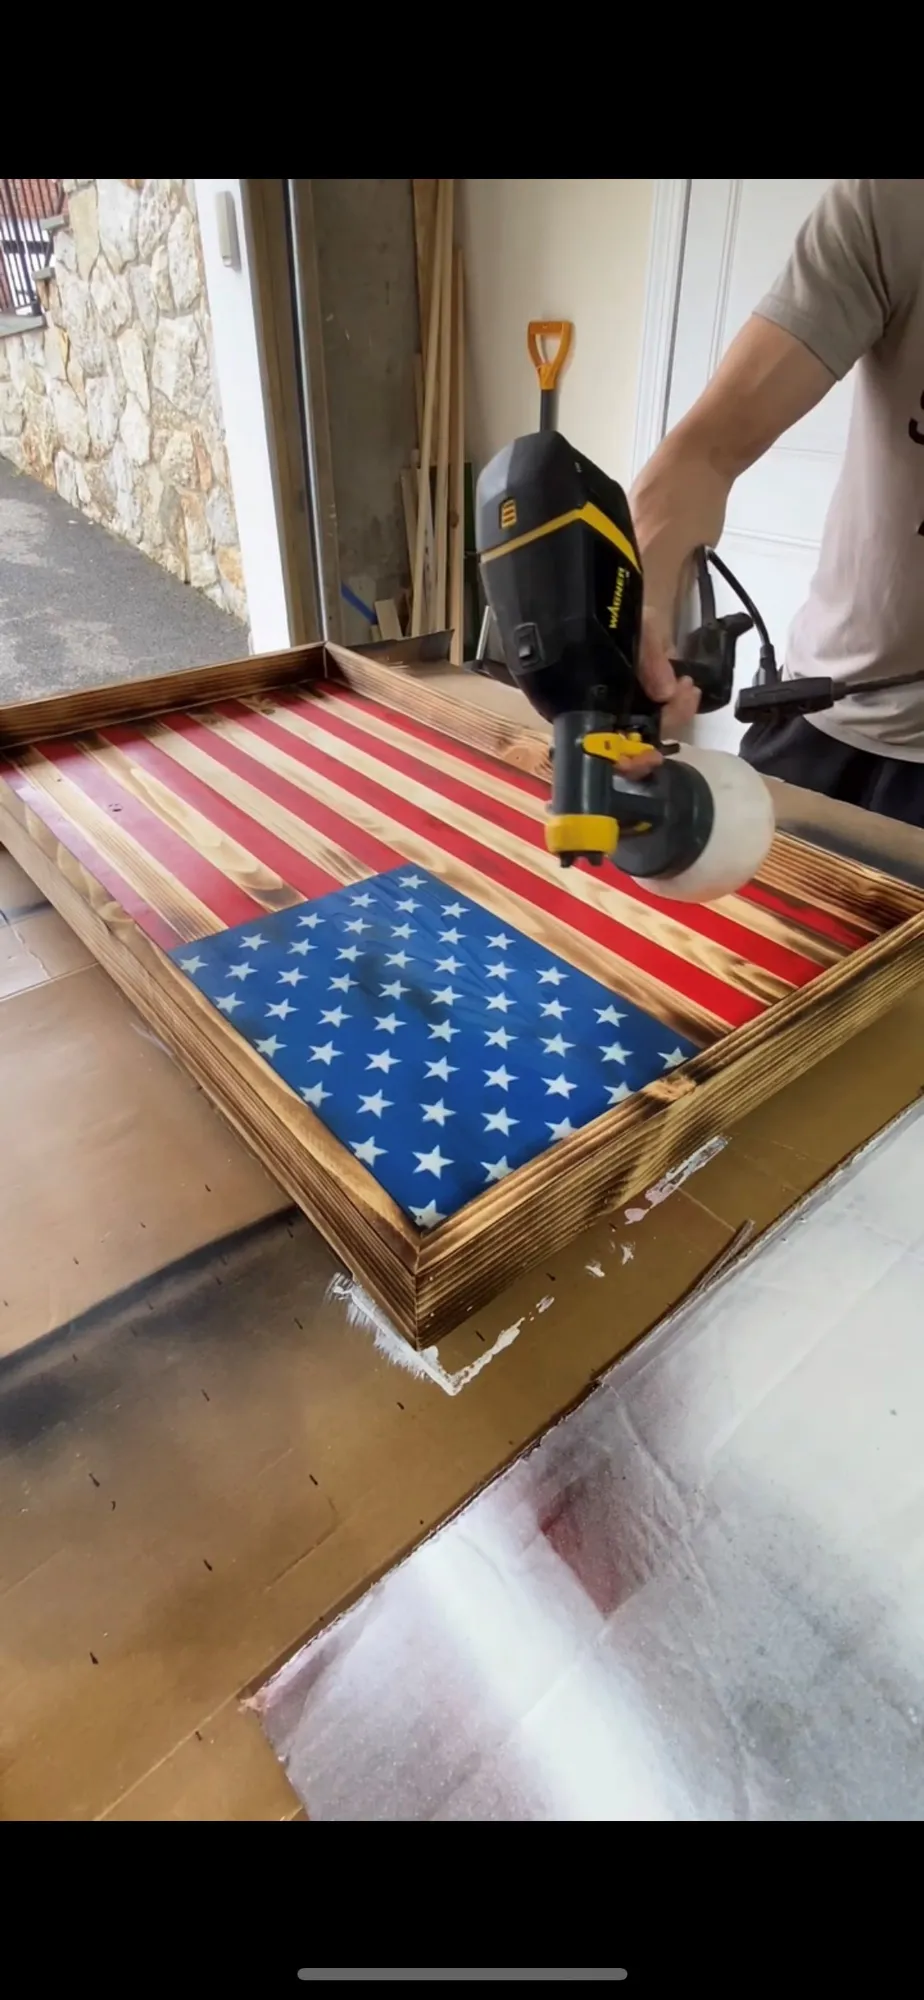
17Enjoy
Enjoy your flag!