Notch
NotchBarn Doors
Step-by-step build — 10 steps. Also available as a print sheet.
1Center Panel
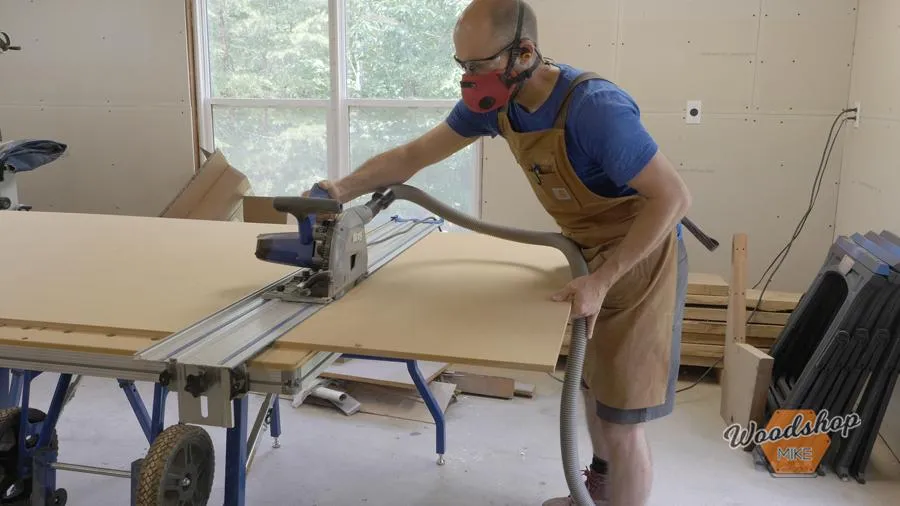
To start off this build, I wanted to get the center panel knocked out first. I used the Kreg ACS to first cross cut the sheets to their length and then head over to the table saw to cut it to the final width.
2Faux Tongue and Groove
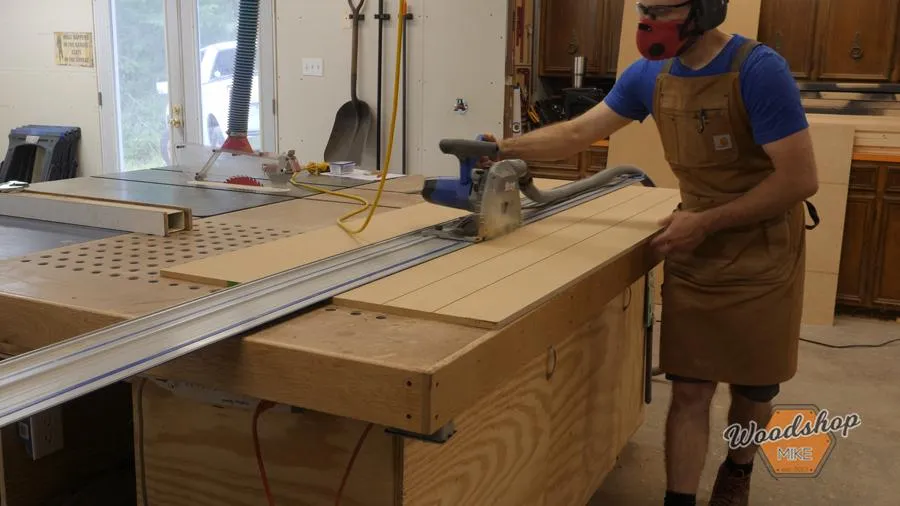
I originally wanted to make tongue and groove boards for this door, but since these doors are for my finishing room and the point is to minimize air infiltration, I opted to use a single MDF sheet for the center. To create this effect, I used my track saw to cut lines into the center panel.
3Build the Door Frame
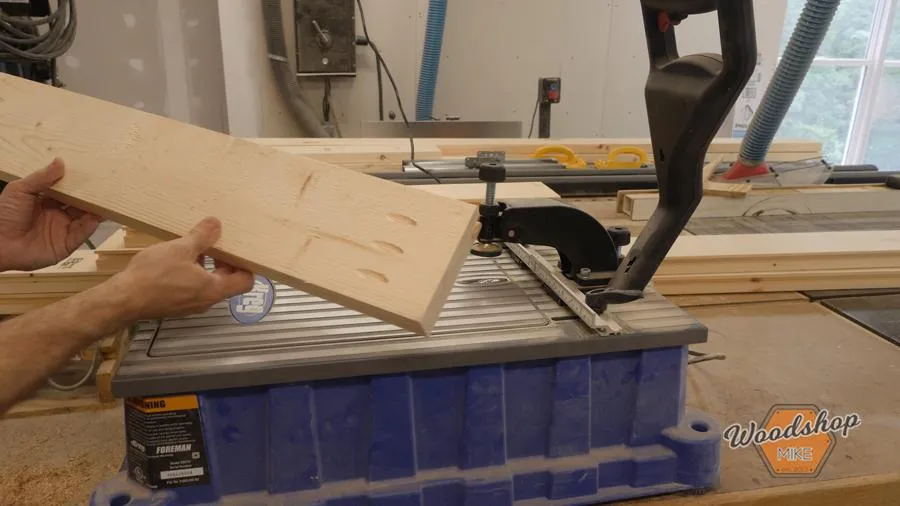
To construct the frame for these doors, I used 2x6 lumber. I wanted to avoid using the planer for this build, so I bought the straightest boards I could find. Often times the 10' boards are better than the 8' boards. If you can't find good boards in the 8' racks, check the 10' boards before settling. I cut the boards to final length and width and then added the dados as needed.
4Assembly
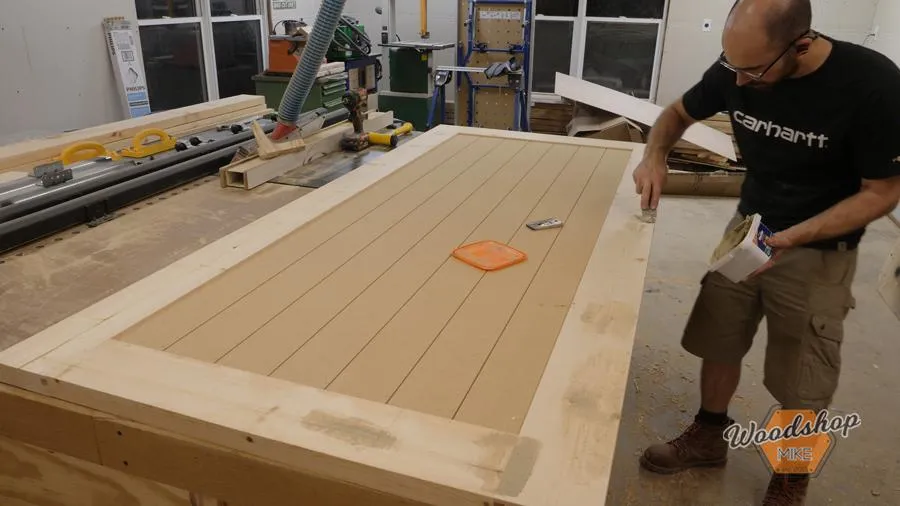
To assemble these doors, I went with pocket hole joinery. I used (3) 2-1/2" pocket hole screws per joint. This would also be a good application to use the HD pocket hole jig and screws. With the pocket holes drilled, I moved on to assembly. I started by setting the panel into the vertical frame pieces (centered) and then tapped the top and bottom rails into place with a mallet. Once all of the parts are in place, I used 12 2-1/2" pocket hole screws to finish the assembly.
5Adding Pockets for Door Rollers
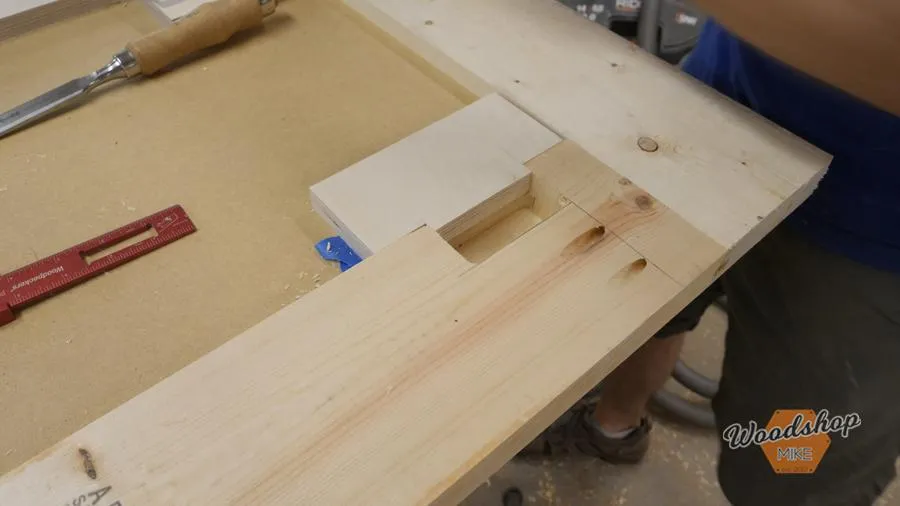
For these doors, I used different hardware than what is typically found in sliding barn doors on Pinterest. These rollers attach to the door with a bolt and bracket that I cut a pocket for in the back side of the door using my router and a few templates.
6Paint Prep
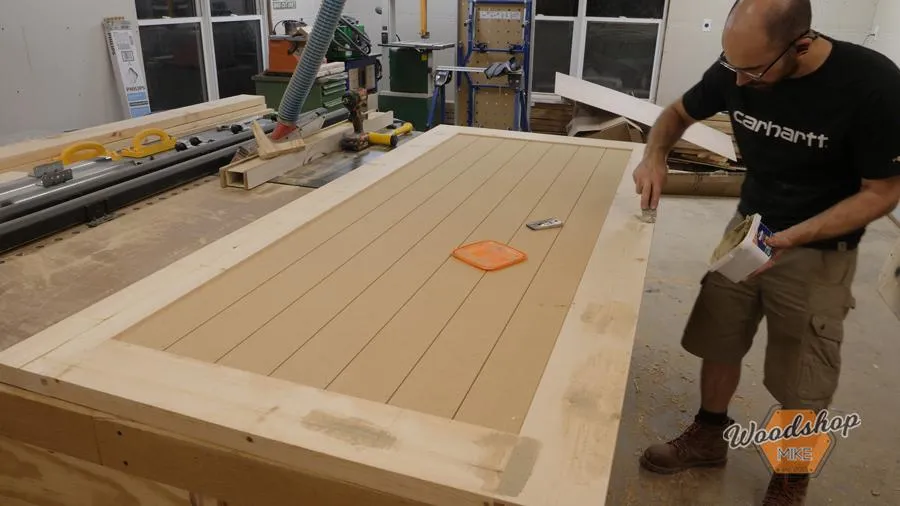
I filled any imperfections with Elmer's wood putty and then sanded with 80 grit. Next, I rounded the edges with an 1/8" radius bit in my trim router and finished things off by sanding up to 120 grit.
7Finishing
- When painting MDF, it's very important to seal the material to prevent the fibers from swelling. To produce the best surface, first seal the panels with shellac (I omitted this step since my doors are in the shop).
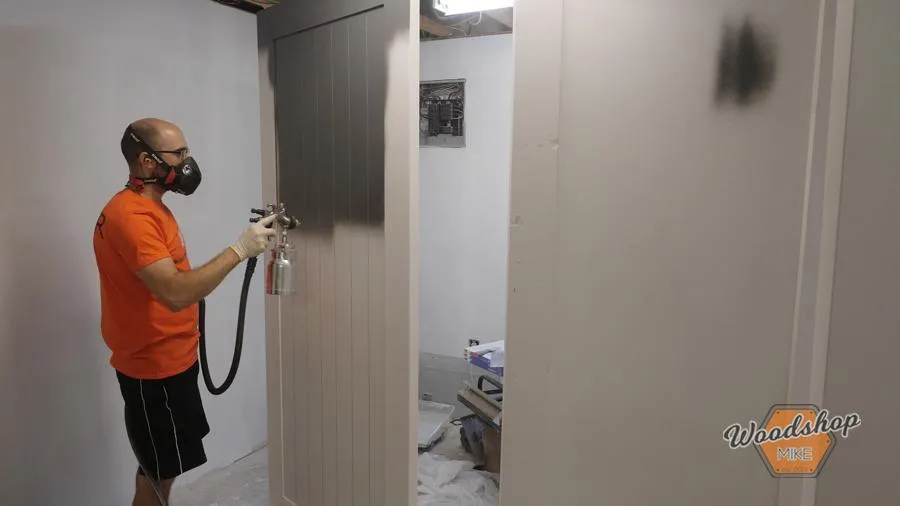
- Next I shot 1 coat of General Finishes Primer.
- Once the primer was cured, I shot two coats of GF Milk Paint in the color "Queenstown Gray" and sanded between coats with 220 grit paper. With the milk paint cured, I then applied one coat of GF High Performance Top Coat to add some additional durability and to make the door a little easier to clean.
8Install
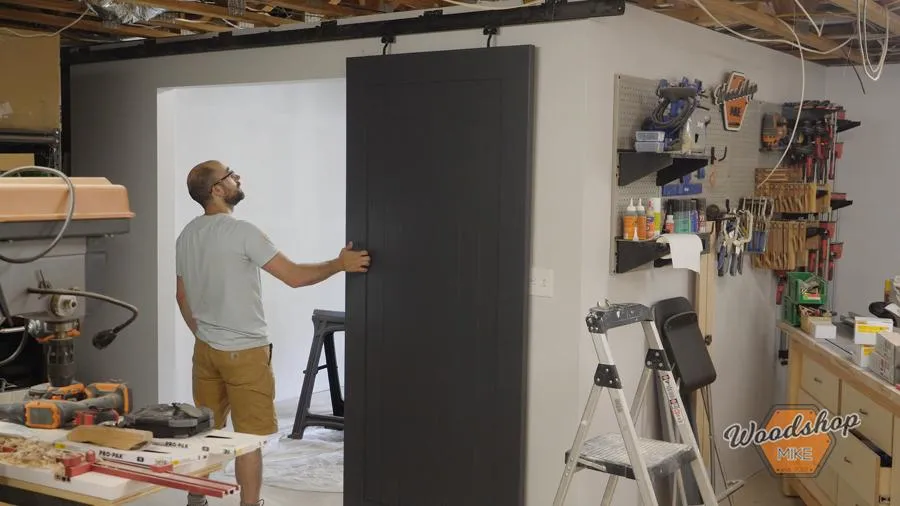
I then followed the MFG guidelines to install the track and roller hardware. With the door hung, I installed the handles using painter's tape to protect the finished door and to mark the hole locations on.
9Watch the Video!
Make sure to check out the build video on this one! (linked in the extras tab) https://youtu.be/XBCUHfva6G8 I had a blast producing it and I think you'll find it helpful when tackling this project!

10woodshopmike.com
Make sure to check out additional info over on my blog: (also linked in the extras tab) https://woodshopmike.com/not-your-average-barn-door/ I'd love to know what you all think so let me know! Thanks for reading!