 Notch
Notch- Difficulty
- Easy
- Time
- 2.8–5.3 hours
- Cost
- $$
About this build
This simple to build shelf is a great way to decrease the toy clutter by getting your kids’ favorite action figures (in this case, Pokémon) off of the ground and displayed neatly. Both the dimensions and the theme of the shelf can be easily customized to best house the particular action figure collection that’s taken over your home.
Tools
Essential
- Brad Nailer
- Circular Saw
- Drill / Driver
- Miter Saw
- Pocket Hole Jig
- Random Orbit Sander
Optional / nice to have
- Bar / Pipe Clamps
- Tape Measure
Materials
| Item | Qty |
|---|---|
| Board, 3/4” x 3” x 8ft | 1 board |
| MDF Panel, 1/8” x 2ft x 2ft | 1 board |
| Box of 1 ¼ pocket hole screws (see tools list) | 1 each |
| Box of 1" brad nails | 1 each |
| Sandpaper | 1 each |
| Spray paint (in your choice of color) | 1 each |
| 1/8” Clear Acrylic Sheet (optional) | 1 each |
| Hinges (optional) | 1 each |
Overall cost: $$. Lumber prices vary by region, species, and season, so we give a band rather than a figure we would only be pretending to know.
Cut list
| Part | Qty | T × W × L |
|---|---|---|
| Shelf sides | 2 | 3" × 3" × 12" |
| Shelf top | 1 | 3/4" × 3" × 14" |
| Shelf bottom | 1 | 3" × 3" × 14" |
| Shelves | 2 | 3/4" × 3" × 14" |
| MDF Backer Board | 1 | 1" × 12" × 15 1/2" |
What to buy
Buy 3 boards at 8 ft.
3" × 3"
1 board
1" × 12"
1 board
3/4" × 3"
1 board
Assumes 8 ft stock, a 1/8" saw kerf, and buying each part at its own width. Change the board size or kerf on the full board plan →
Instructions
1Cut wood
Cut all shelf boards to size on your miter saw as per cut list or your specific requirements.
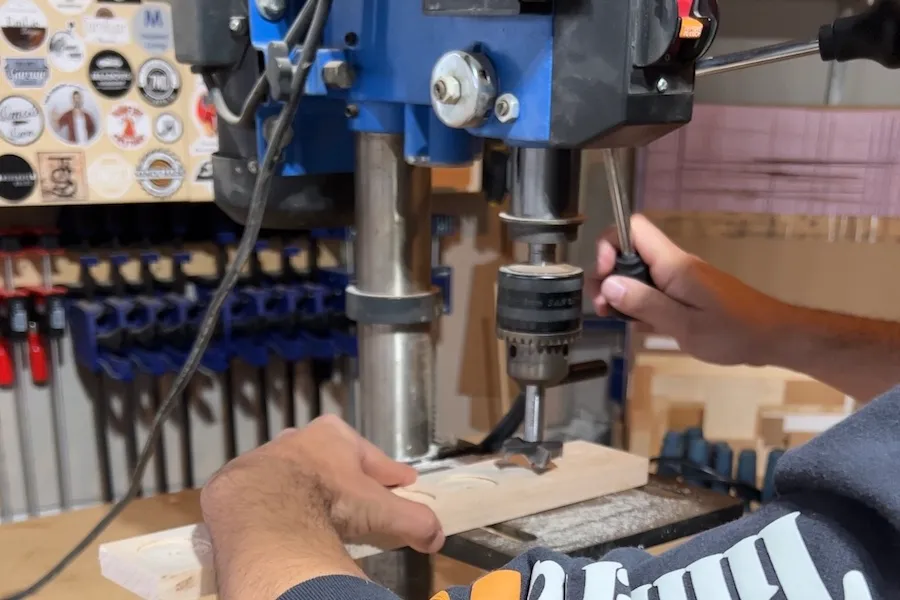
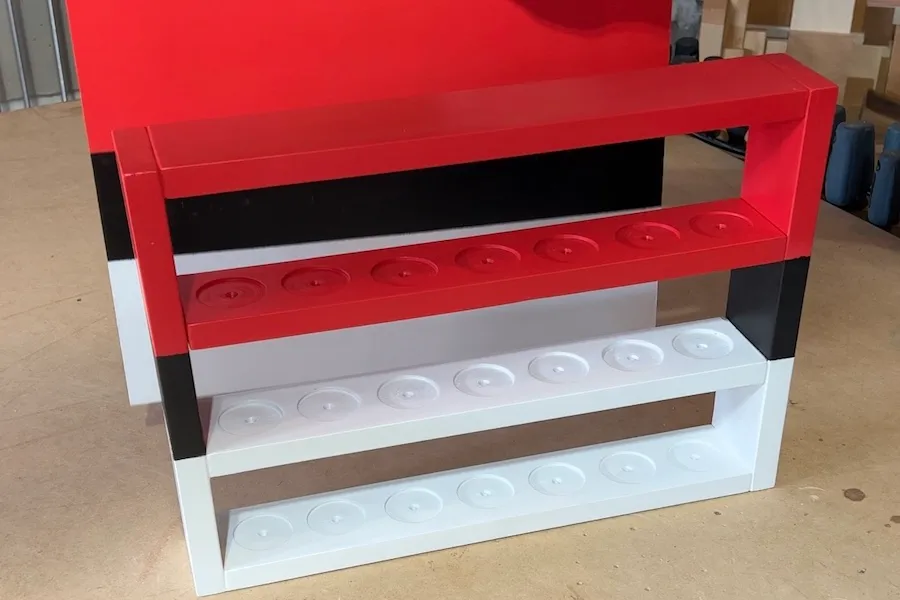
Tip: OPTIONAL: In this case, the action figures mount on small round discs for display purposes. I measured out the correct spacing on each shelf and, using a drill press, countersunk a space for each figure to fit into.
2Sand
Using a random orbital sander, sand all of your pieces smooth.
3Drill pocket holes
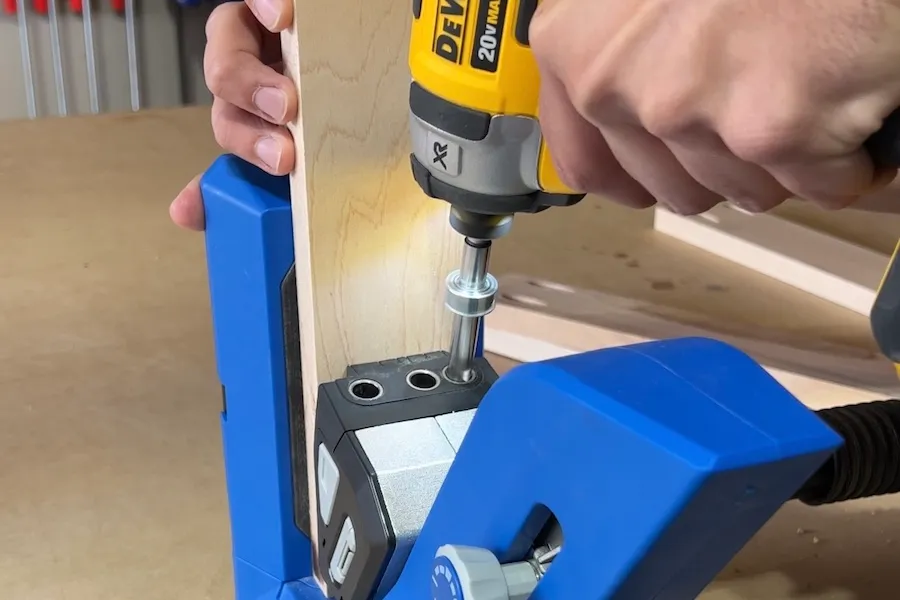
Using your favorite Kreg Pocket-Hole Jig (I used the 720PRO) drill 2 holes at each end of your top and bottom pieces as well as your shelves.
4Paint
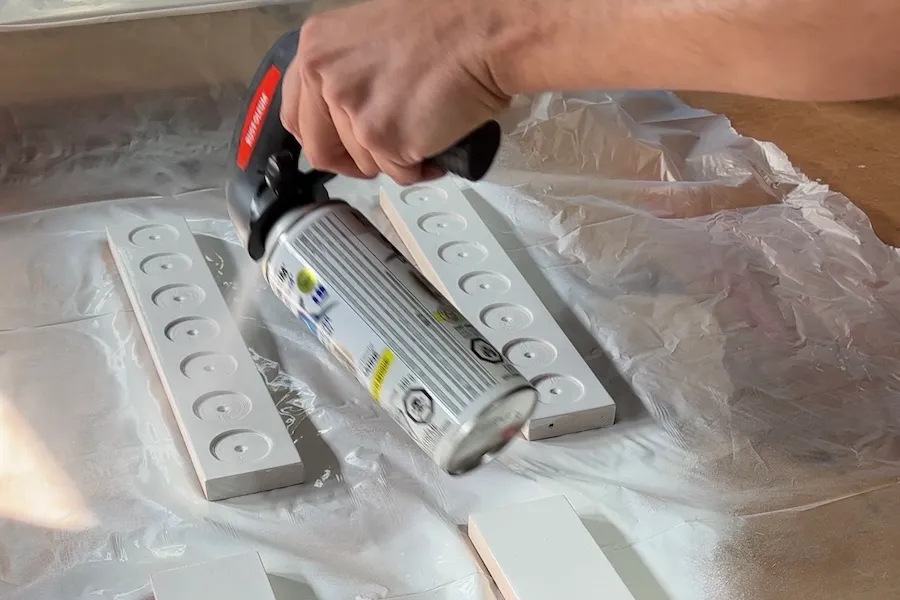
This step can be considered optional, but if you really want the shelf to fit the theme of your kids’ favorite characters, spray paint the individual shelf pieces with the appropriate colors (in this case, red, black, and white).
5Assemble shelf
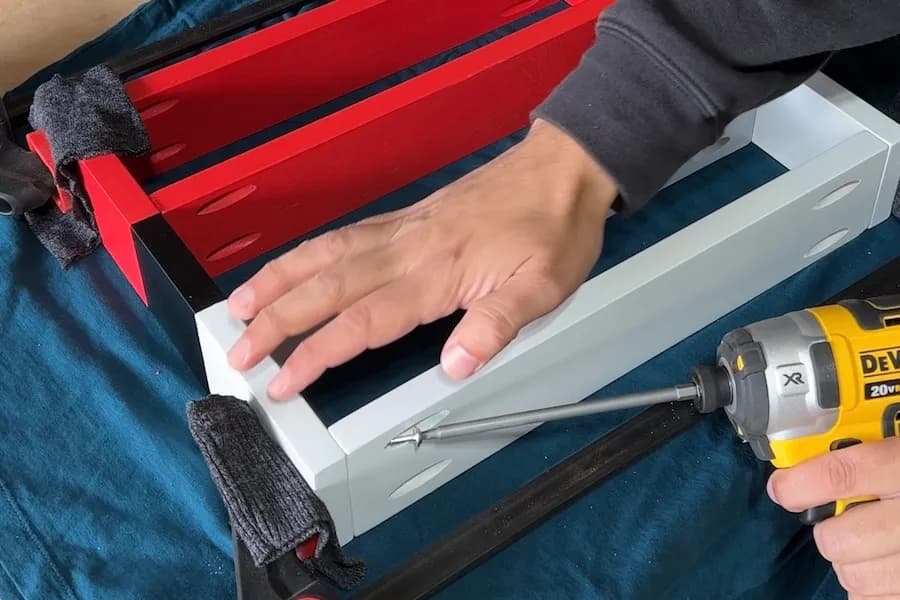
Attach the top and bottom pieces to the side boards using 1-1/4” pocket hole screws. Once that’s done, attach your shelves evenly spaced (in this case the shelves are spaced 3.5” apart.
6Cut MDF backer
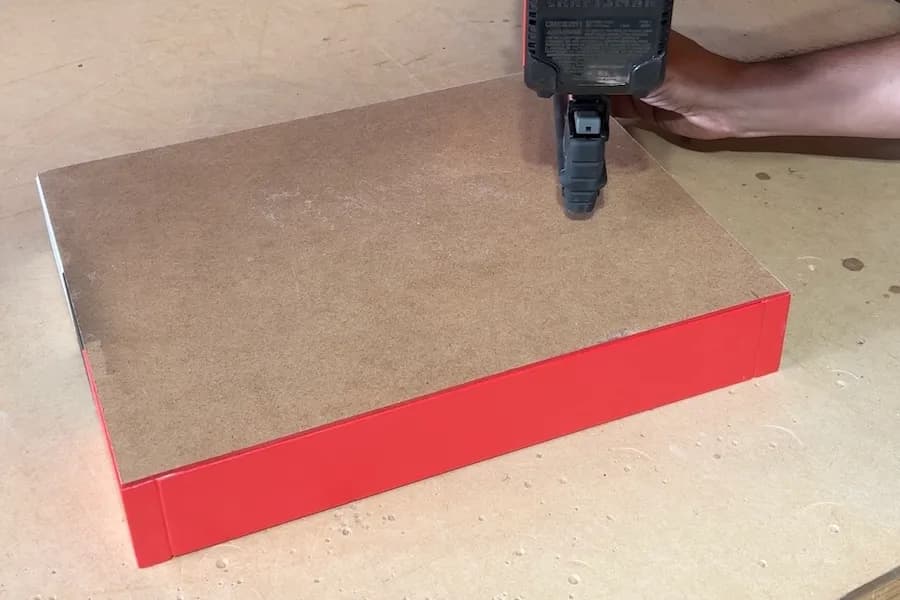
Using your circular saw or table saw, cut your 1/8” MDF backer to fit the back of your shelf. In this case, I cut the backer to 12” x 15-1/2”.
Tip: OPTIONAL: Spray paint your MDF backer to fit the theme of your shelf.
7Attach MDF backer
Using a brad nailer and 1” brad nails, attach your MDF backer board to the back of your shelf.
8Organize
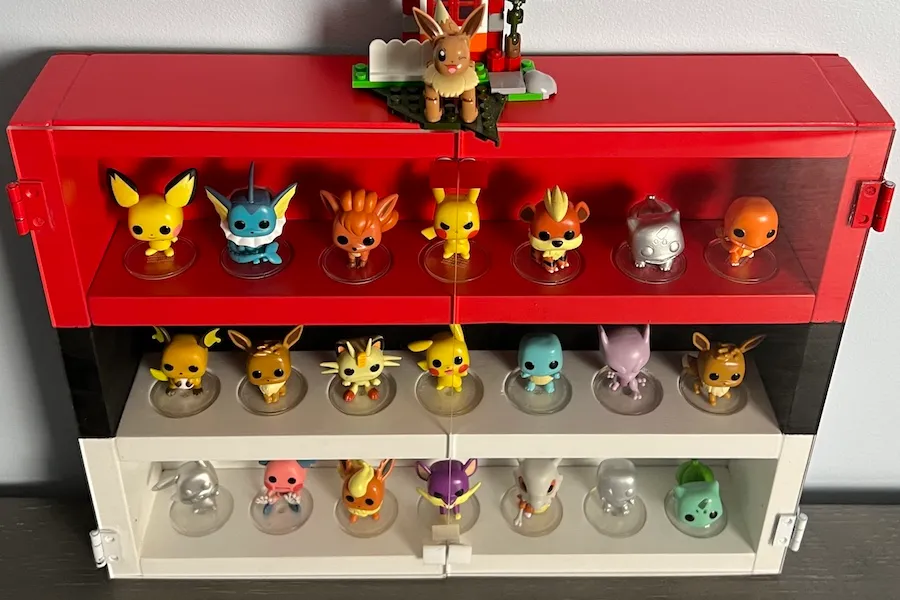
Have your kids get those action figures off of the ground and organized neatly on their new shelf.
Tip: OPTIONAL ACRYLIC DOORS: Take your shelf one step further by cutting some 1/8” clear acrylic to size and attaching with hinges to keep the toys in and the dust out.
Tags
- Floating Shelves
- Beginner
Reviews & builds
No reviews yet
Sign in to review this plan or share your build.
No reviews yet. Be the first to build this.